
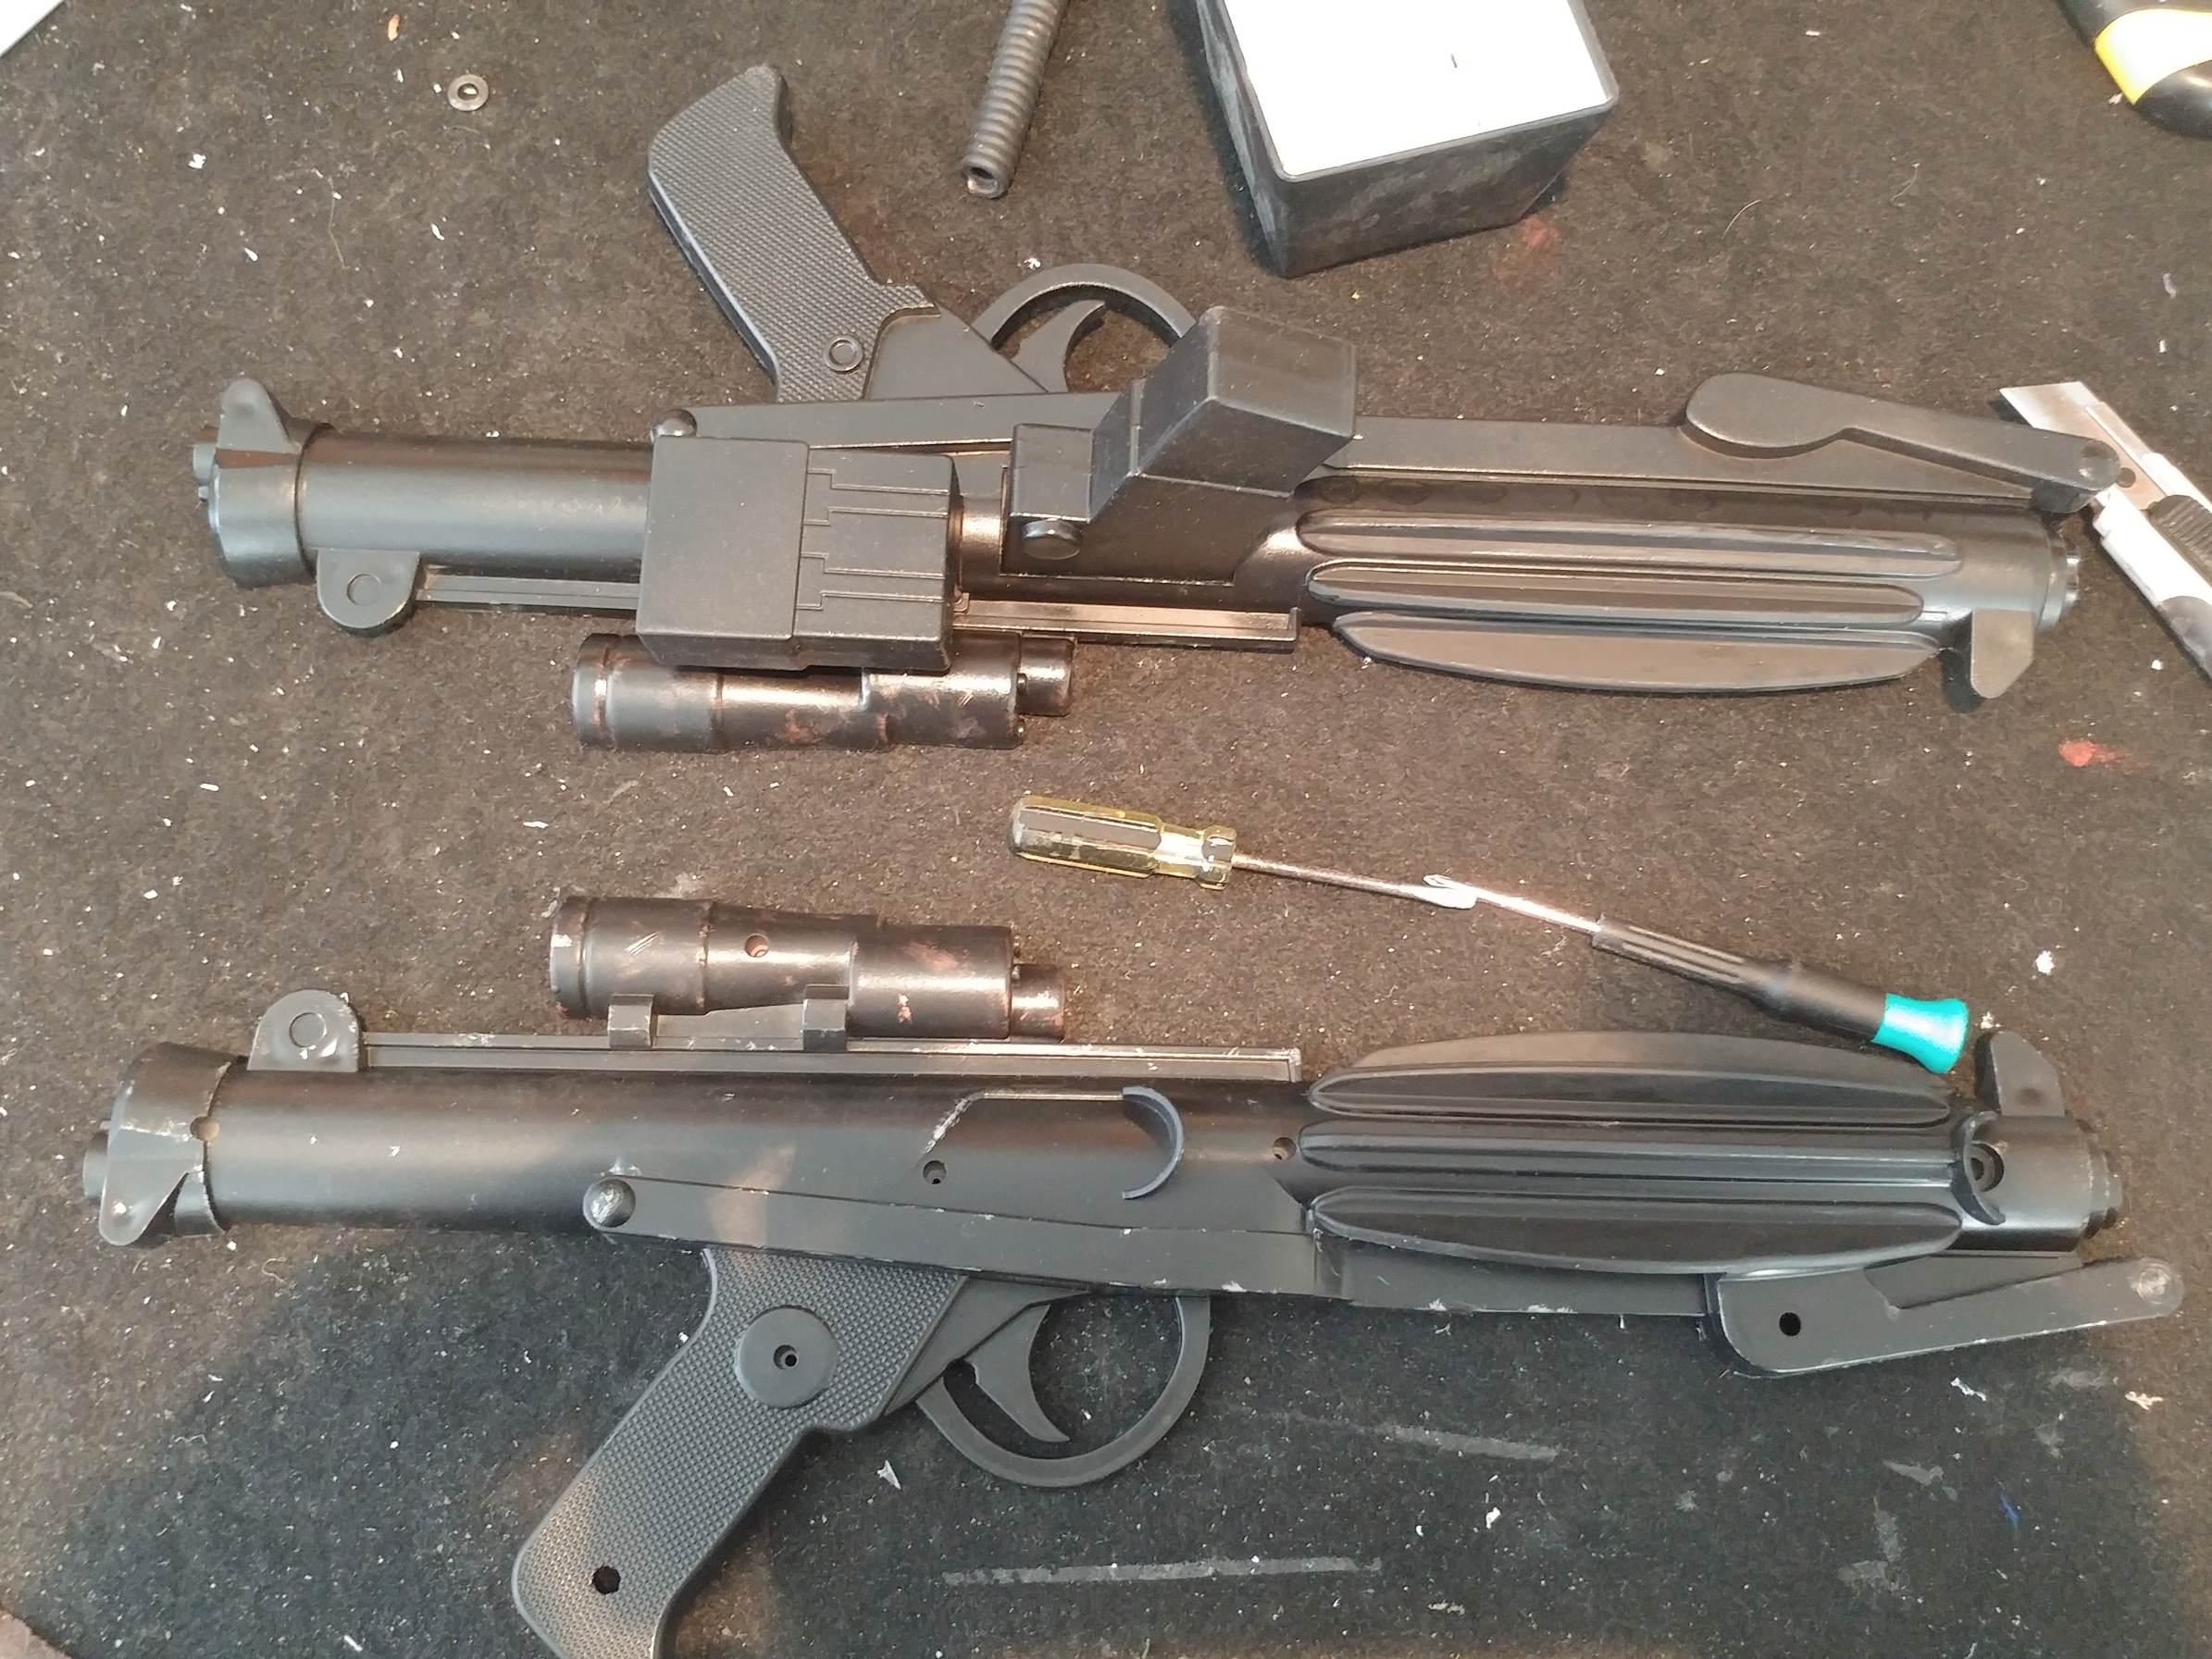
*I’m using the same blaster as from the last post because I only bought one. I highly recommend that if you are starting this post with a fresh blaster, that you DO NOT paint it before hand. No point in painting this thing several times, am I right?*
Let’s get “Accurate” aka Cutting Blindly In The Goo
Ready for the next part of the journey? How much do you love being covered in plastic dust?
I hope the answer is “I like to be dusted with a fine coat of plastic, Jon.”
If you are just joining us and didn’t read the last post, fear not as you don’t really need any of the information there (with the exception of the excess plastic seam cleaning). In this part of the tutorial we are going to make some cuts, like, a lot of them. We are going to remove a ton of plastic. We will also add some parts to the inside of the blaster too.
But mostly, just cutting.
What You Will Need:
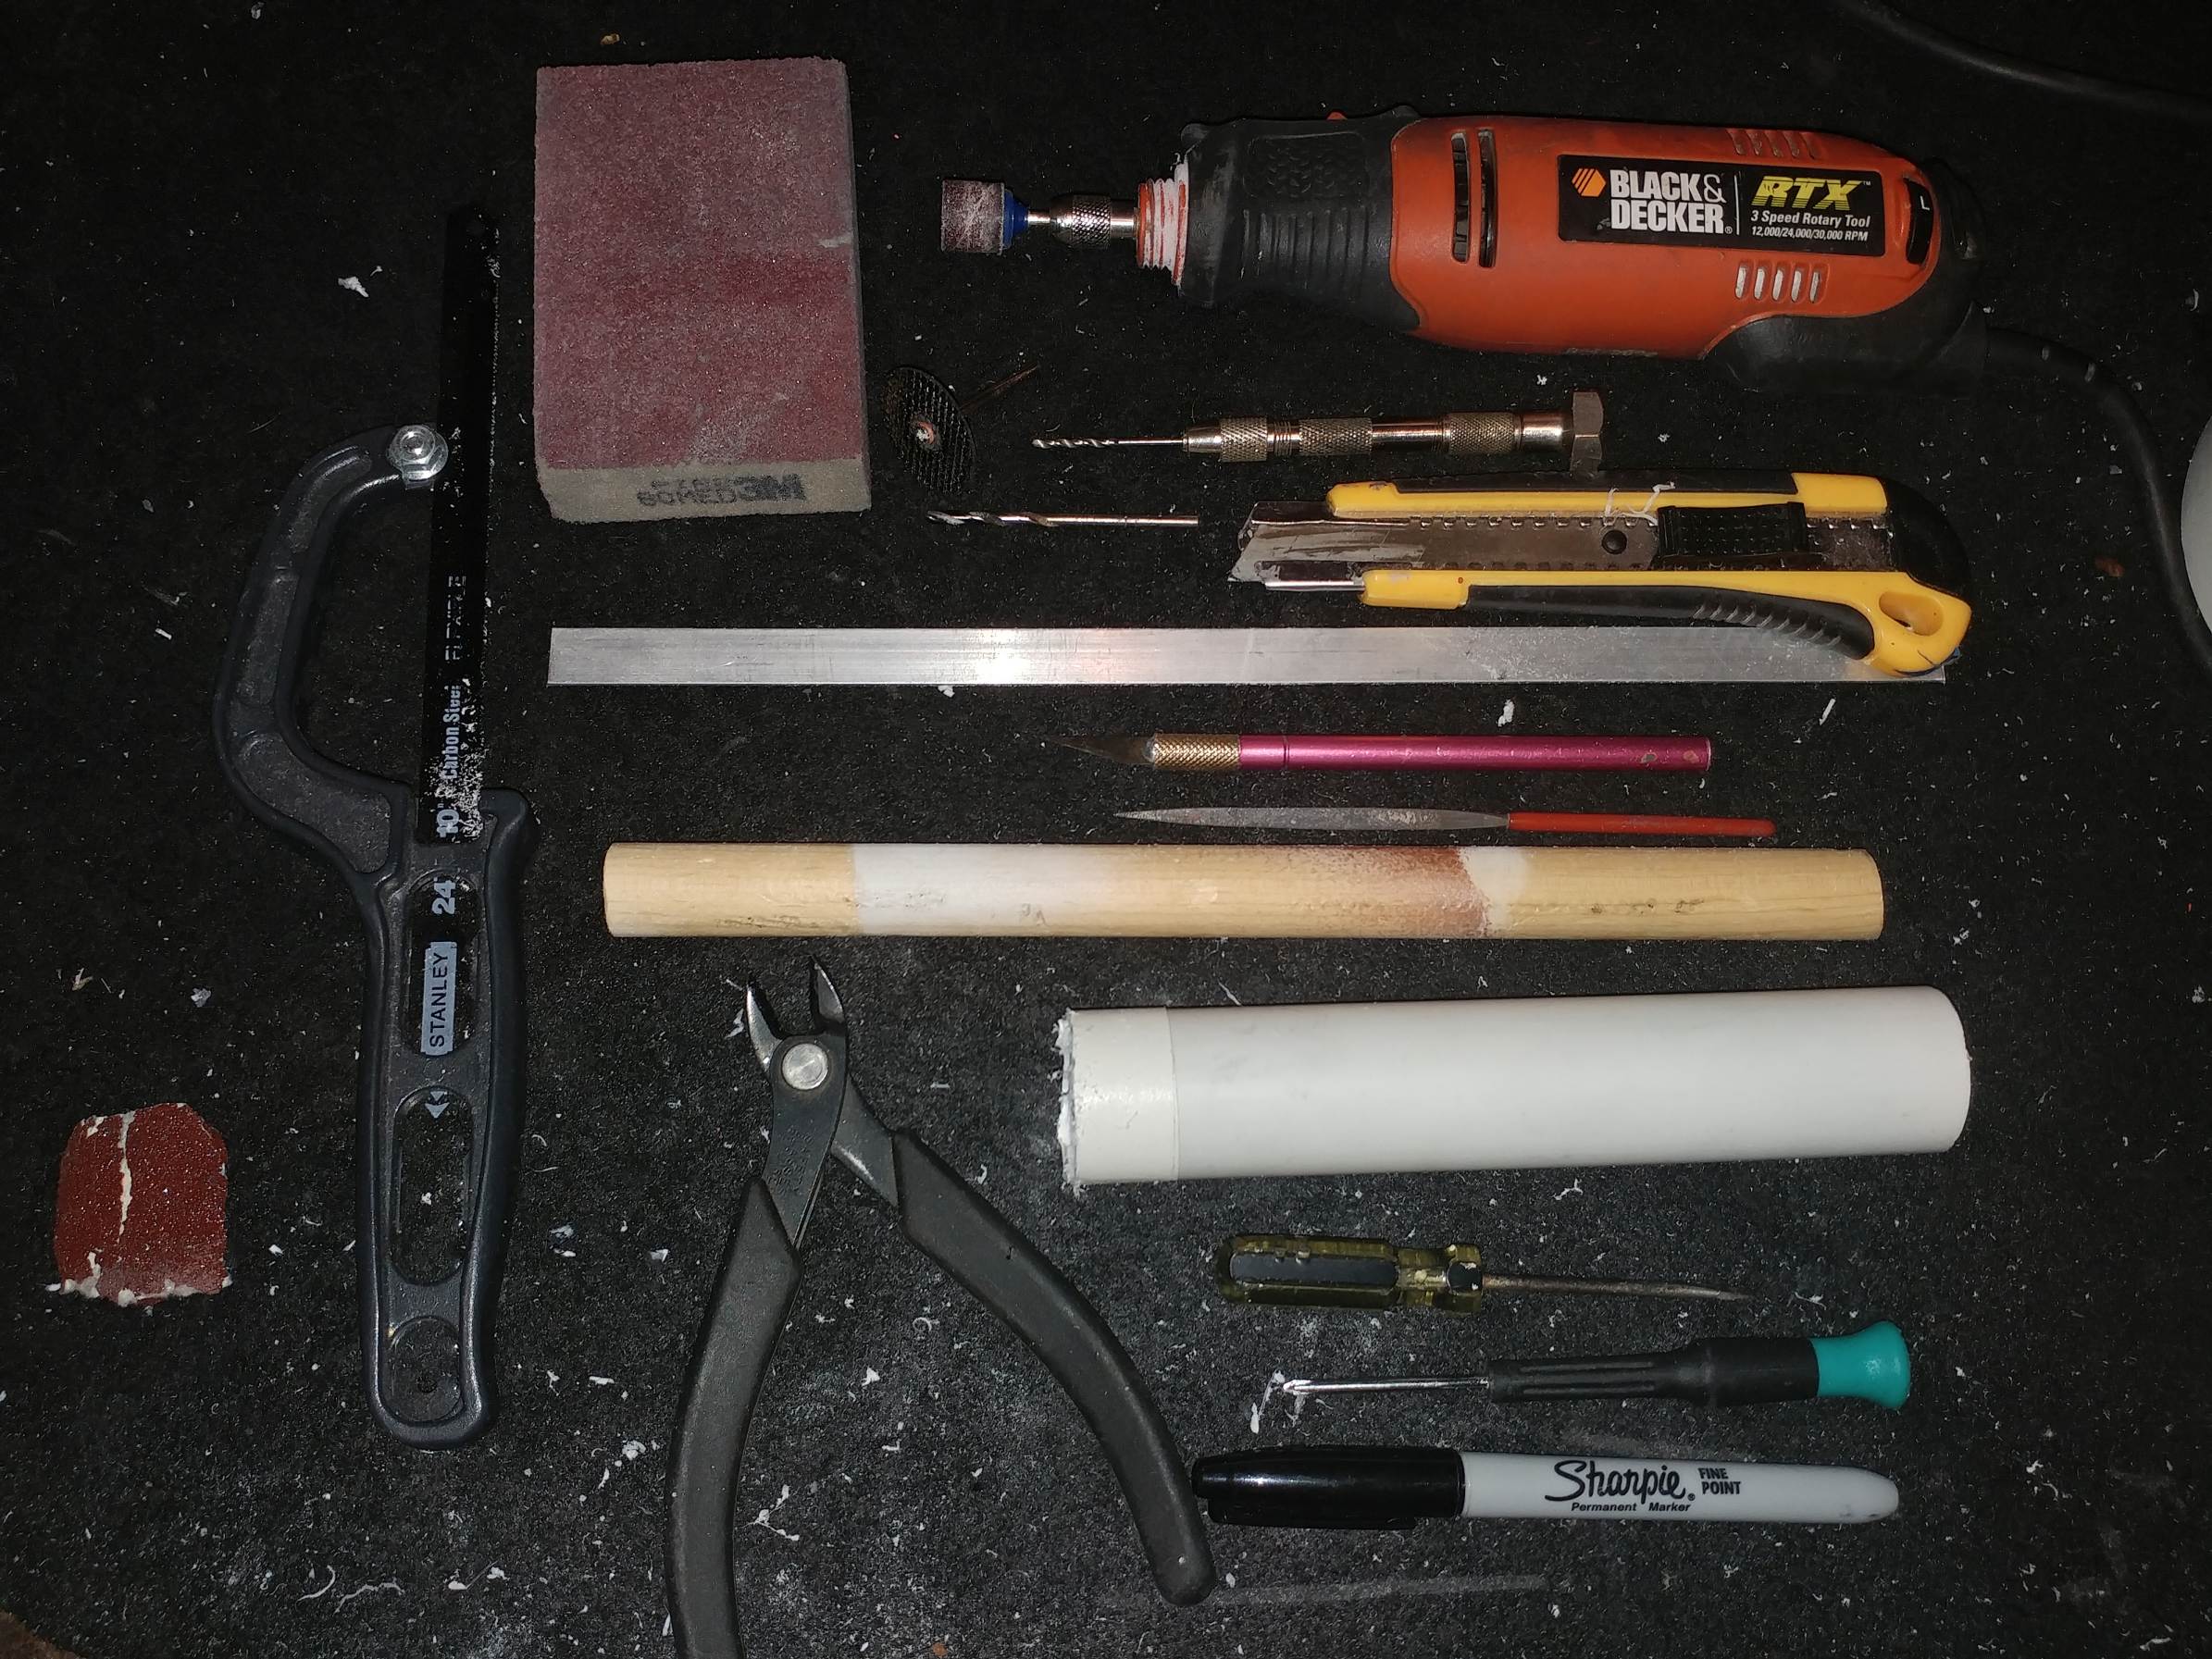
- Hobby Knife/Box Cutter
- Hack Saw or similar
- Rotary Tool – Various bits
- Drill – Various bits (I’m using an small hobby drill and the rotary tool for this)
- Sand Paper – Various grits
- Clippers
- Screw drives
- 1 1/2″ PVC pipe (optional, I’m trying something new in this build.)
- 1/2″ rod/dowel (for the ‘inner barrel’ of the gun)
- 1 foot of 1/2″ metal bar (about 2mm thick) – for a new scope rail, if you choose.
- Bondo or similar
- Small screws
- glue. I forgot glue. Super glue is good, epoxy/e6000 if you’re patient.
- Glue gun…I remembered this one around step 9
Knowing me, I will probably be adding stuff to this list as I build. I will mark those in red for my own amusement. (I FORGOT GLUE. Come on Jon, get it together.)
In the last post I mentioned that there tends to be some excess plastic along the seams of the blaster. You can do a quick clean up here and a more thorough cleaning/sanding after we take the sucker apart.
Blaster Breakdown
This is the least fun part of the build in my opinion. Separating the two halves is not an easy task.
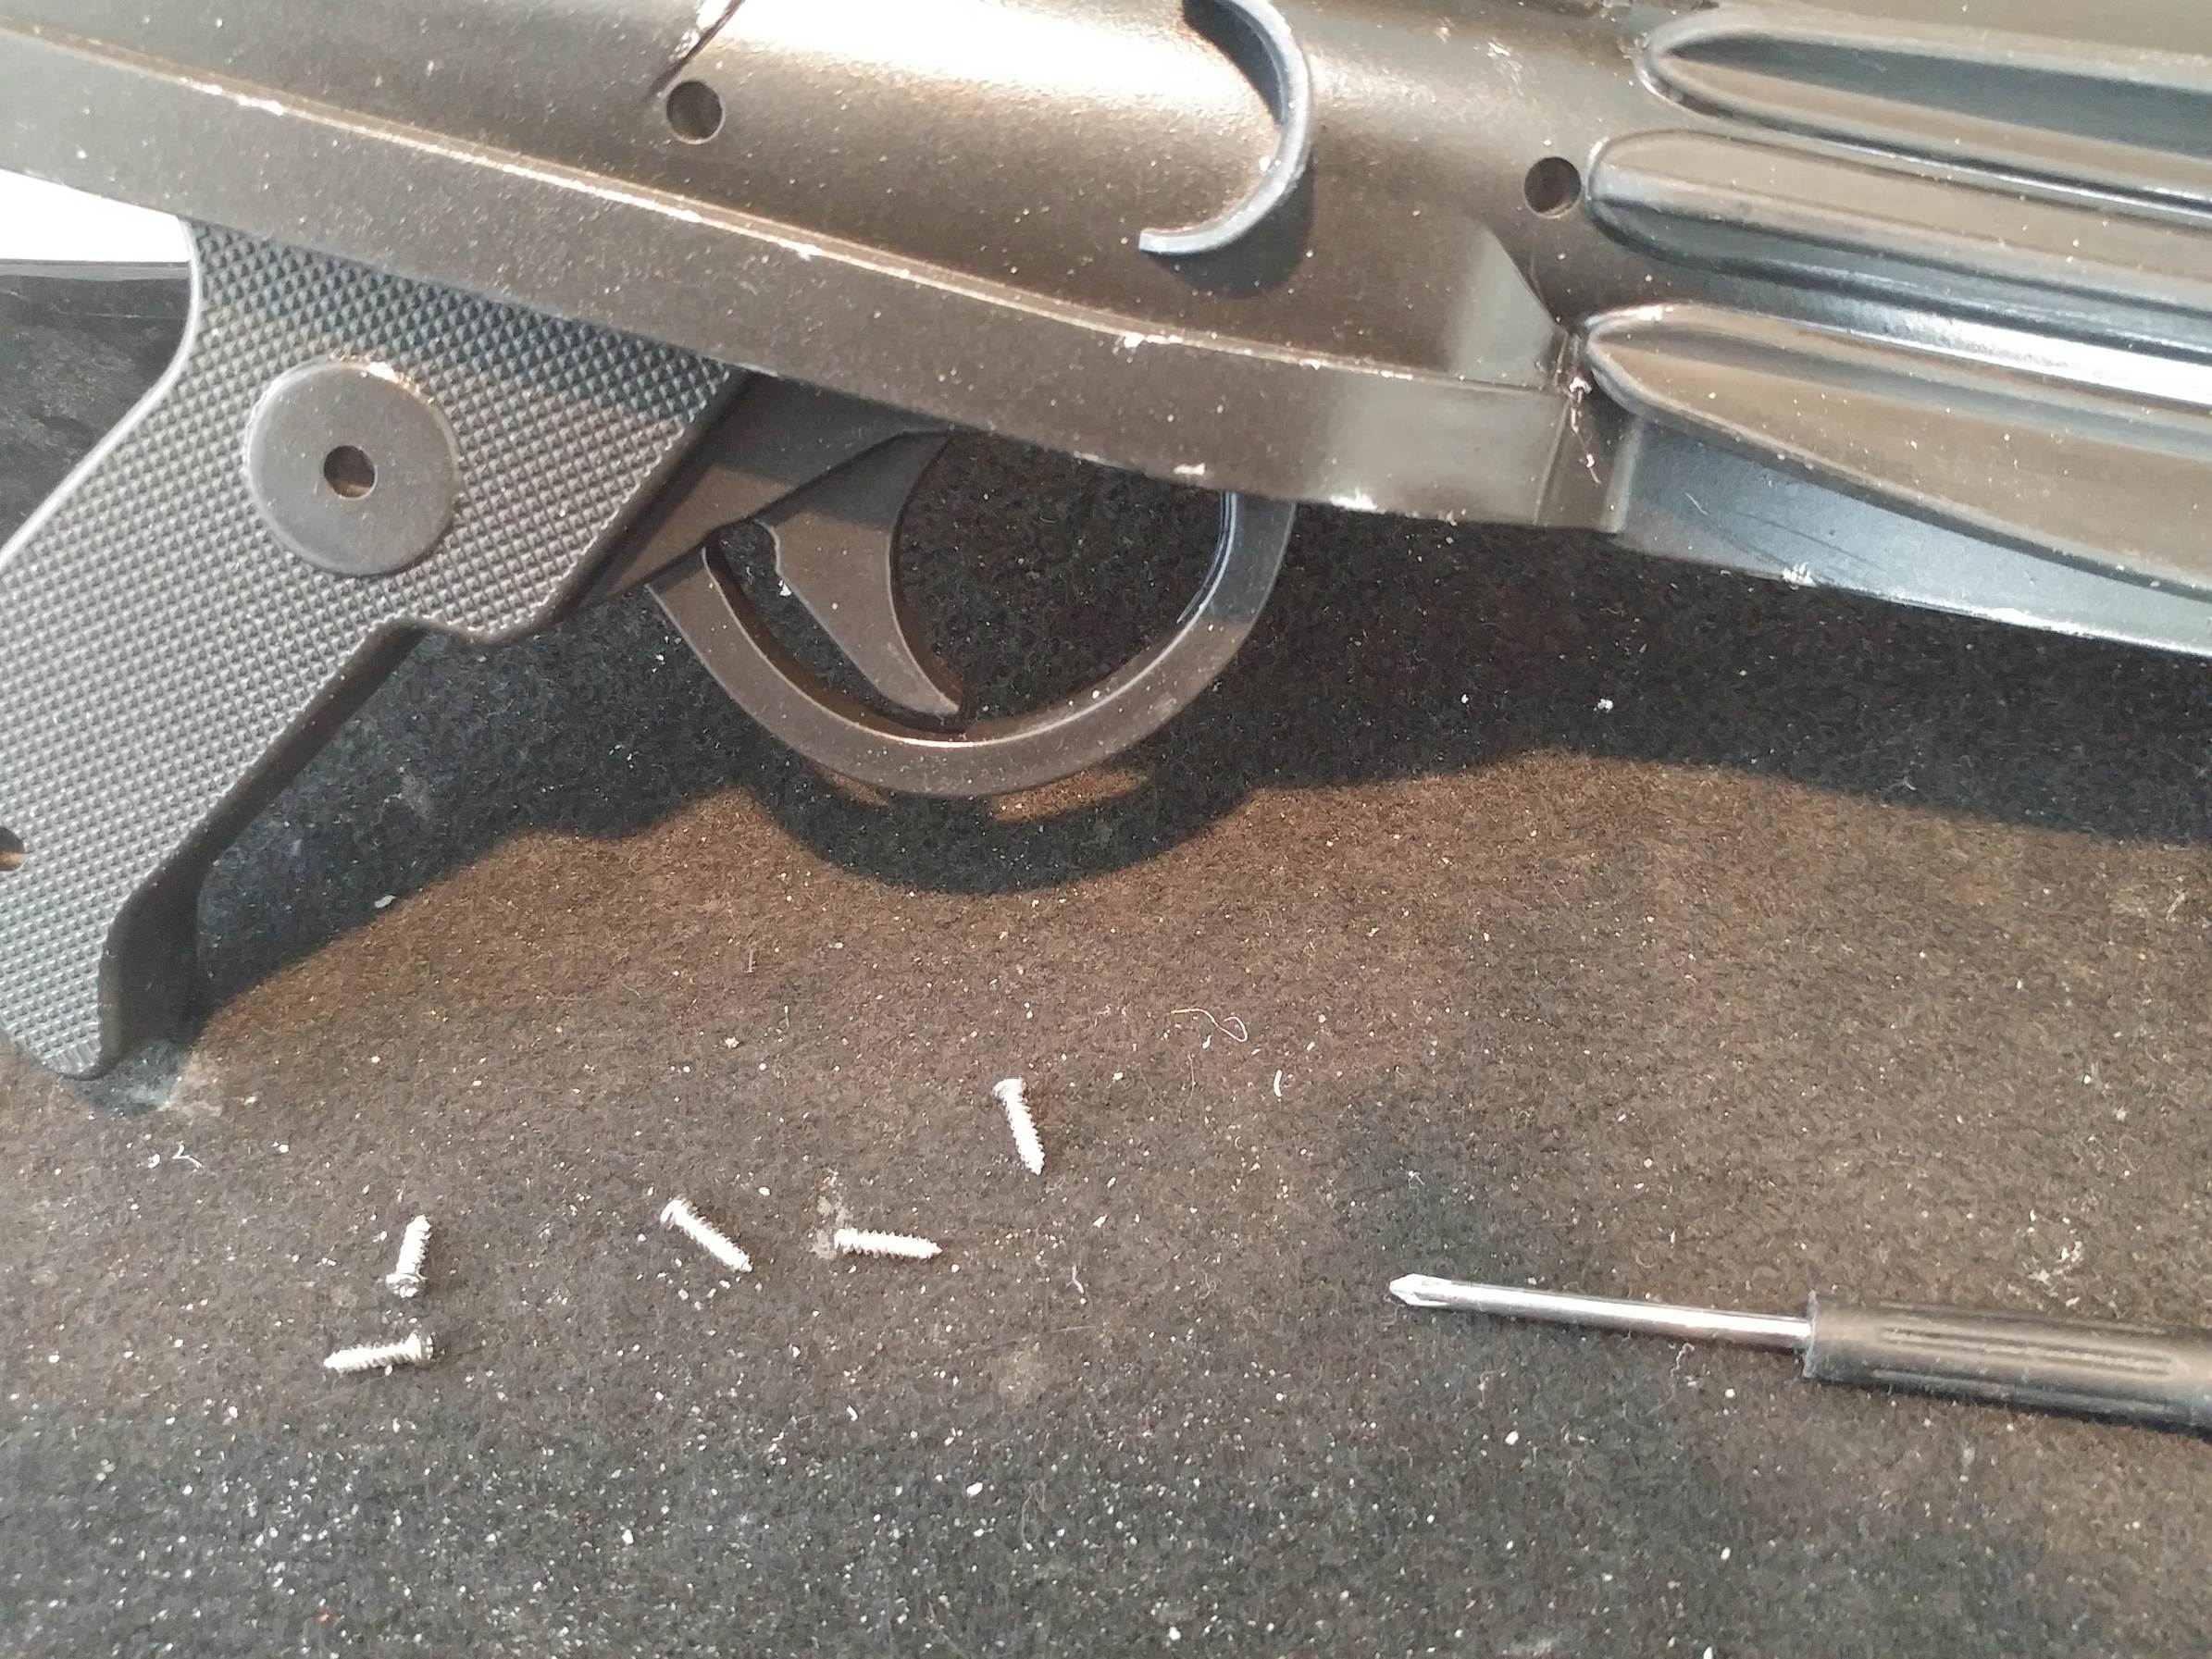
Step 1: Remove the screws
No cool tricks here, just remove the screws. most of the time you will end up with more holes than actual screws…
Step 2: Part the Sea(m)s
This part sucks. No doubt about it. For me it is the most stressful part of this whole process. The two shells are screwed together, but it doesn’t matter because they glued all of it down. To separate the pieces, I start at the business end of the barrel.
Place a screw driver or another sturdy item for prying, in the hole in the barrel. Slowly start to pry the parts apart.
It may take awhile to do this and there are going to be several very loud SNAPS as the glue gives way. Take your time on this, you don’t want to go to fast and end up creating a crack that isn’t part of the existing seam!
With the halves separated go ahead and remove the screw posts on each side. I use model making clippers, but you probably could use the hobby knife or a rotary tool to remove them.
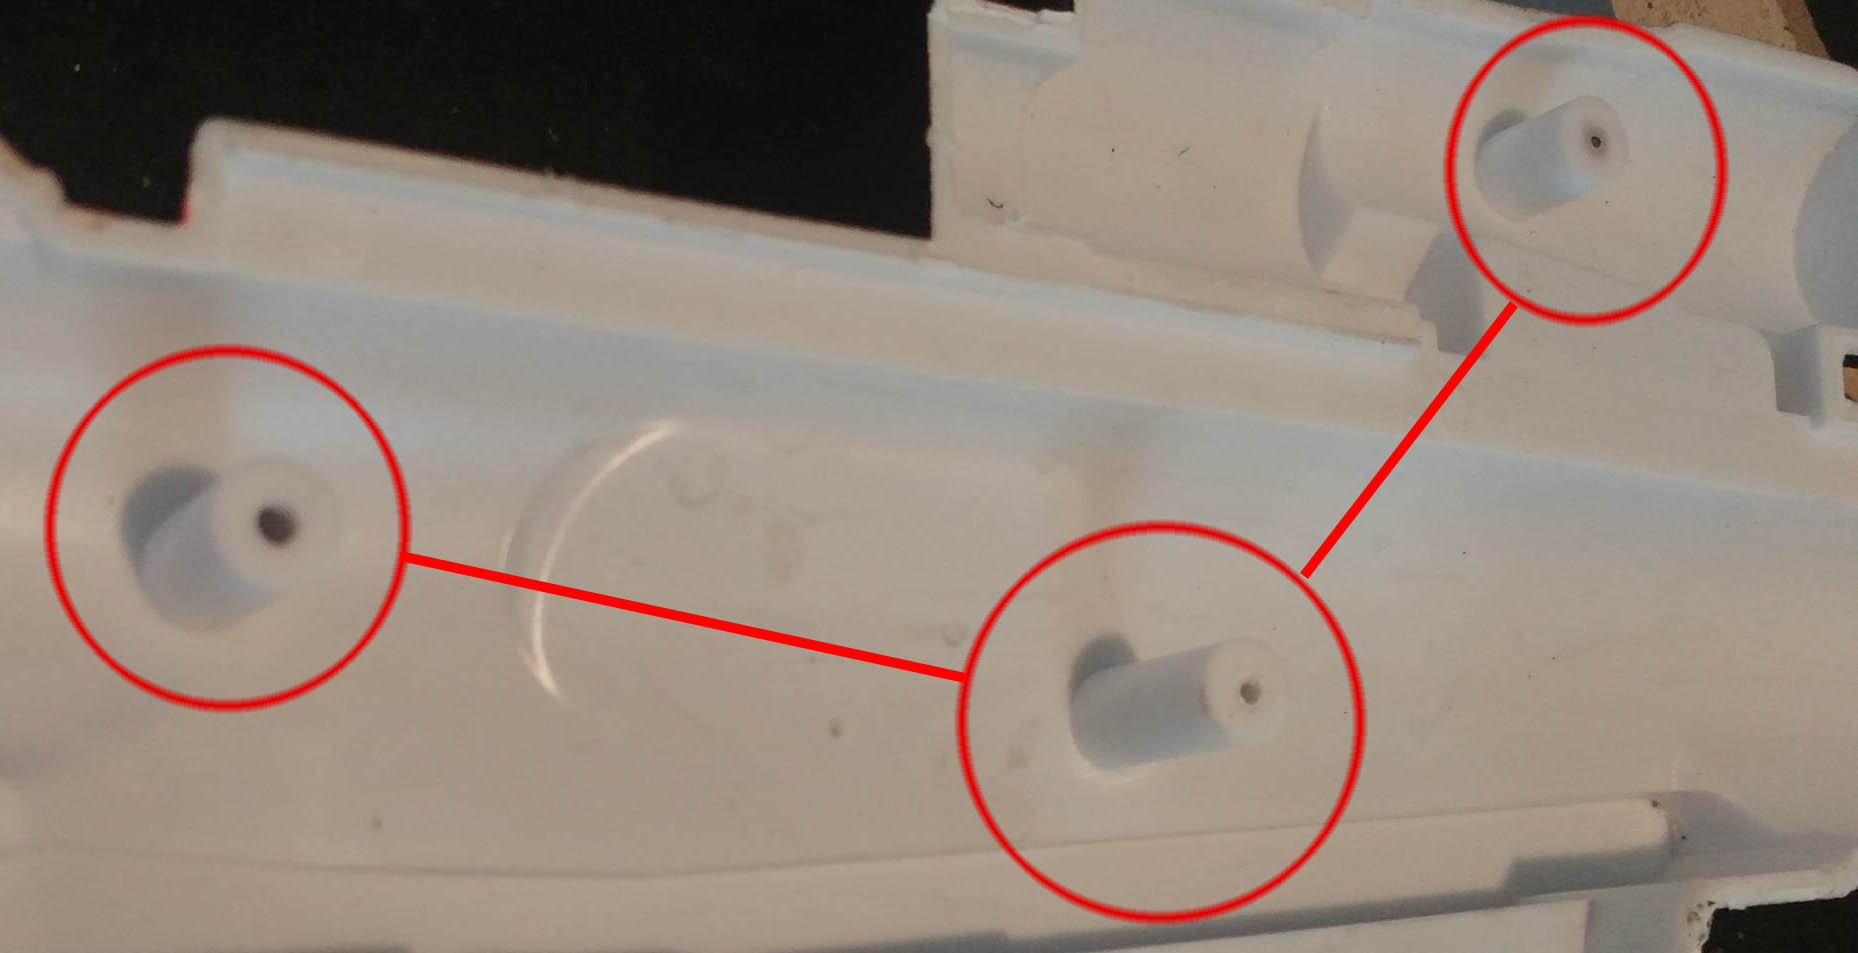
Sand down what’s left as smooth as you can!
Step 3: (w)Holy Holes, Batman!
I love using my Dremel to cut and grind things into smaller things.
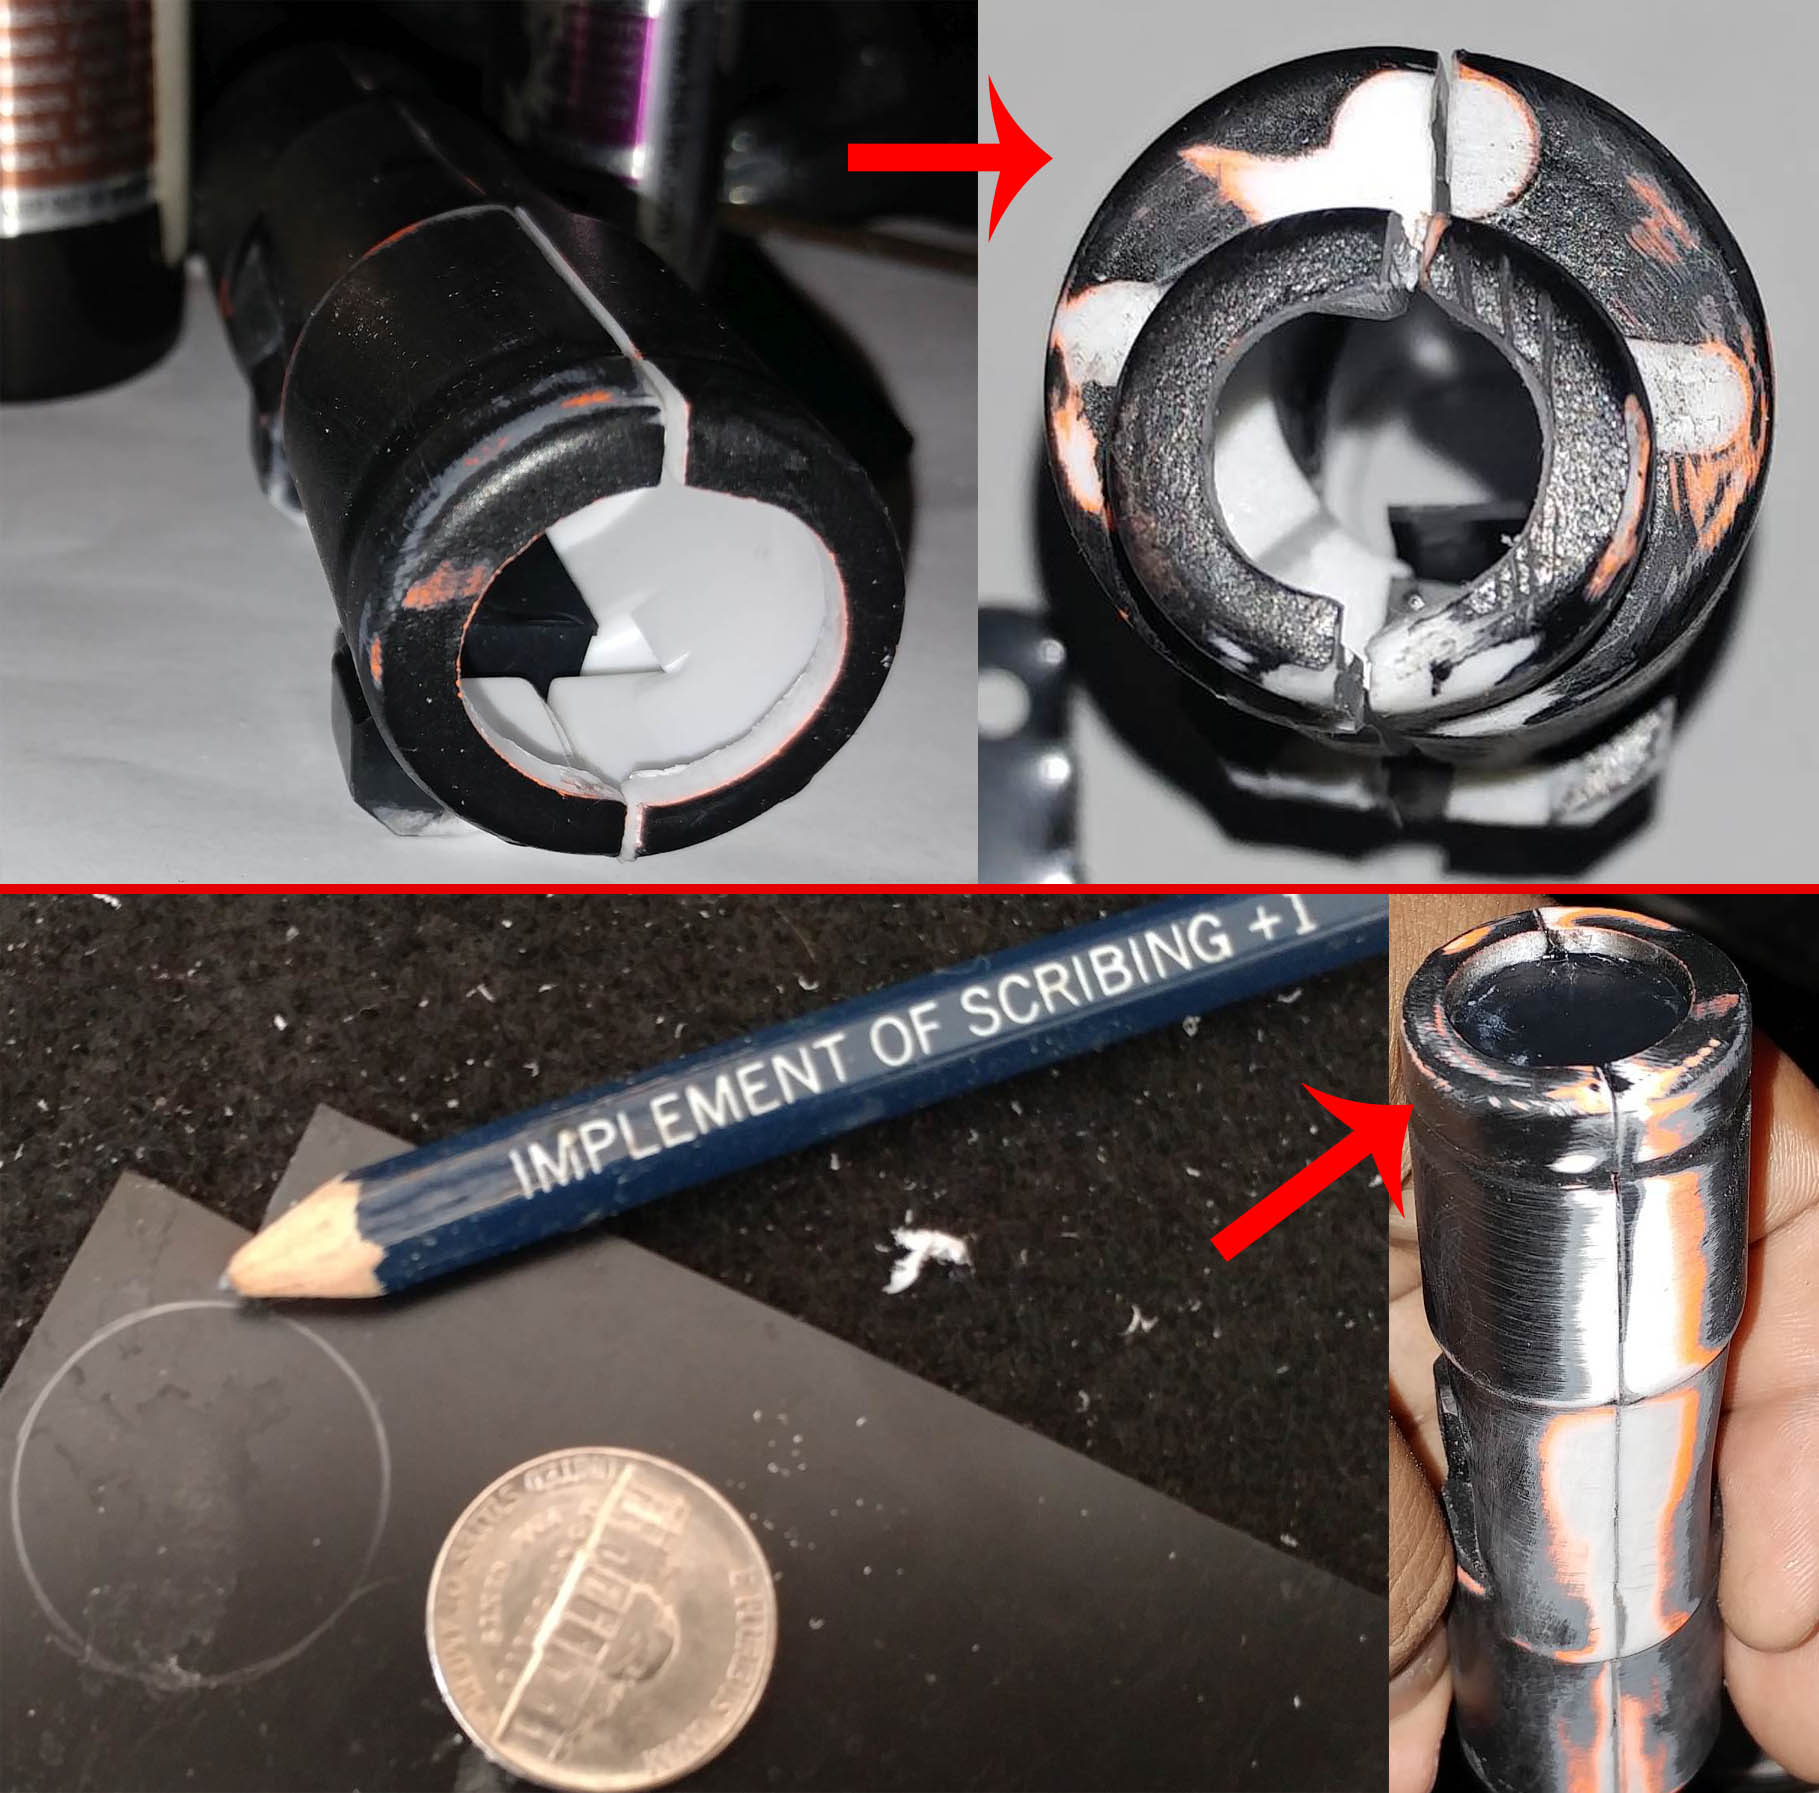
Firstly, we need to cut out the holes on the side of the barrel. Begin with making small ‘pilot holes’ with a small drill bit. Slowly increase the diameter of the hole until you have removed the plastic up to the ‘rim’ of the vent holes. Using various Dremel bits here helps, angled grinding stones and the small sanding drum will work wonders

When the holes are cut out, use your hobby knife to clean up any melted plastic build up and then sand and smooth the holes on the outside and inside to remove any more debris.
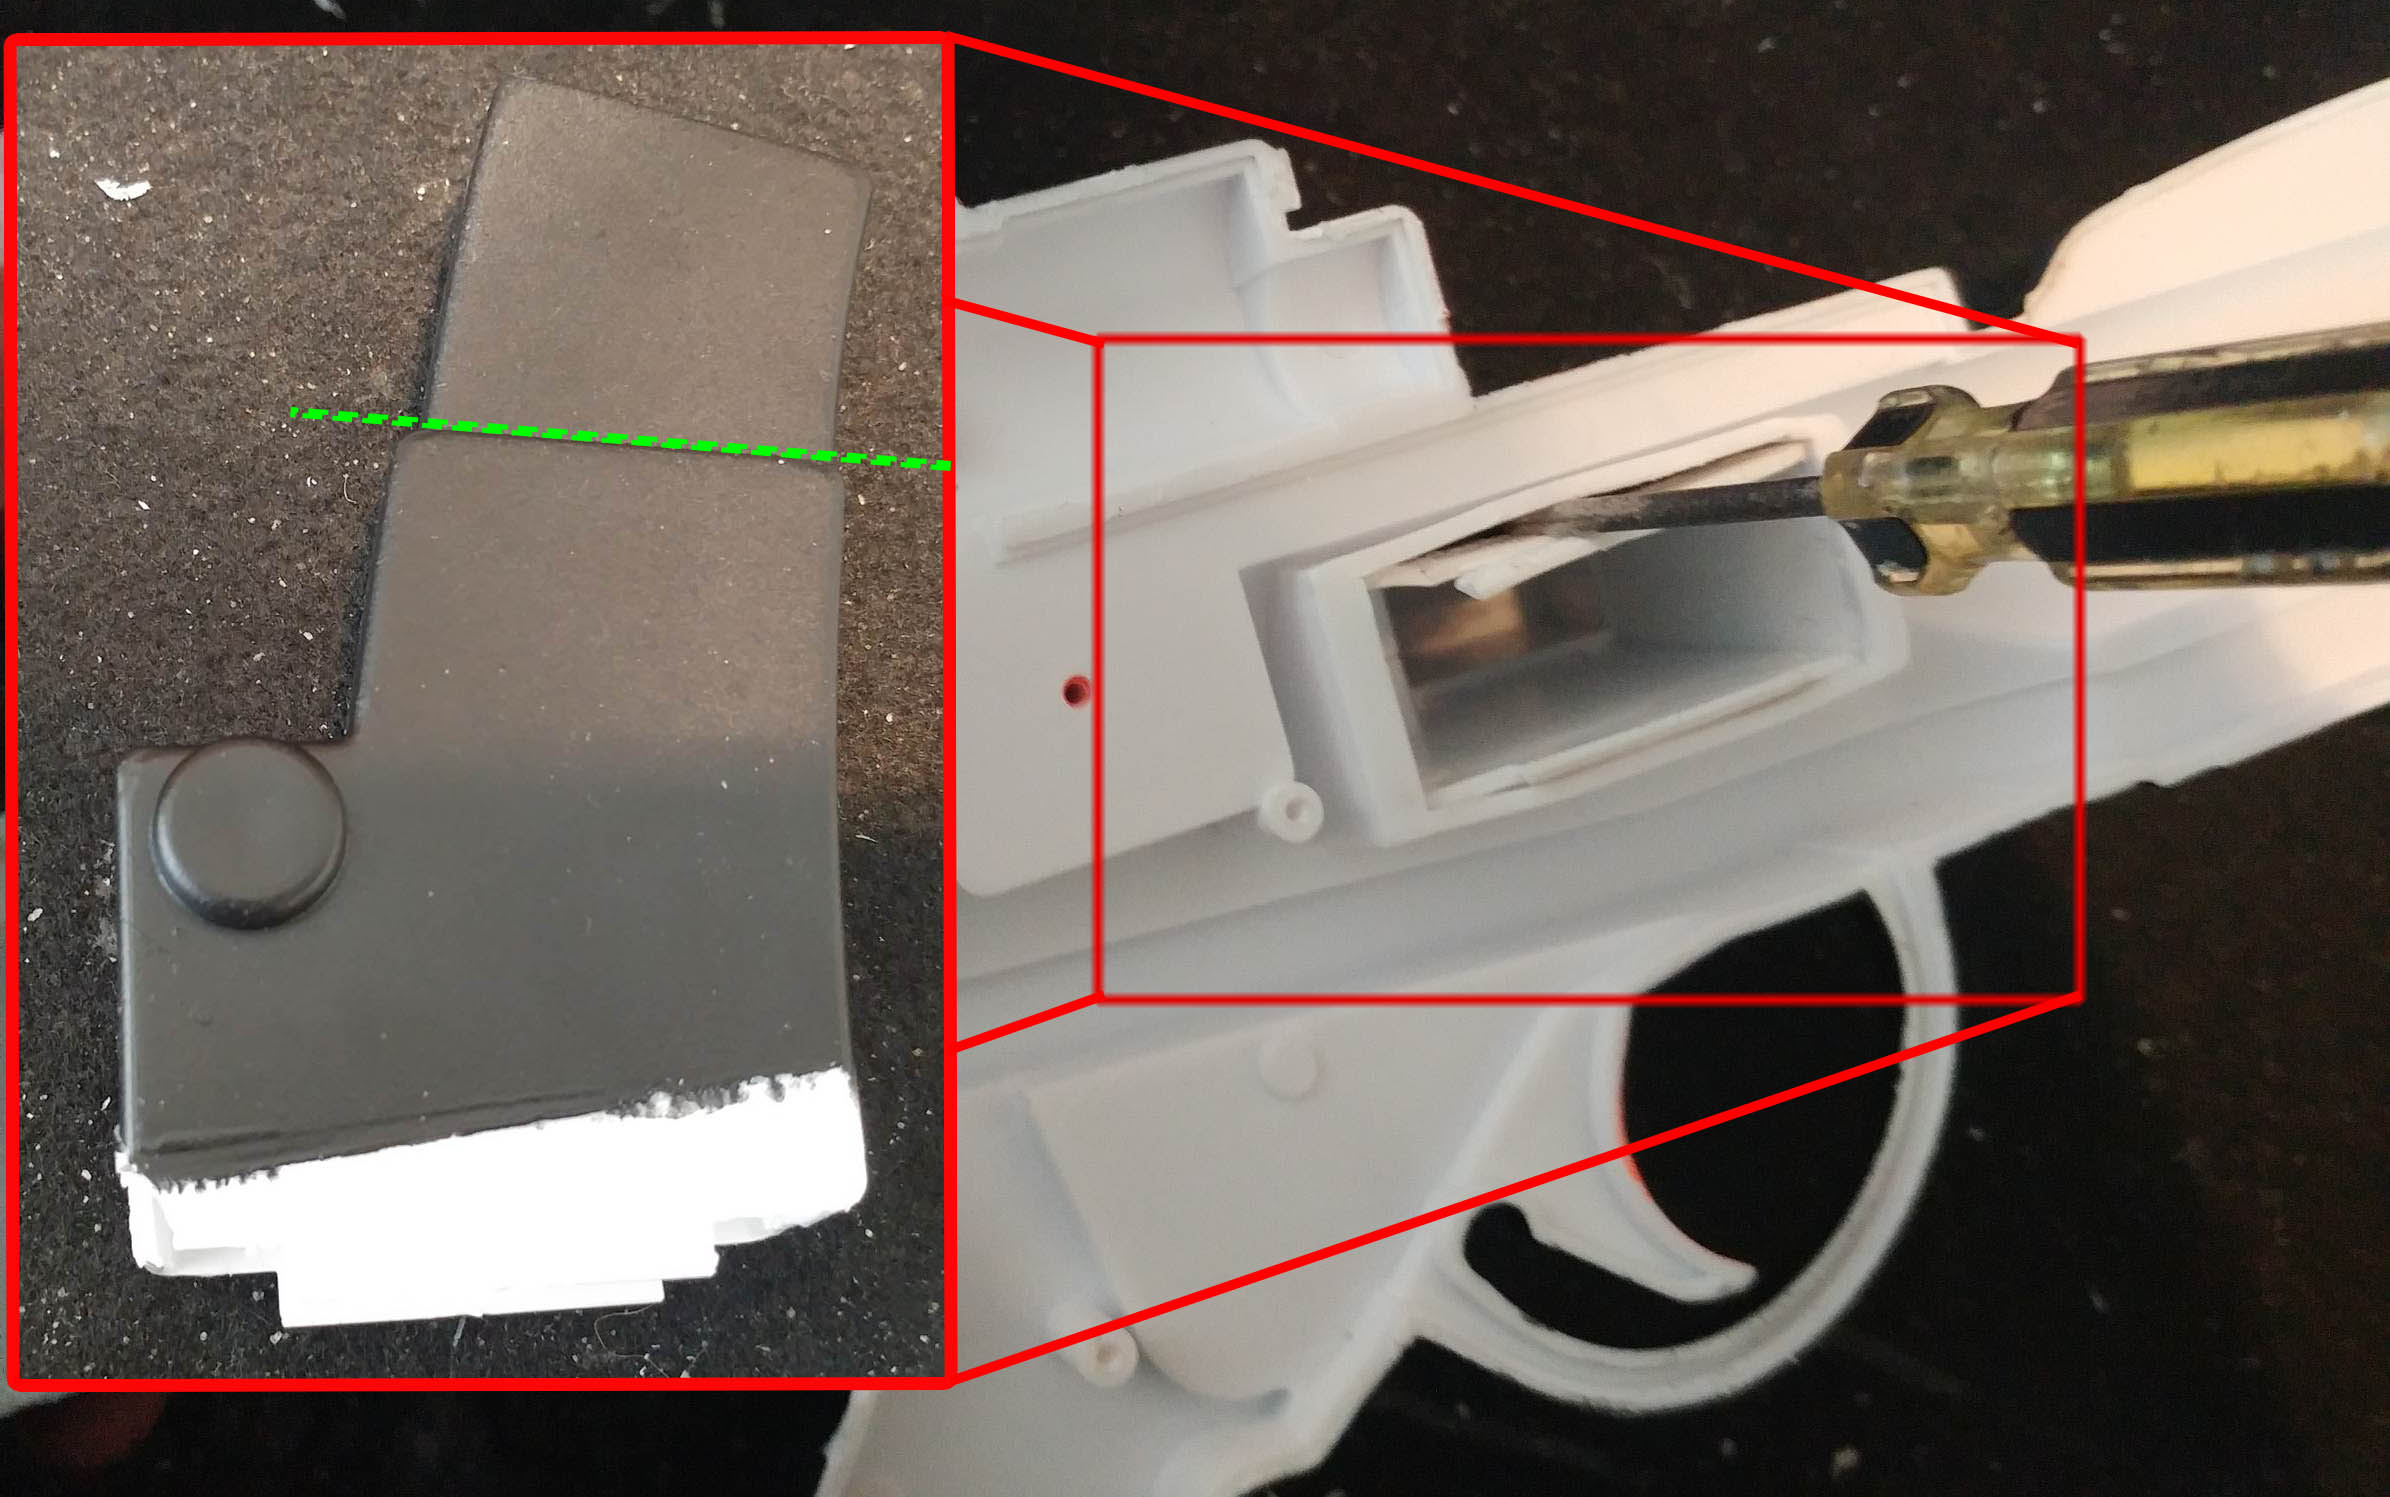
Step 4: Non-Functional Firearm
We need to now cut out the slot on the body that the Real Steel counterparts charging handle would go (the part that makes the gun ready to shoot). This slot is just behind the ejection port and goes most of the length of the rear of the blaster.
You can also use this time to cut out the plastic in the ‘ejection port’ (see below). Alternatively, you can skip cutting it out and paint the area silver and follow later instructions regarding the ejection port.
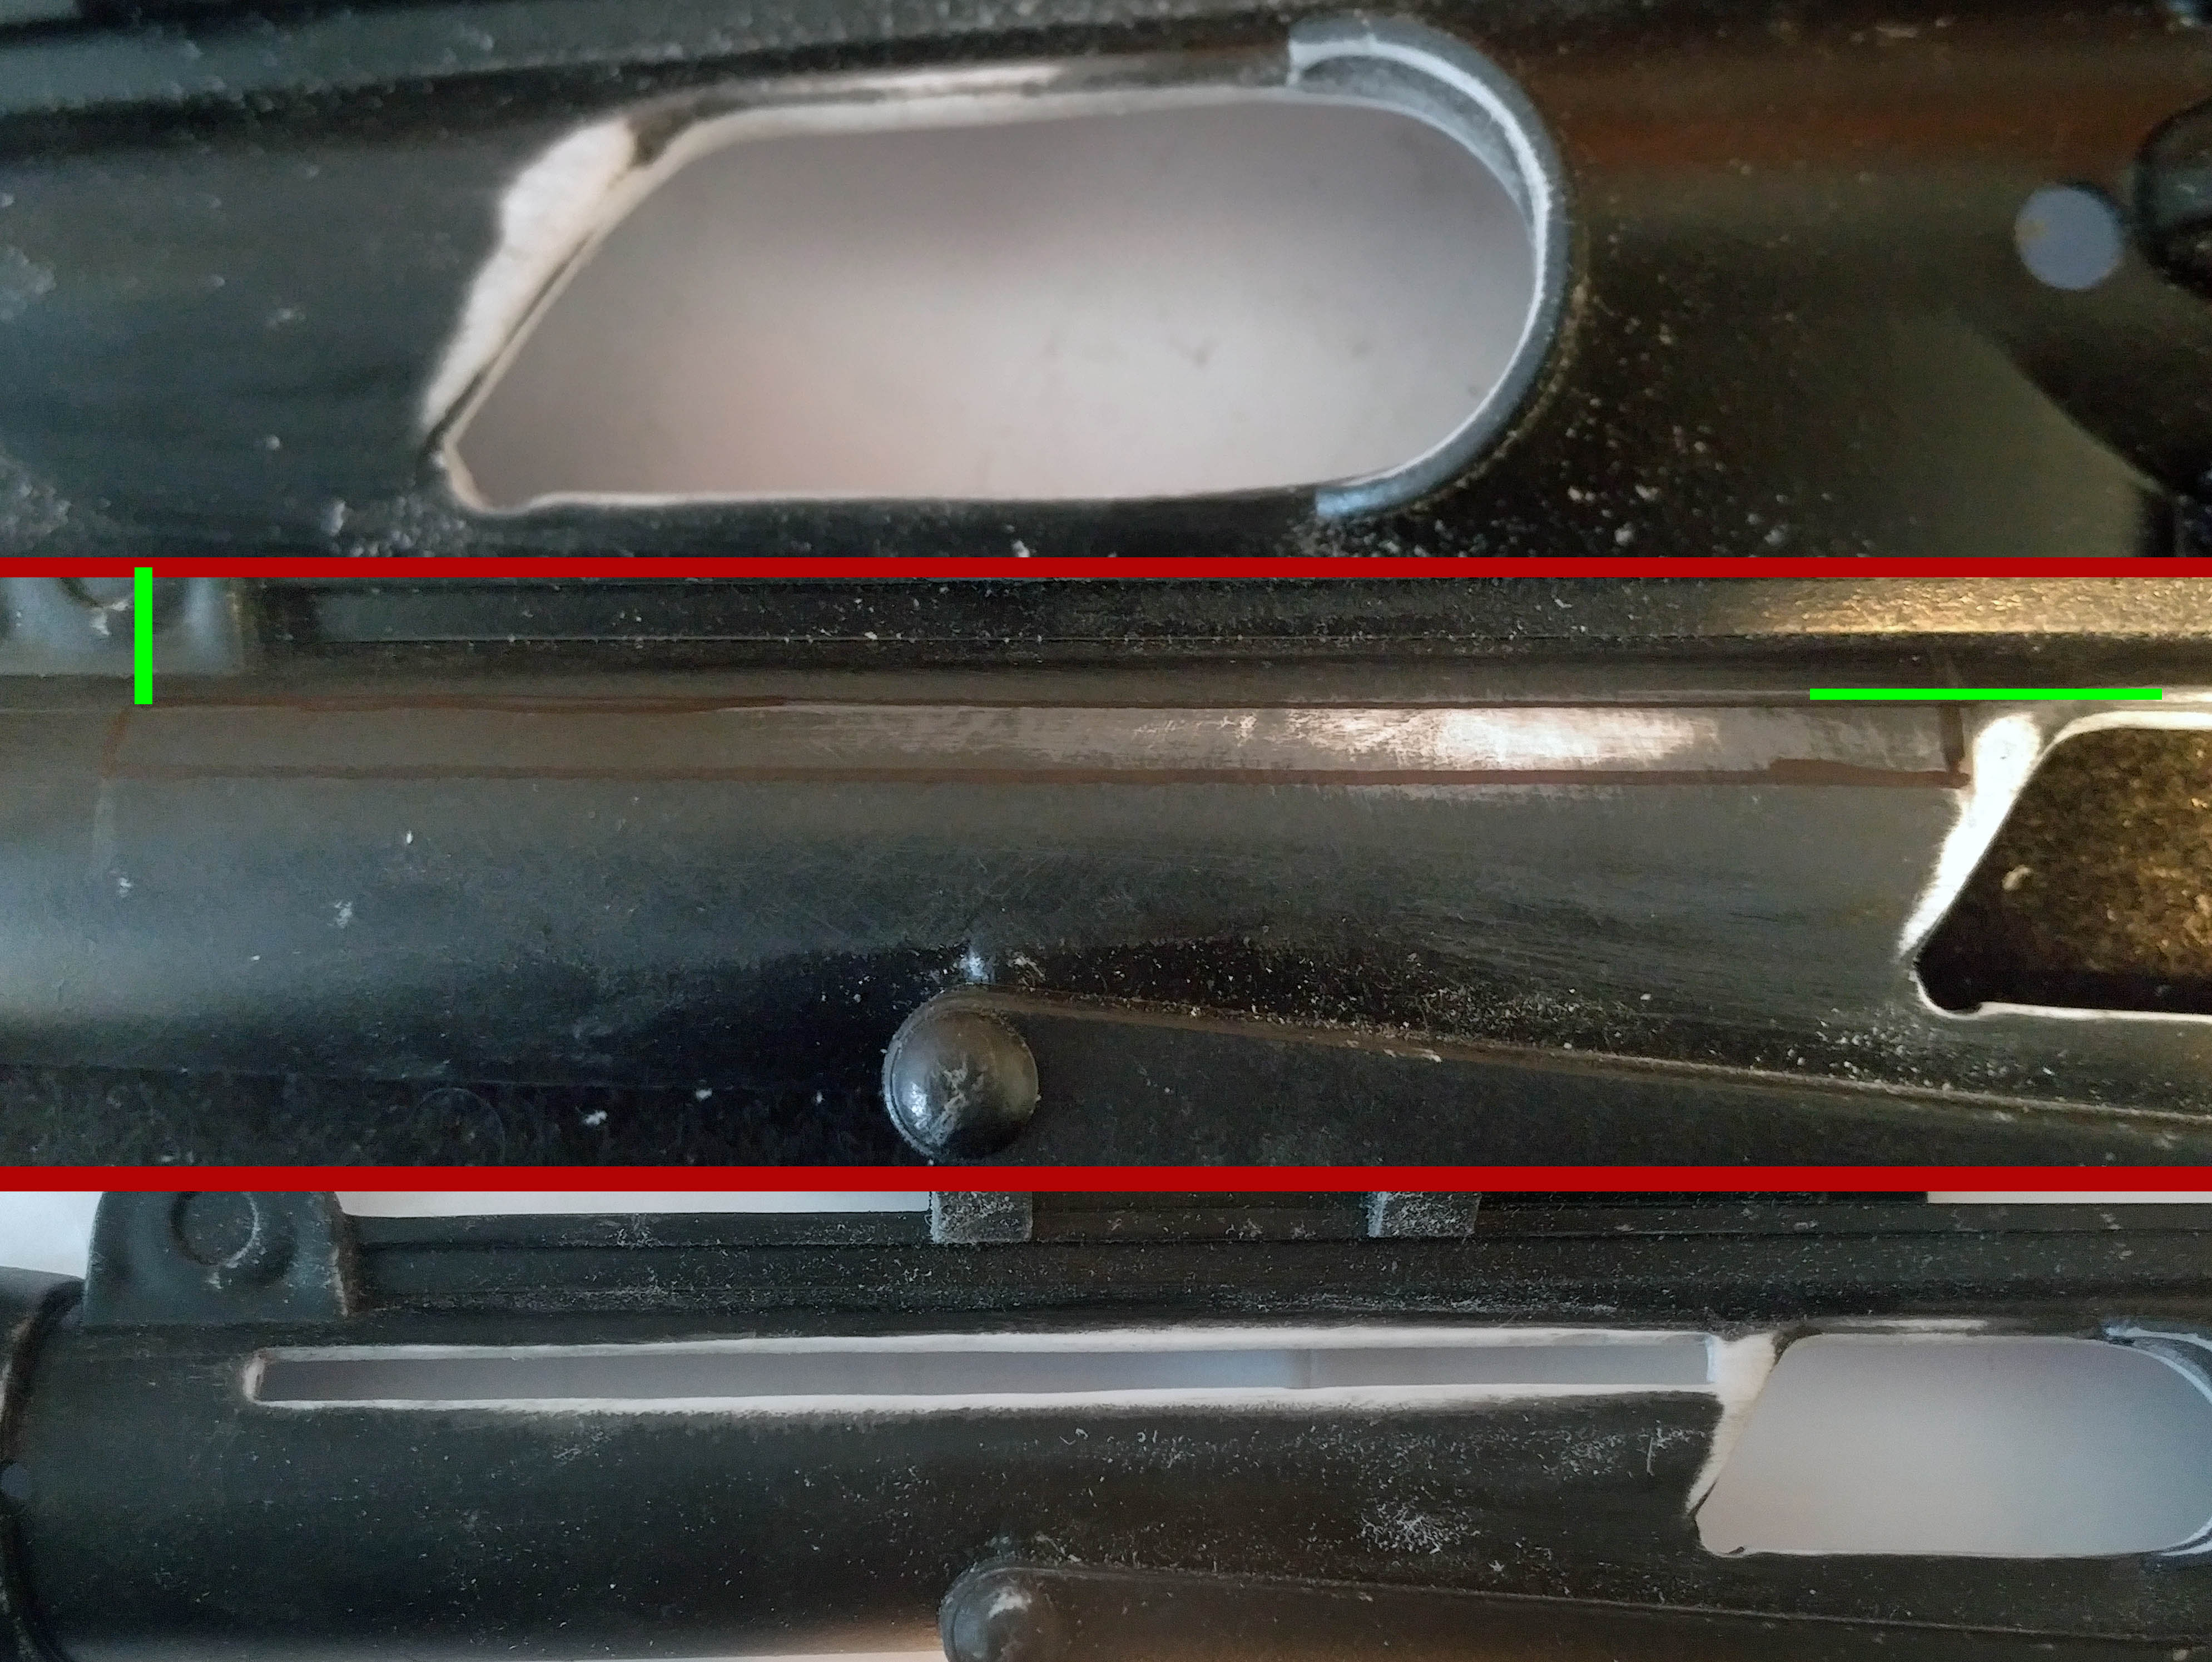
The charging slot is about 1/2cm (5mm) wide. The top of the slot is even to the top of the ejection port and runs down the body to front of the circle on the rear site (see above, middle picture, in green).
Sand down the edges as you should be familiar with now!
Step 5: Bolt Up…Or something about the Chargers? running out of witty things for titles.
*if you didn’t cut out the ejection port, skip this step*
The way I did this isn’t the way I did this on past models, but I wanted to try something new and slightly more realistic. In this section we are gonna make a faux bolt, well at least half of one.
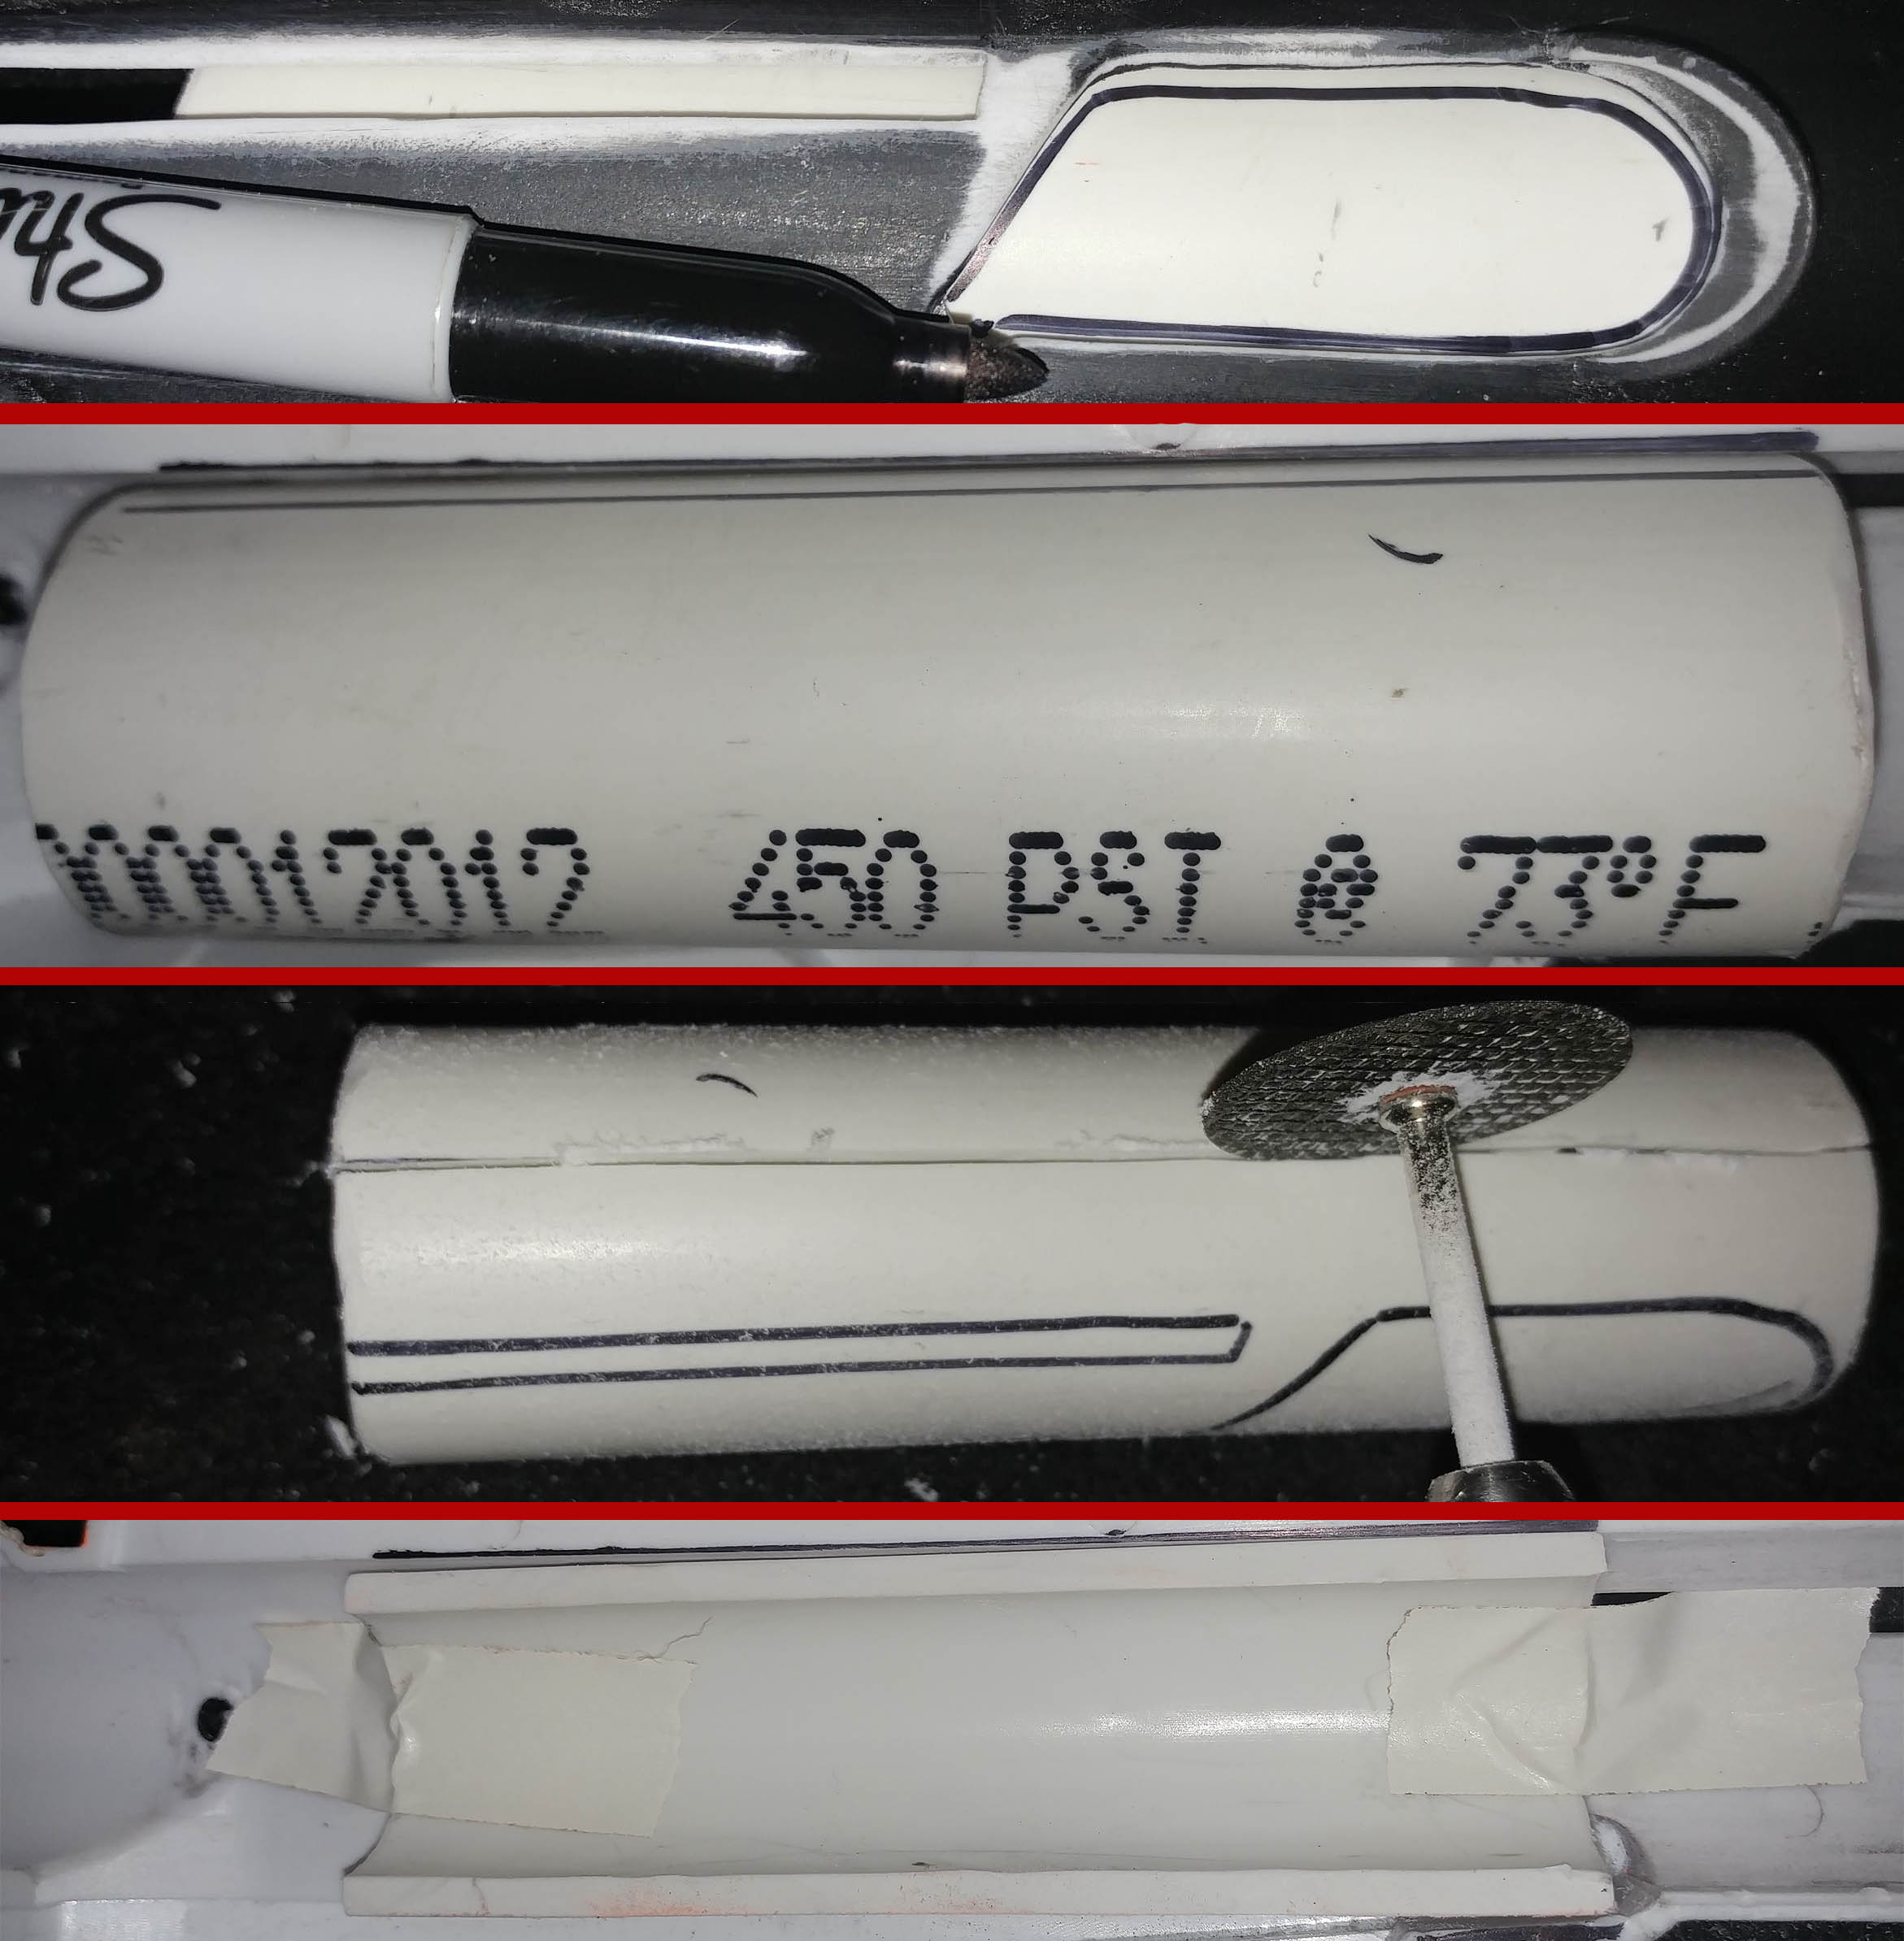
- Take the PVC pipe and cut it to 4 1/2 Inches (11.5 cm). Place the pipe inside the shell with the front of the pipe just past the ejection port. Secure the pipe in place with some tape. You may need to cut some of the molding on the inside to get a tight fit.
- Flip the shell around. Using a marker or pen, trace the shape of the cut out ejection port and charging slot on to the PVC pipe. This is to help keep it lined up for the next part.
- On the inside of the shell, mark across the bottom and the top of the pvc pipe, using the shell as a guide. Due to how the Hangstler/Ammo counter is attached to this prop, there isn’t really room to keep the pvc pipe in there whole, so, we are going to cut this pipe in half.
- Once it is cut, replace the pipe and secure it the inside of the shell using super glue. Not tape like I did. Do as I say, not as I do. Ya dig?
After you glue the ‘bolt’ down, test fit the two halves together and cut away any pipe bits that may be keeping the two halves from coming together flush.
Step 5: I didn’t want to do the pvc pipe thing edition
I don’t have pictures of this so please use your imagination. You’re Welcome.
- Take some thin plastic or thin card stock and cut it into a 4.5inch x 1.5inch rectangle.
- As said above, line up one edge with the front of the ejection port and glue the piece into place.That’s it. Pretty simple. We will paint this silver later to simulate the bolt.
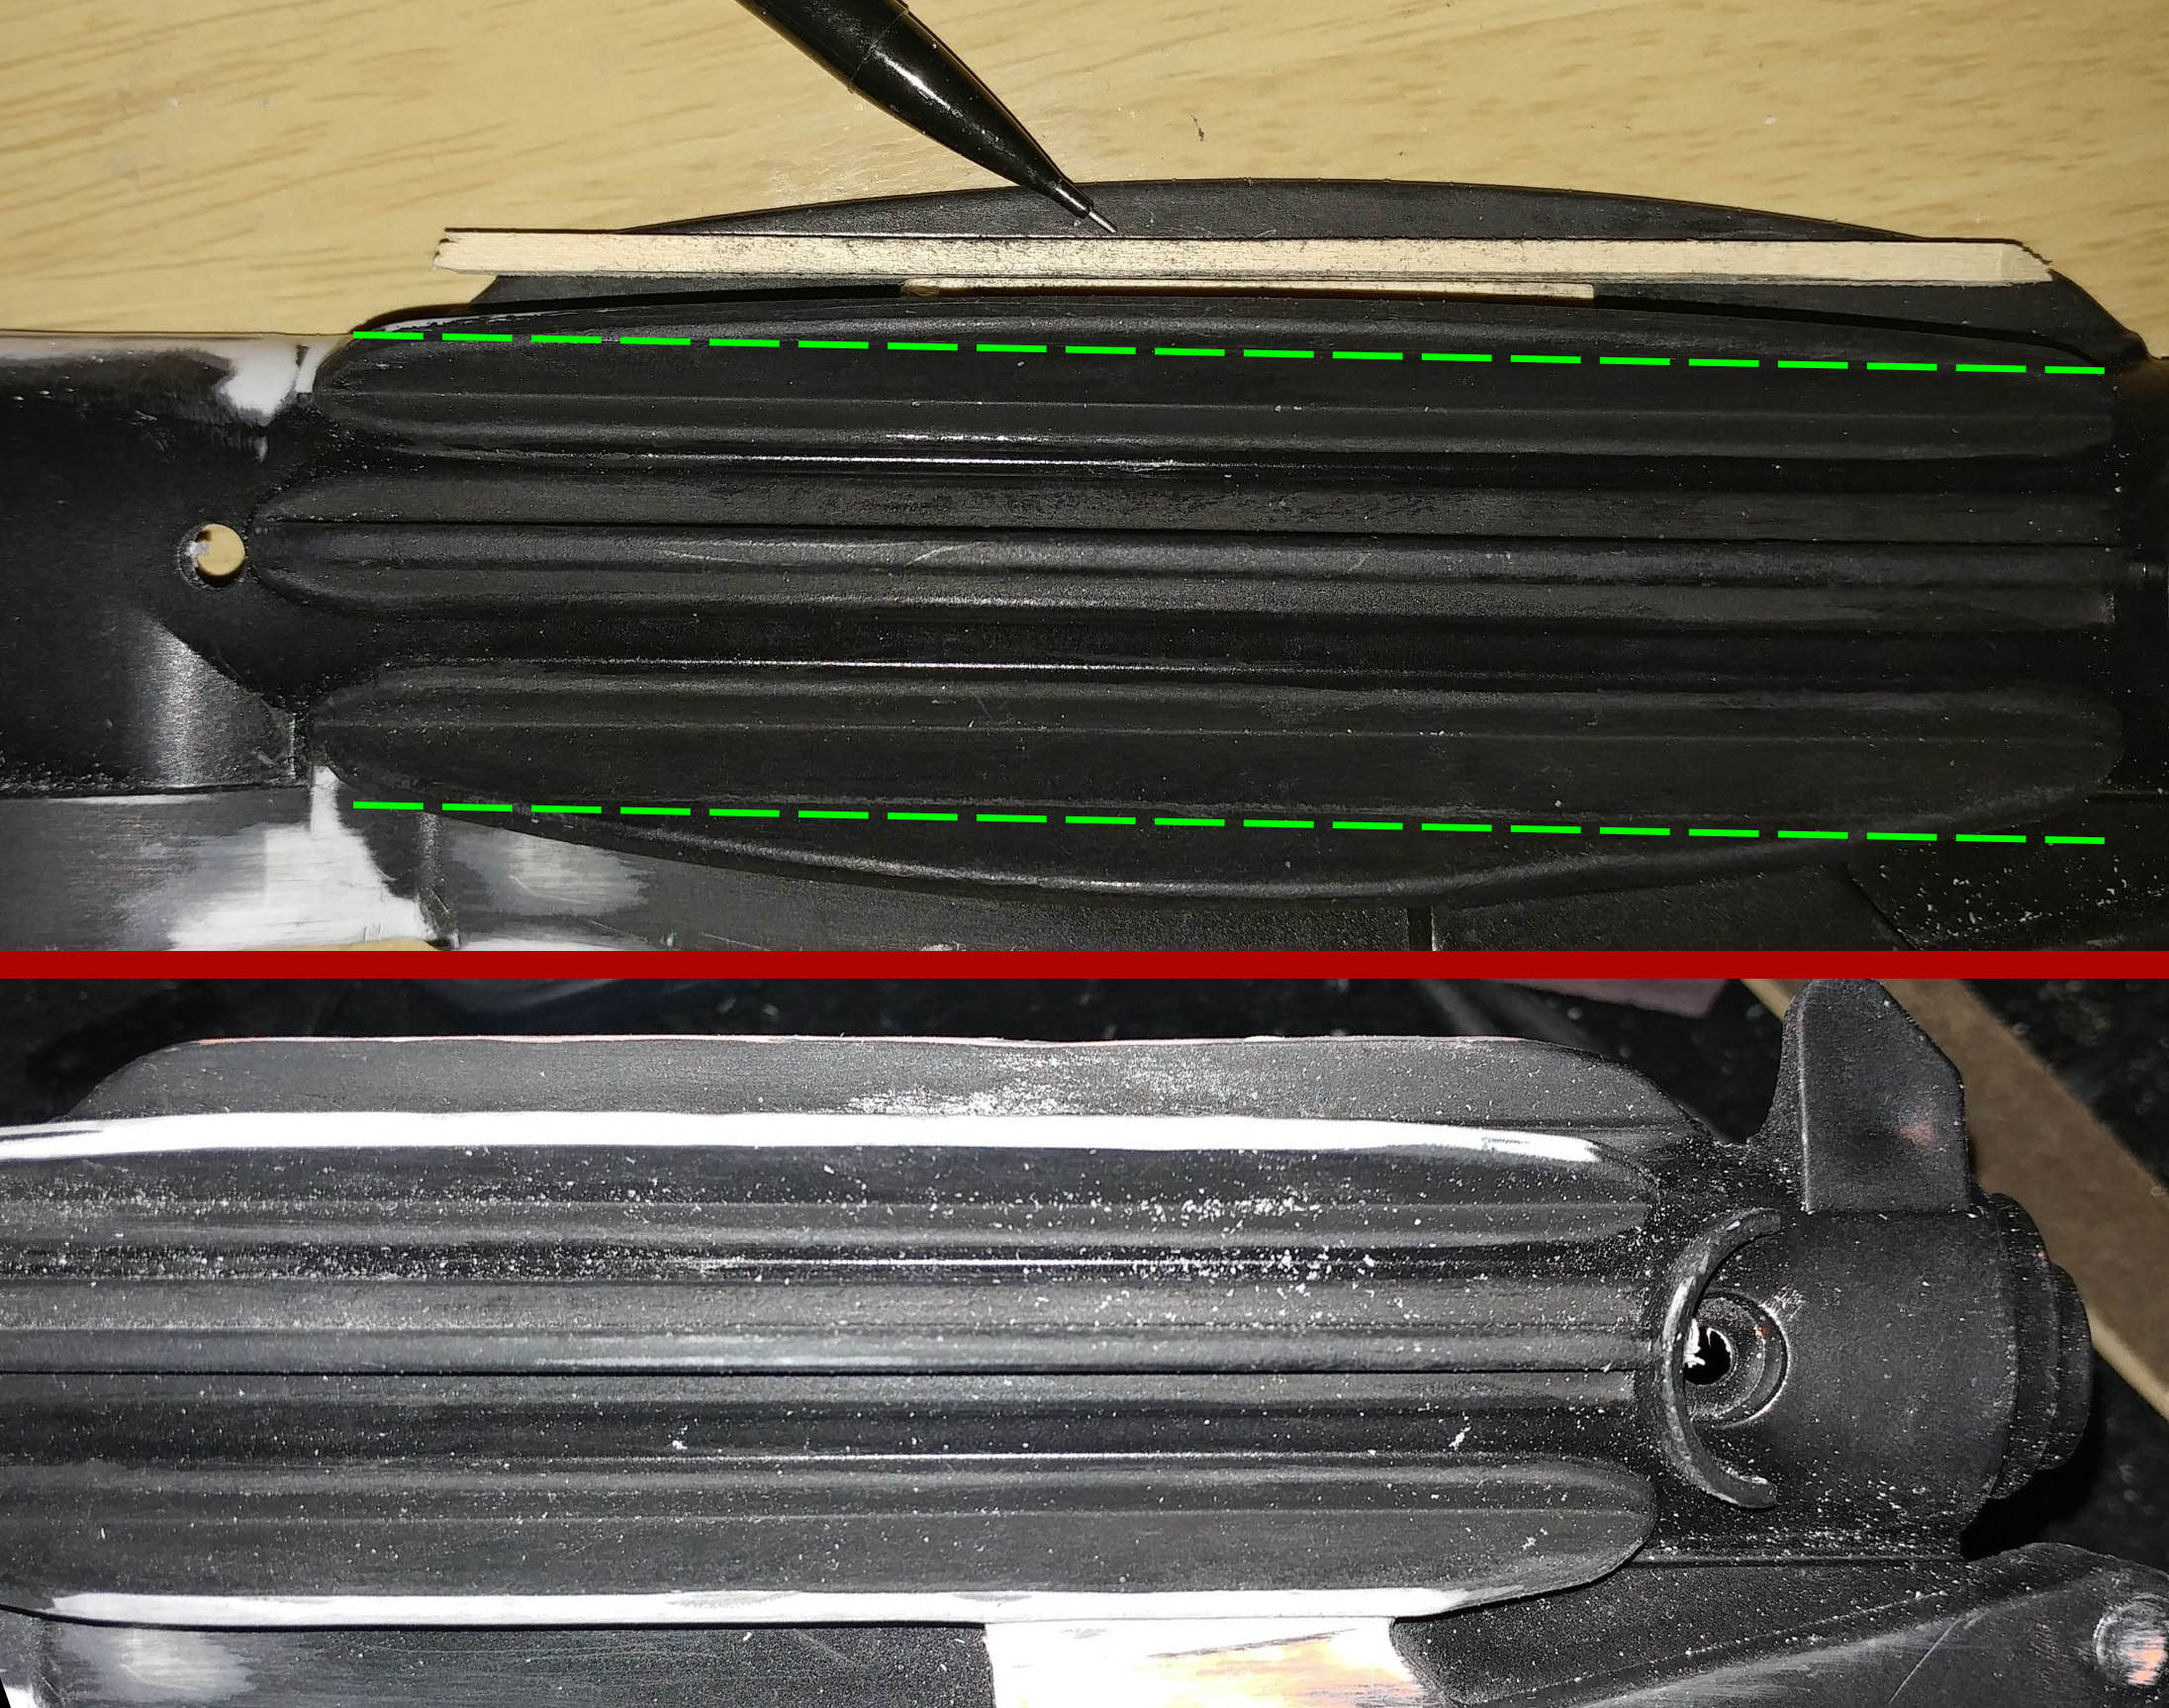
Step 6: Scope Pun (I’m seriously tired here…)
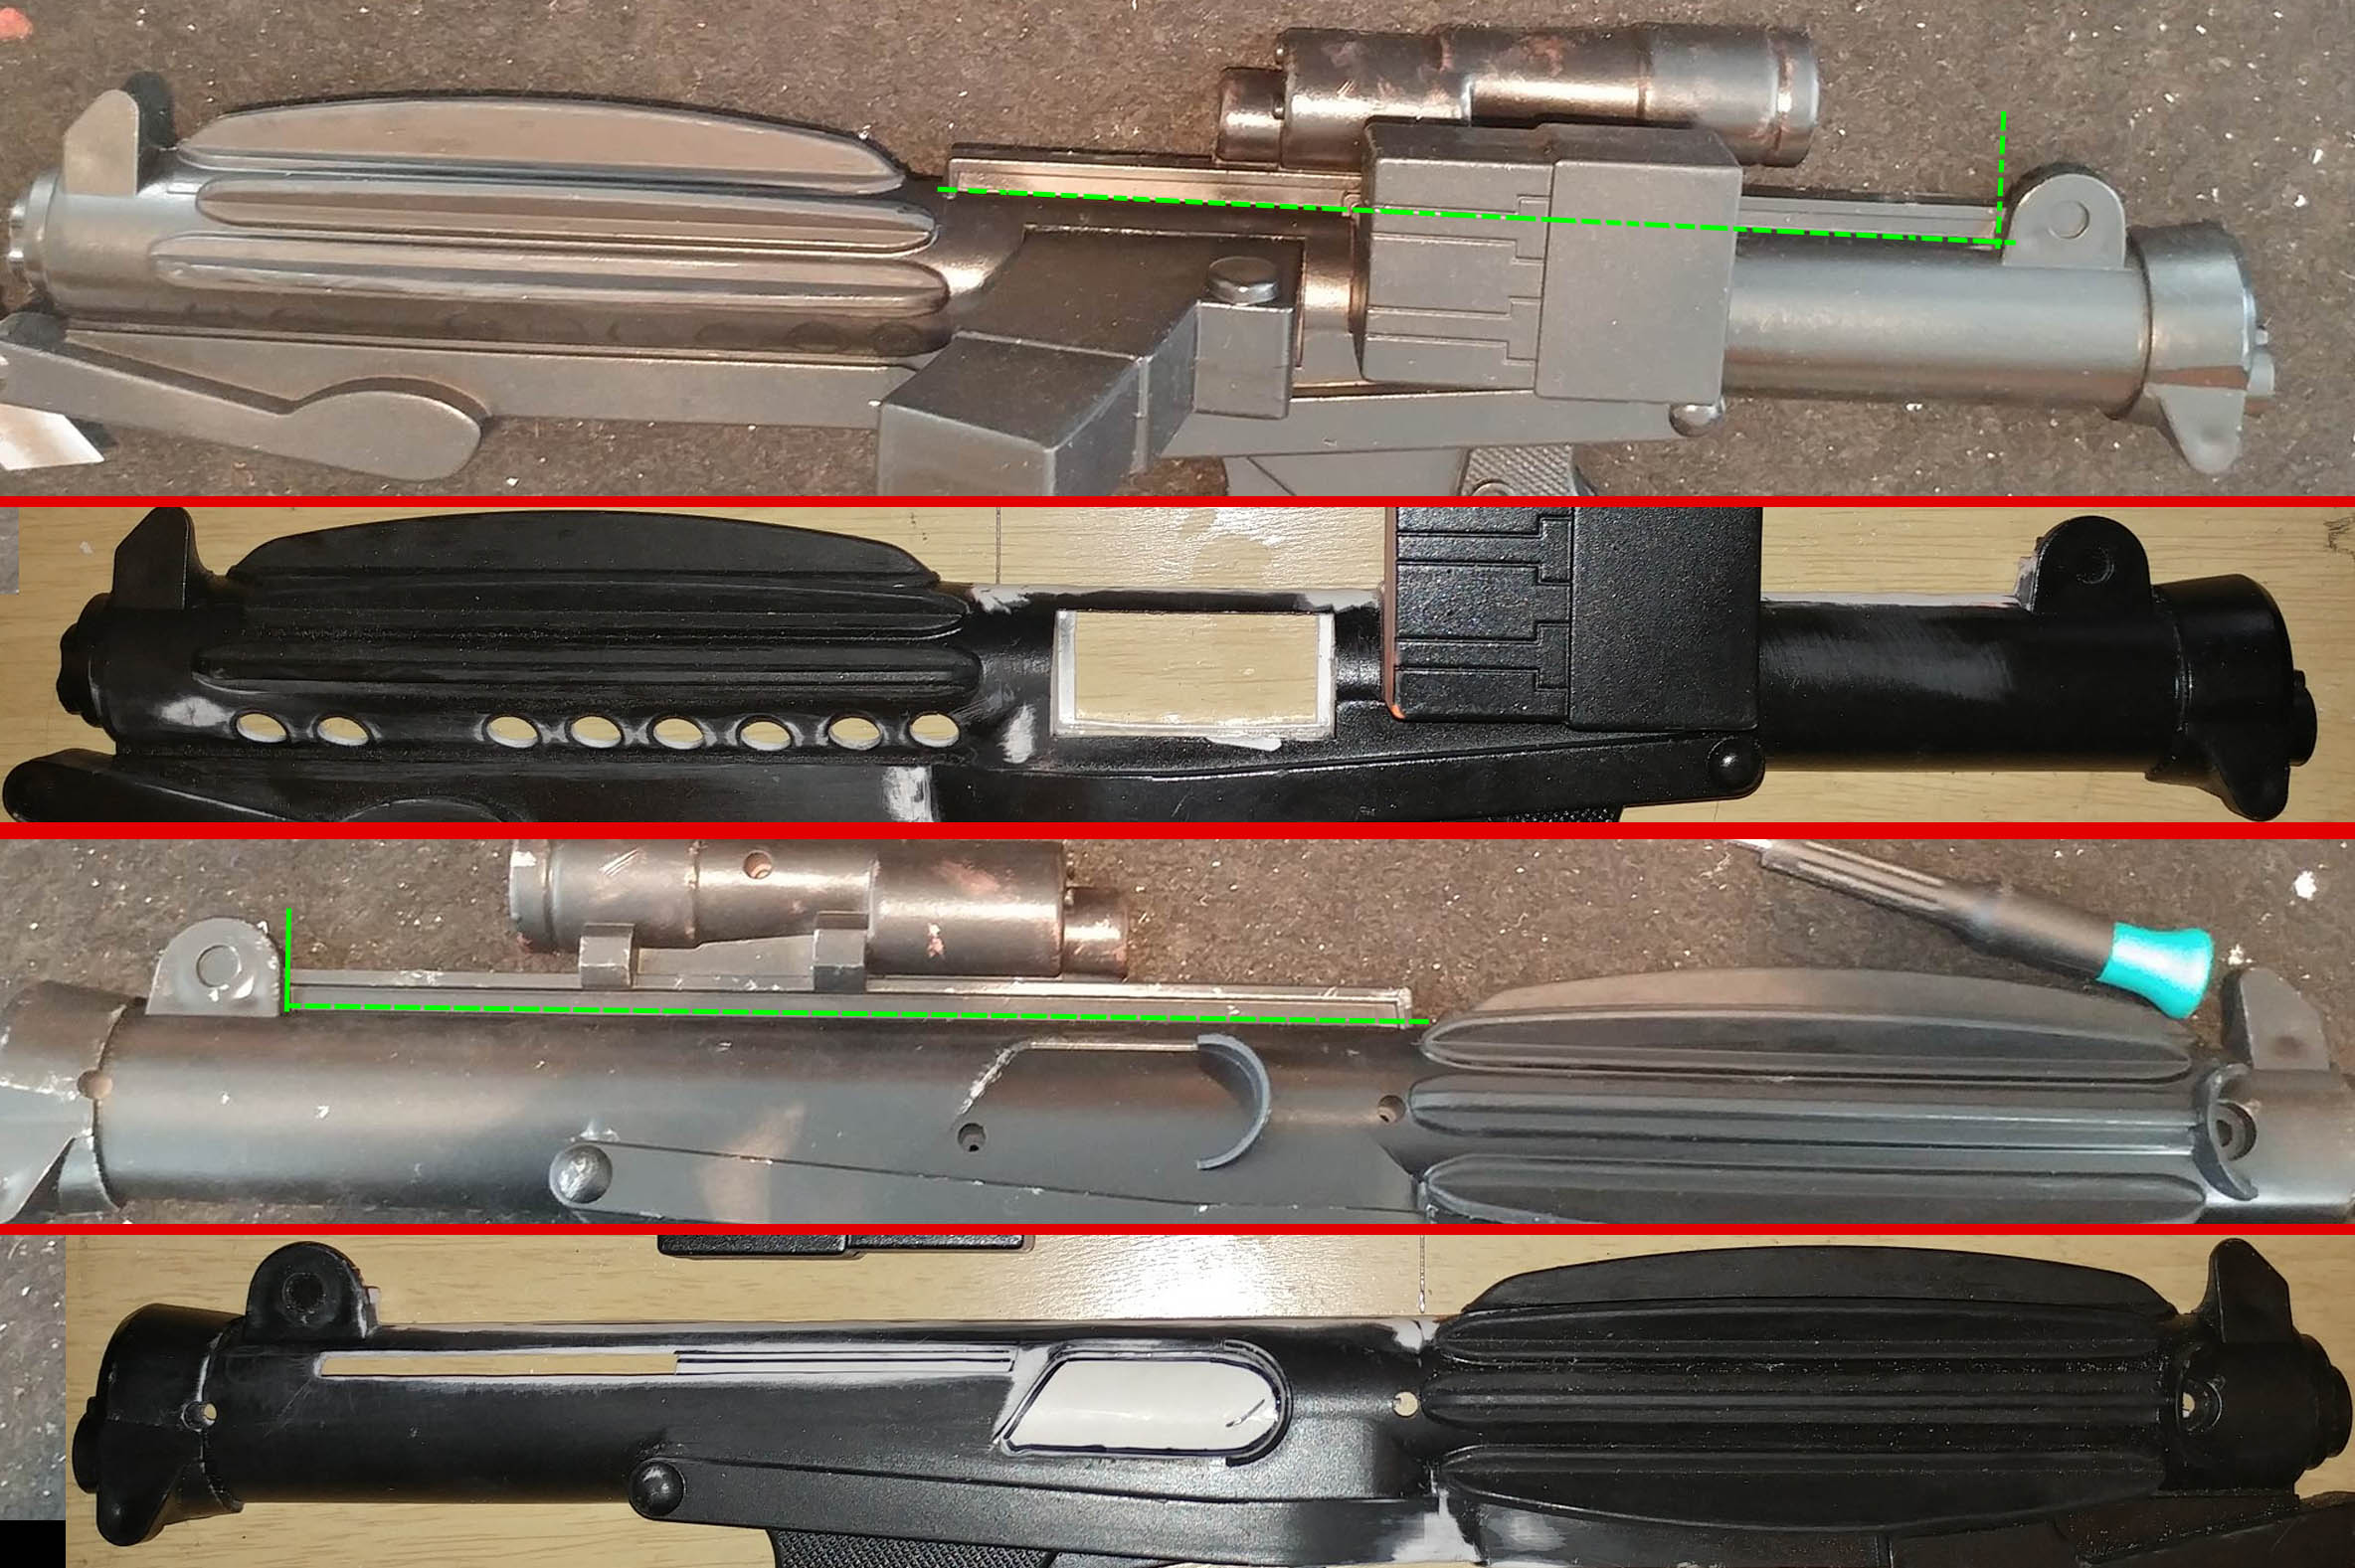
In order to eliminate the un-realistic plastic between the scope and the scope rail AND the plastic between the rail and the body of the blaster, we are just going to cut it off completely.
- Using the green dashed lines pictured below, use your rotary tool/Dremel with a cutting disk to cut the rail section off.
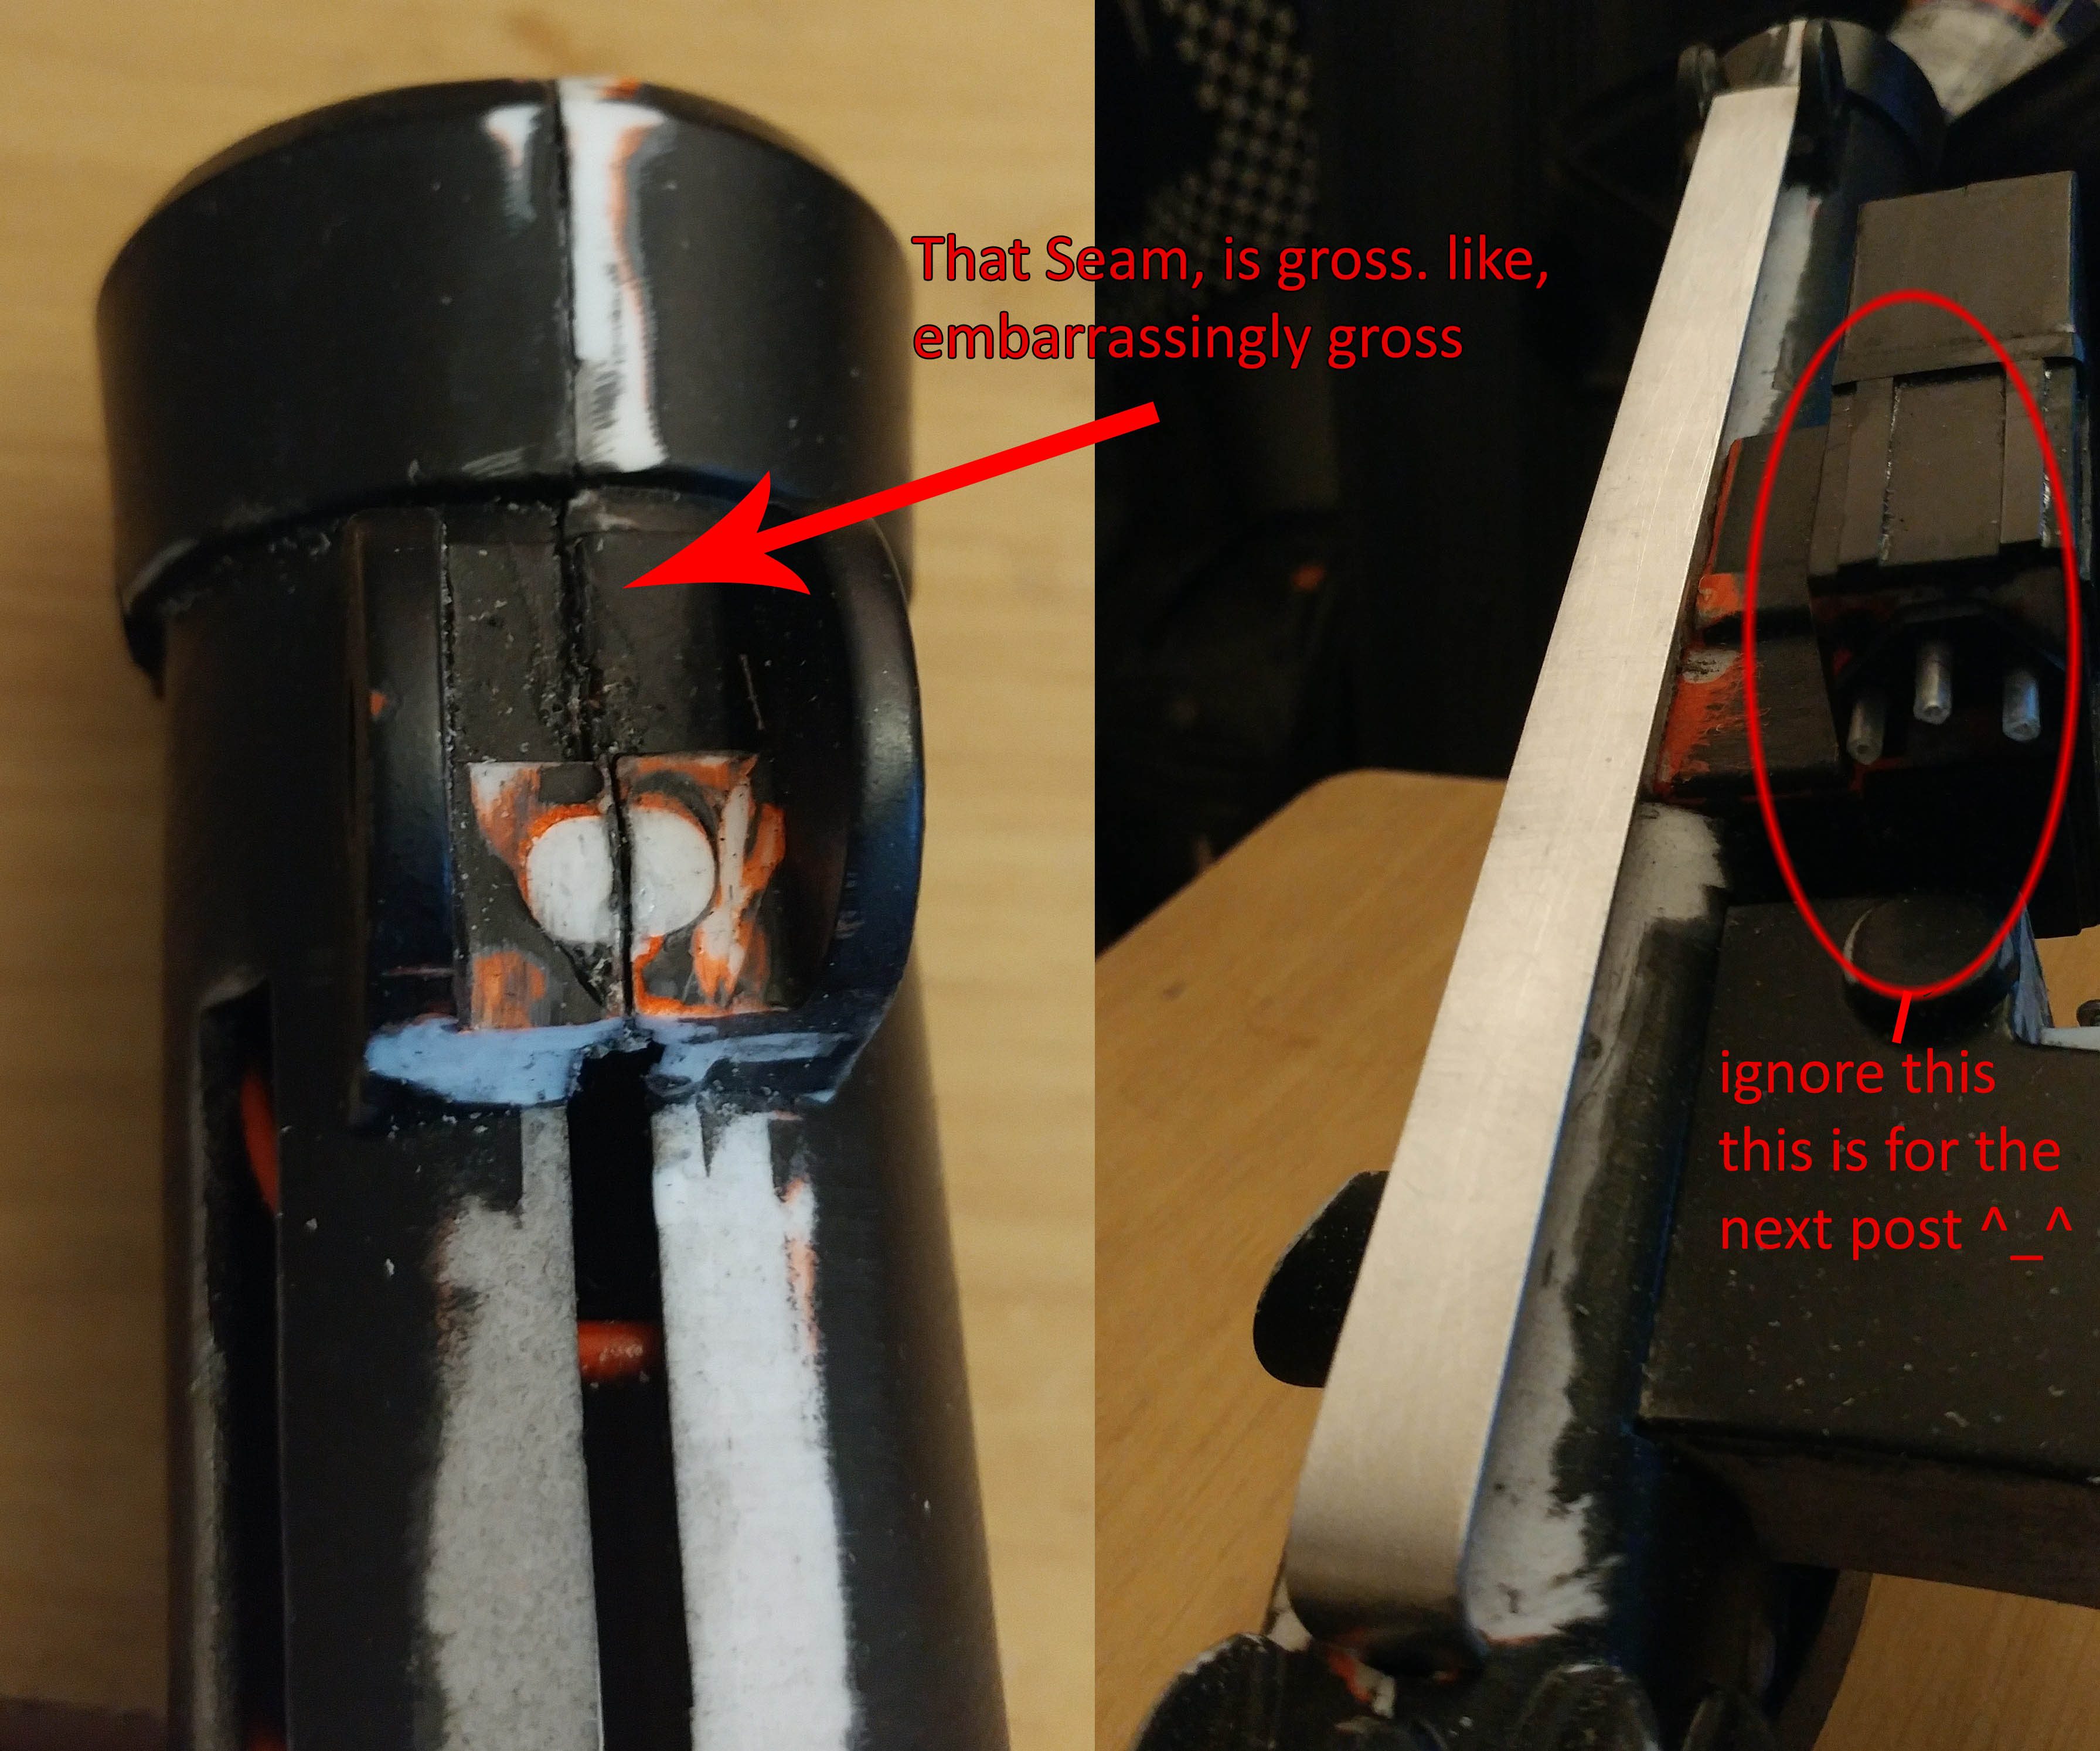
- The side with the Hengstler/Ammo Counter is a little tricky, due to how the counter box is attached. Go slowly here. Luckily this part will not be easily visible, so it doesn’t need to be super uniform here.
- With the rail section removed, go back over the cut area with a sanding drum on your rotary tool to smooth it out. Using a knife to remove the rough spots. Using sand paper here works just as well if you want to proceed cautiously.
Now we need to clean up the actual scope.
Let’s start with with removing the ‘negative space’ plastic bellow the scope as well as removing what’s left of the mounting rail.
- Cut along the green dashed line at pictured below.
- A side affect of these cuts is a large gap is present under the scope. Take some scrap plastic/card stock and make some basic gap filling pieces. Glue these to the inside of the scope and a small patch for the screw hole. We will fill the gaps a little later on.
- Using your rotary tool/Dremel cut out the plastic on the from and rear of the scope leaving a thin border as in above pictures
- With scrap plastic or card stock, create circular inserts to glue to the inside of the scope. When we start painting, we’ll make these look like glass, or something similar. Glue em in.
- Glue the halves together, carefully lining up the seams.
- To fill in that gap on the bottom, I used a glue gun and filled the gap with glue, and the hobby knife to trim and remove excess glue. Do the same to the screw hole.
- Sand the seams smooth (mostly to remove excess glue here, any larger gaps we will fix with Bondo later).
Step 8: Mounting Troubles
Since we irrevocably destroyed the scopes original mount, we need to make a new one. And just for fun, let’s make it the way the original prop makers did this, shall we?
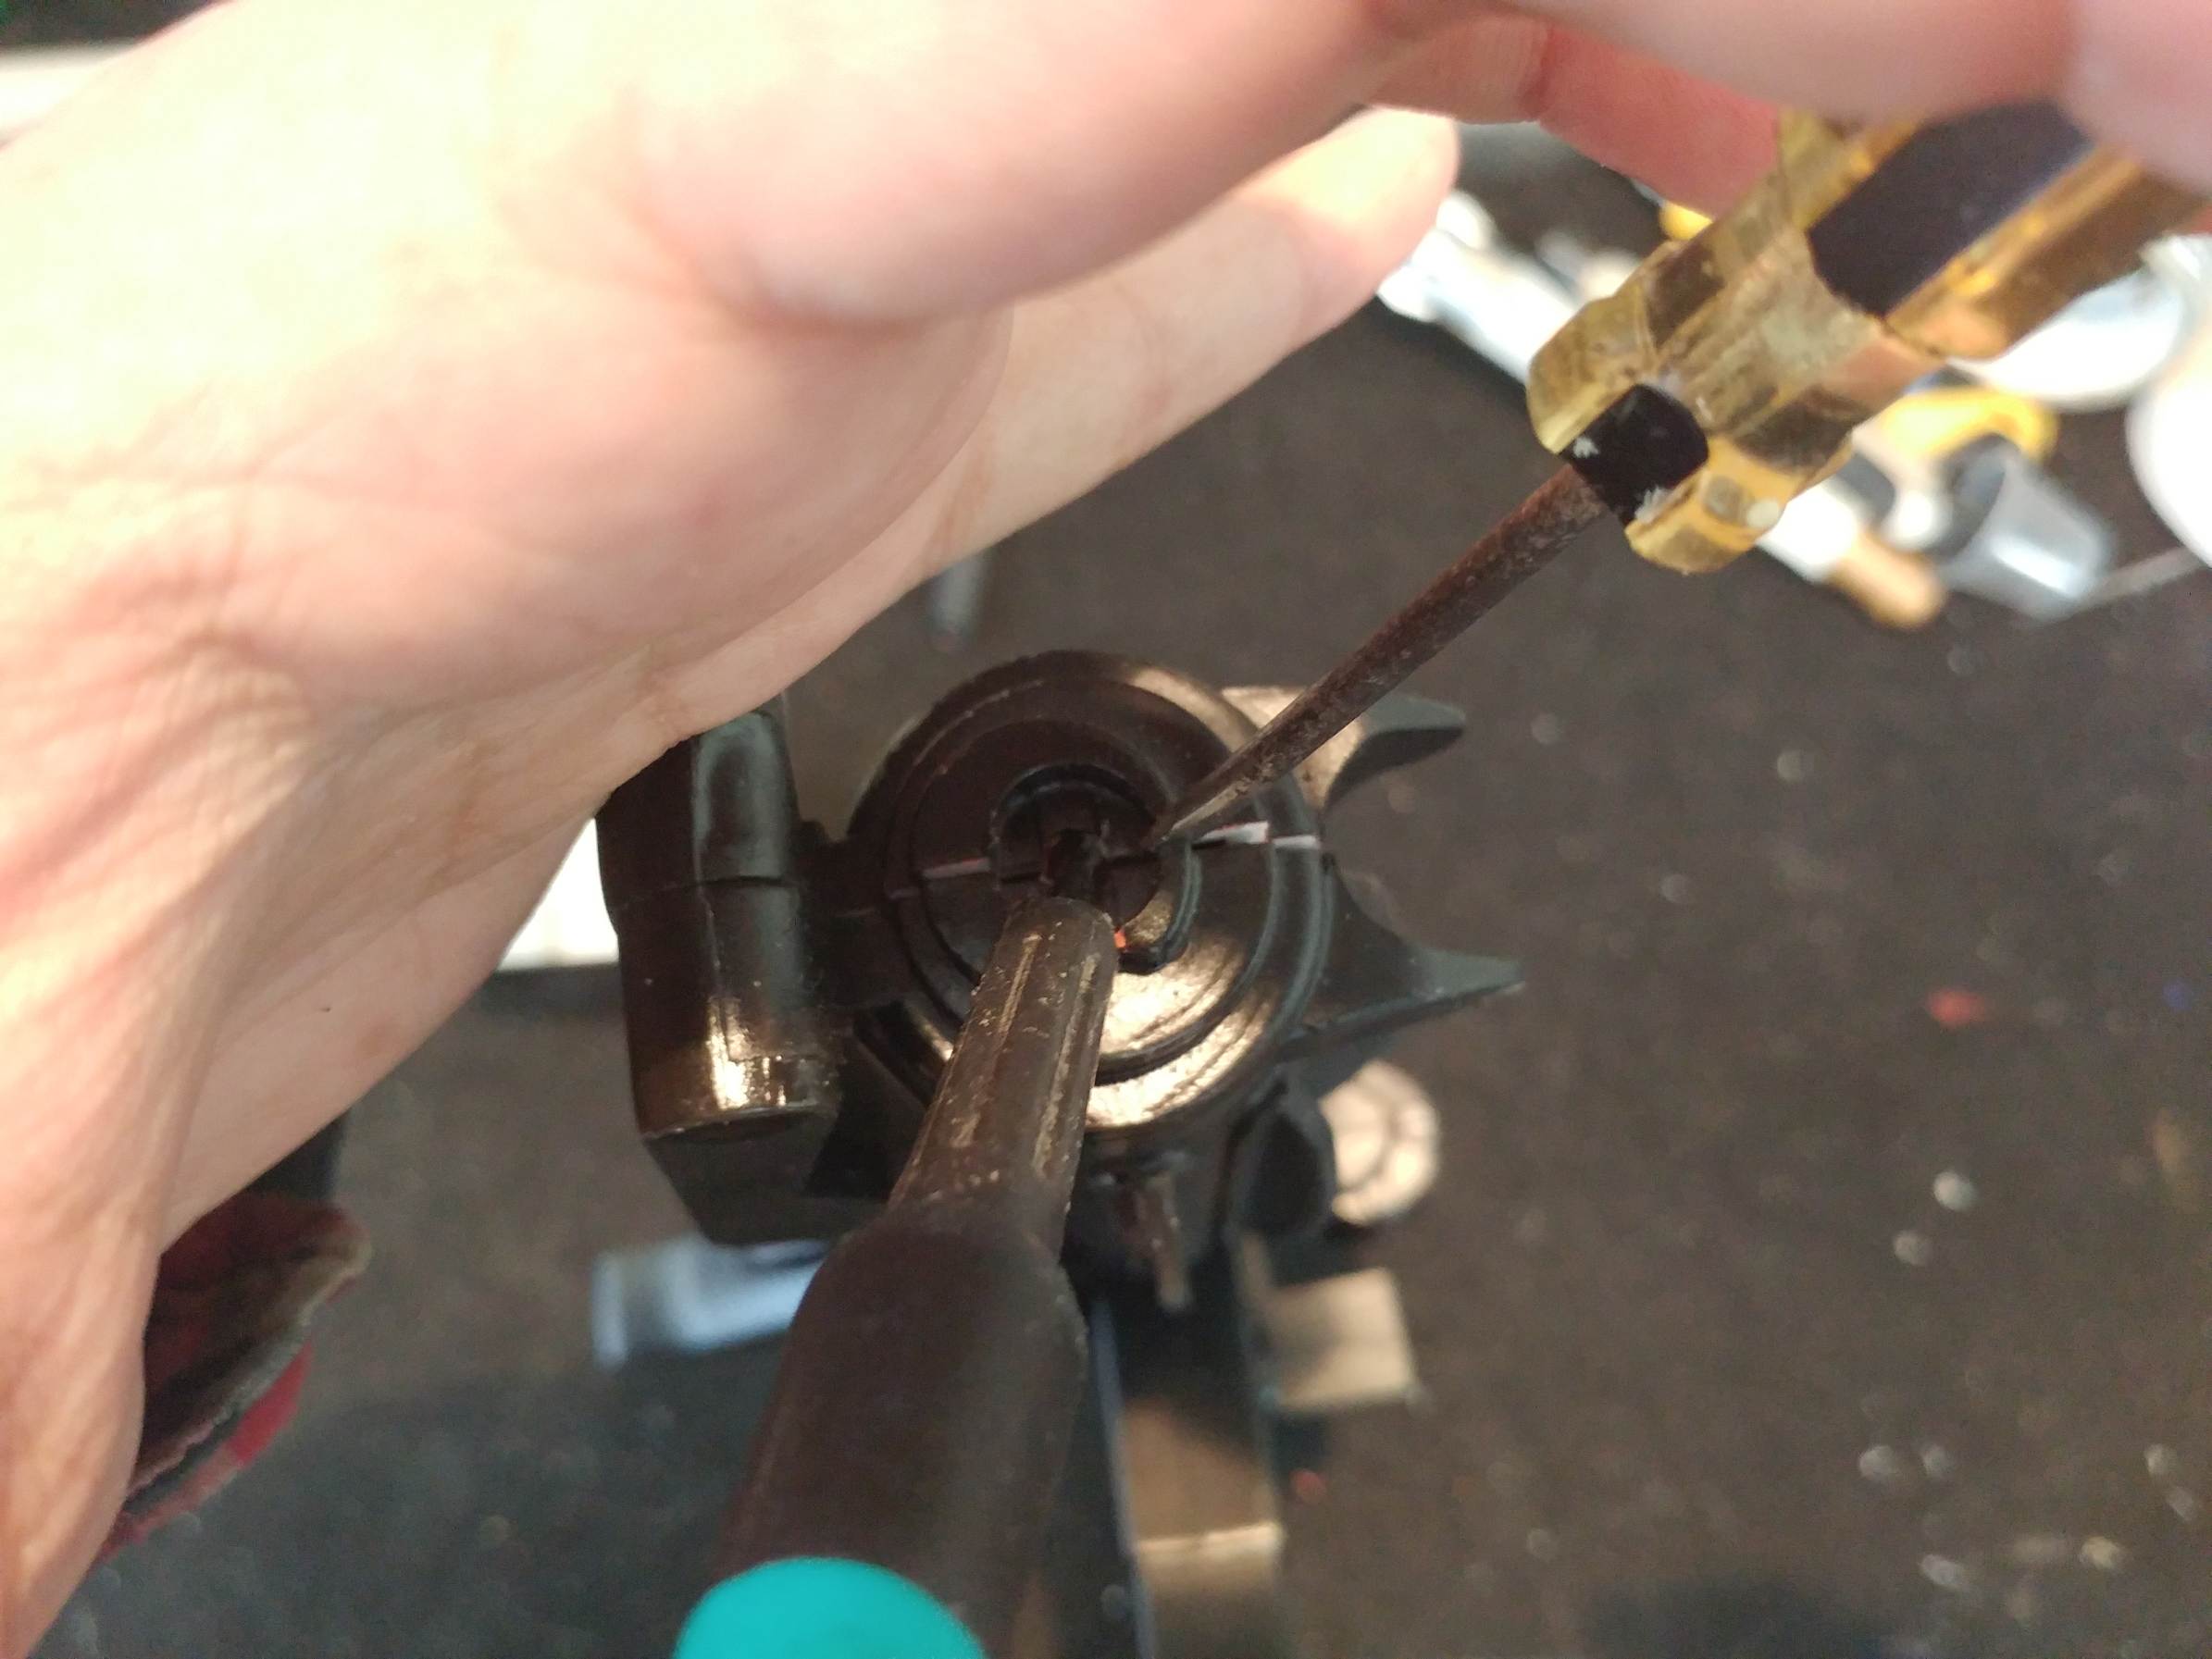
- In the middle of the rear-sight there is a small nub. Remove this nub from both halves. Sand flat.
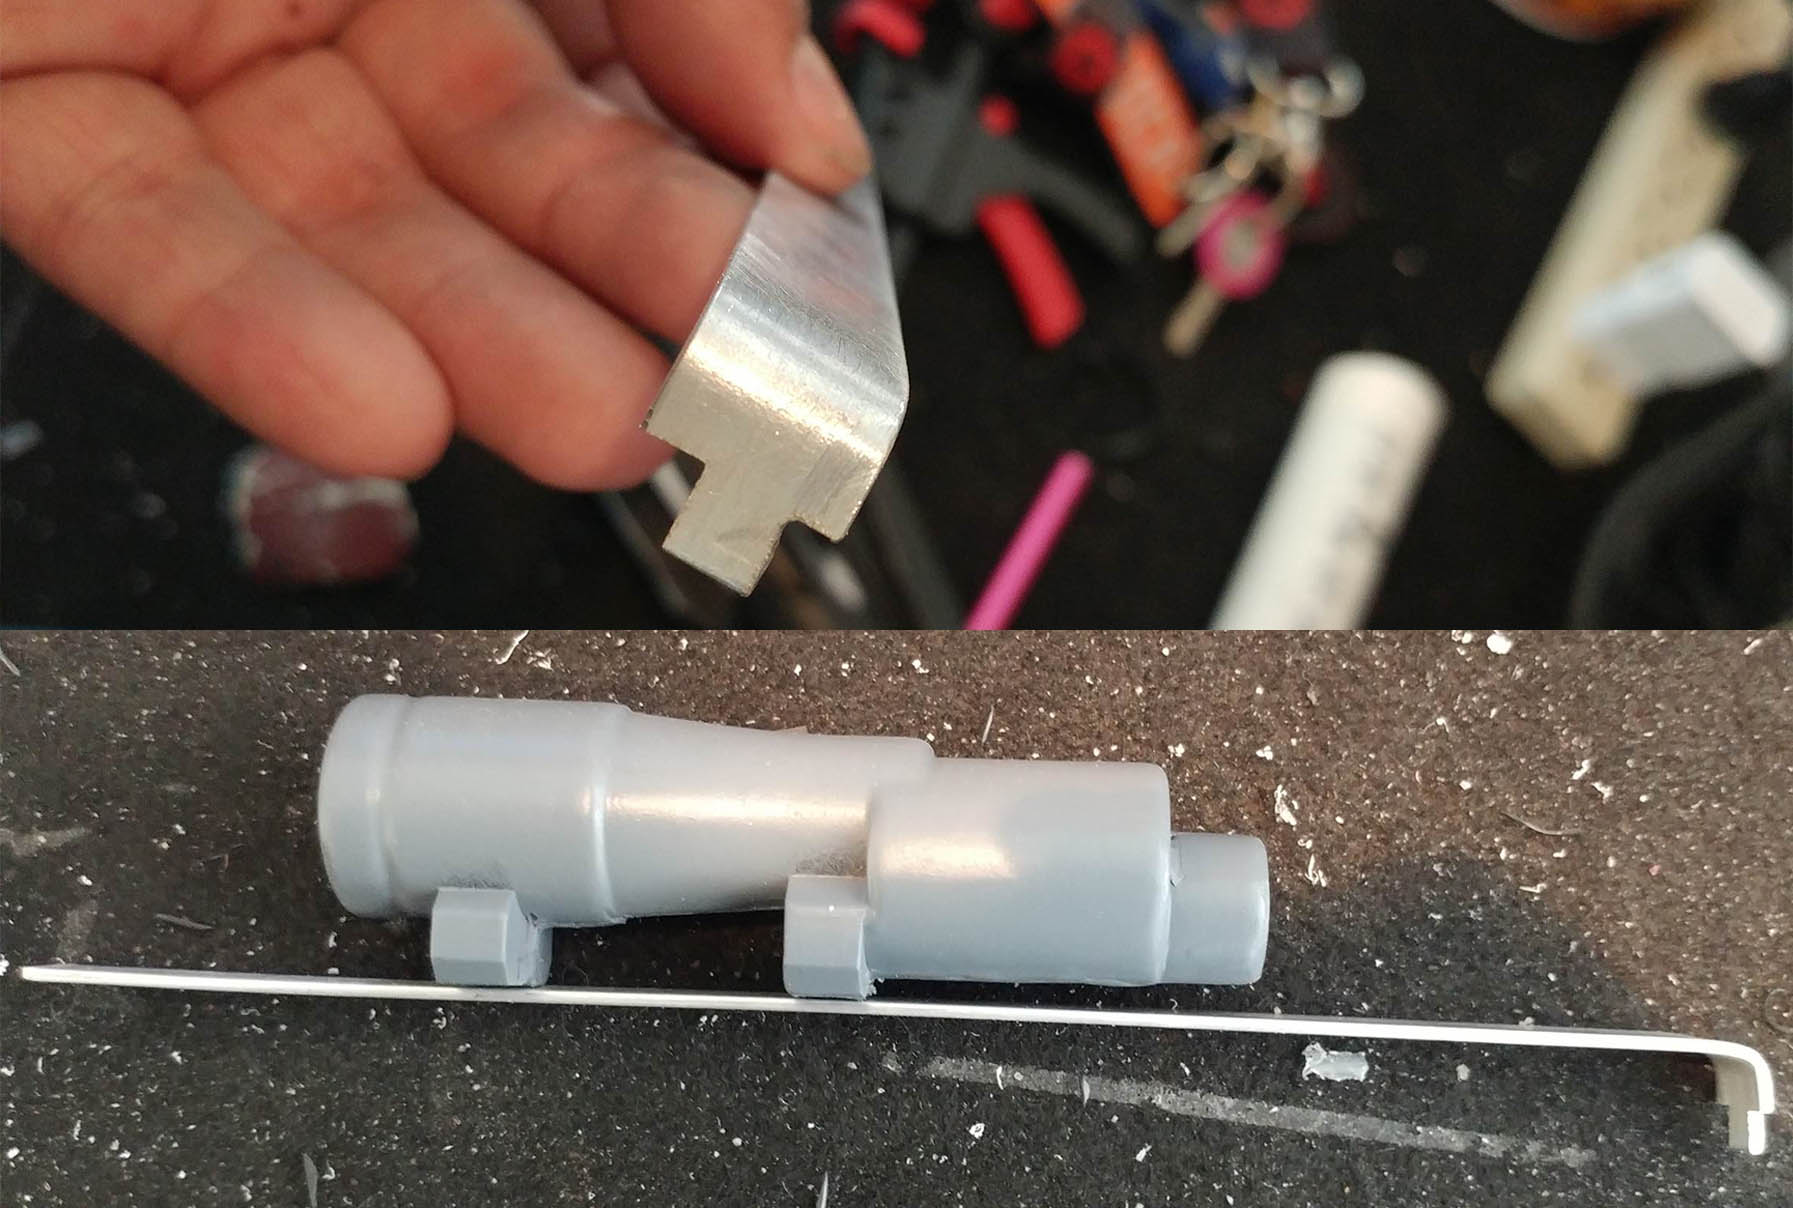
- Go grab that 3/4th Inch bar and cut it to 9 inches long.
- Make a mark at about 8 1/4th inches (about 21cm).
- Bend at mark to a 90* angle.
- Place the end of the long side in the rear-sight, having the end even with the back of the iron-sight.
- Mark on the blaster where the the short end touches the plastic
- Cut a “U” shape into the short end of the bend (see below). This tab will be inserted into a hole that we drill later, or you can cut it you now. I didn’t, but I probably could have…
- The U-shapes size may need to be adjusted (cut higher).
Step 9: Who Needs Ammo Anyways.
Since we are removing chunks of this thing, why don’t we continue that pattern of behavior? You see that mag well sticking off the side of your blaster? Look close, I’ve purchased one of these where mag well unit was glued in at an angle and that’s no good.
We need to remove the whole unit so we can do some customizing work on it (in the next post). Removing it is pretty easy. We then will cut off the “magazine”. We will make a better one in the next post.
- Flip the blaster so the inside is facing you
- Take a flat-head screwdriver and insert it into the top/bottom of the mag well insert (between the mag well and the main body). This piece is held on by a little bit of glue)
- Slowly begin to push and pry until the adhesive bond breaks and the mag well can be removed.
- With a hacksaw or rotary tool w/ cutting disk, remove the ‘magazine’ portion (dashed green line below)DO NOT THROW THE MAGAZINE AWAY. Will will use it later to prototype the new magazine!
Step 10: I’m Going to Call You Fin(ns)
The fins (T-Tracks) on the front are the biggest give away that this blaster isn’t a ‘proper’ prop (see what I did there?). They are too large and too curved, but, we can fix that. With all the cutting I’ve had you do in this tutorial you should be a pro now.
Each of the fins is a slightly different size on the toy. We need to cut/shave them down to a uniform size. I’ve found that a having a maximum height of around 1/4 inch from the base of the fin (not to the body of the blaster but starting where shaft of the ‘T’ forms) seems to work. I wouldn’t worry about getting the fins completely even and focus more on getting rid of the ‘Hump’ in the center of 5 fins.
- As you can see in the picture above, I’m using two pieces of scrap wood that is about 2mm thick stacked onto of each other. I’m also using it as a straight edge to draw a line so I know where to cut too.
- The fins at the center on either side don’t really need any cutting, but feel free too, I won’t stop you.
- The lowest fin on the right side of the blaster shares some molding the ‘Folding Stock’ at towards the front of the blaster. Do your best to flatten the fin and cut the material between these two areas.
That’s it for today. All the cutting is now done. That is, unless I spaced out and forgot a bit, which I will add to the next post.
Coming Up on the Next Post:
A few more things to glue inside and out!
- a barrel!
- some rectangular plastic to the ammo counter!
- POWER CELLS!
- mayhaps even a magazine or two (it’s just going to be one.)
Gluing it all back together.
- …With glue!
Some seam cleanup
- Bondo and more sanding
…and finally
Painting. Again.
- 3 shades of black
- and some silver
- oh and bronze!
And much, much, more. Because I know I forgot something.
Got any questions on this build? Leave a comment below or send me an email at [email protected] or hit me up on twitter @HothPod