
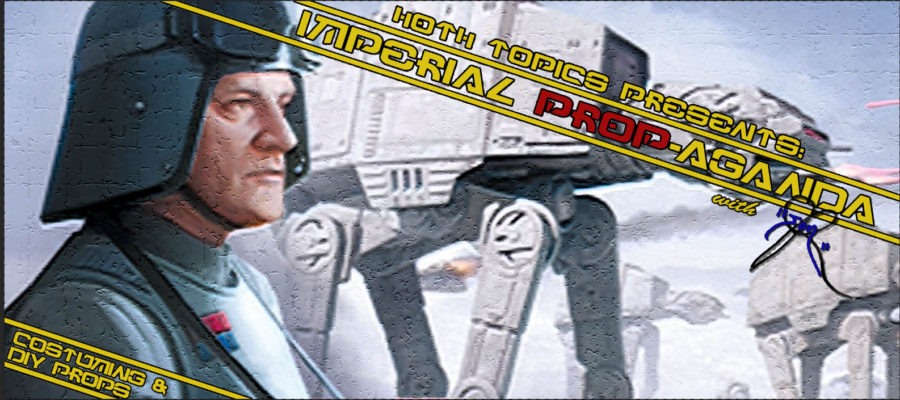
Welcome back to Prop-A-Ganda! Today we nearly wrap up my General Maximilian Veers/AT-AT Commander armor/ Costume build.
Last time we left off on the Helmet, but this time I want to talk about the armor.
As mentioned in the last post, most of my instruction was following Ruthar’s Guide on the 501st’s Armored Cavalry Detachment forum (to see the guide, you will need to register on the forums).
*I started typing this out before I checked to see what photos I have of the build process…I don’t have many, so this may be short ^_^*
The kit I got was a fiberglass copy and had a lot of pits in it that needed to be Bondo’d and sanded. Then re-Bondo’d and sanded and so on and so forth for a week. The easiest part was painting the whole thing (Hunters Green, like the Helmet).

All the little greeblies, for the most part, are plastic ‘Screw Cap’ covers attached with E6000 glue. The Rank bars (Captain/Commander, I’m not going for full General here.) we’re made from 1″ glass tiles cut down to 3/4″ wide and glued on. For the first iteration of this costume, the shoulder bridges were just standard Stormtrooper bridges (again, mad love to Mike at TrooperBay for getting me these) . One end of the bridges were glued down on the front side of the armor and attached by Velcro on the back. I also attached two straps under the armor/bridges that are secured with snaps to both armor pieces. These straps hold all the weight when I’m wearing the armor.
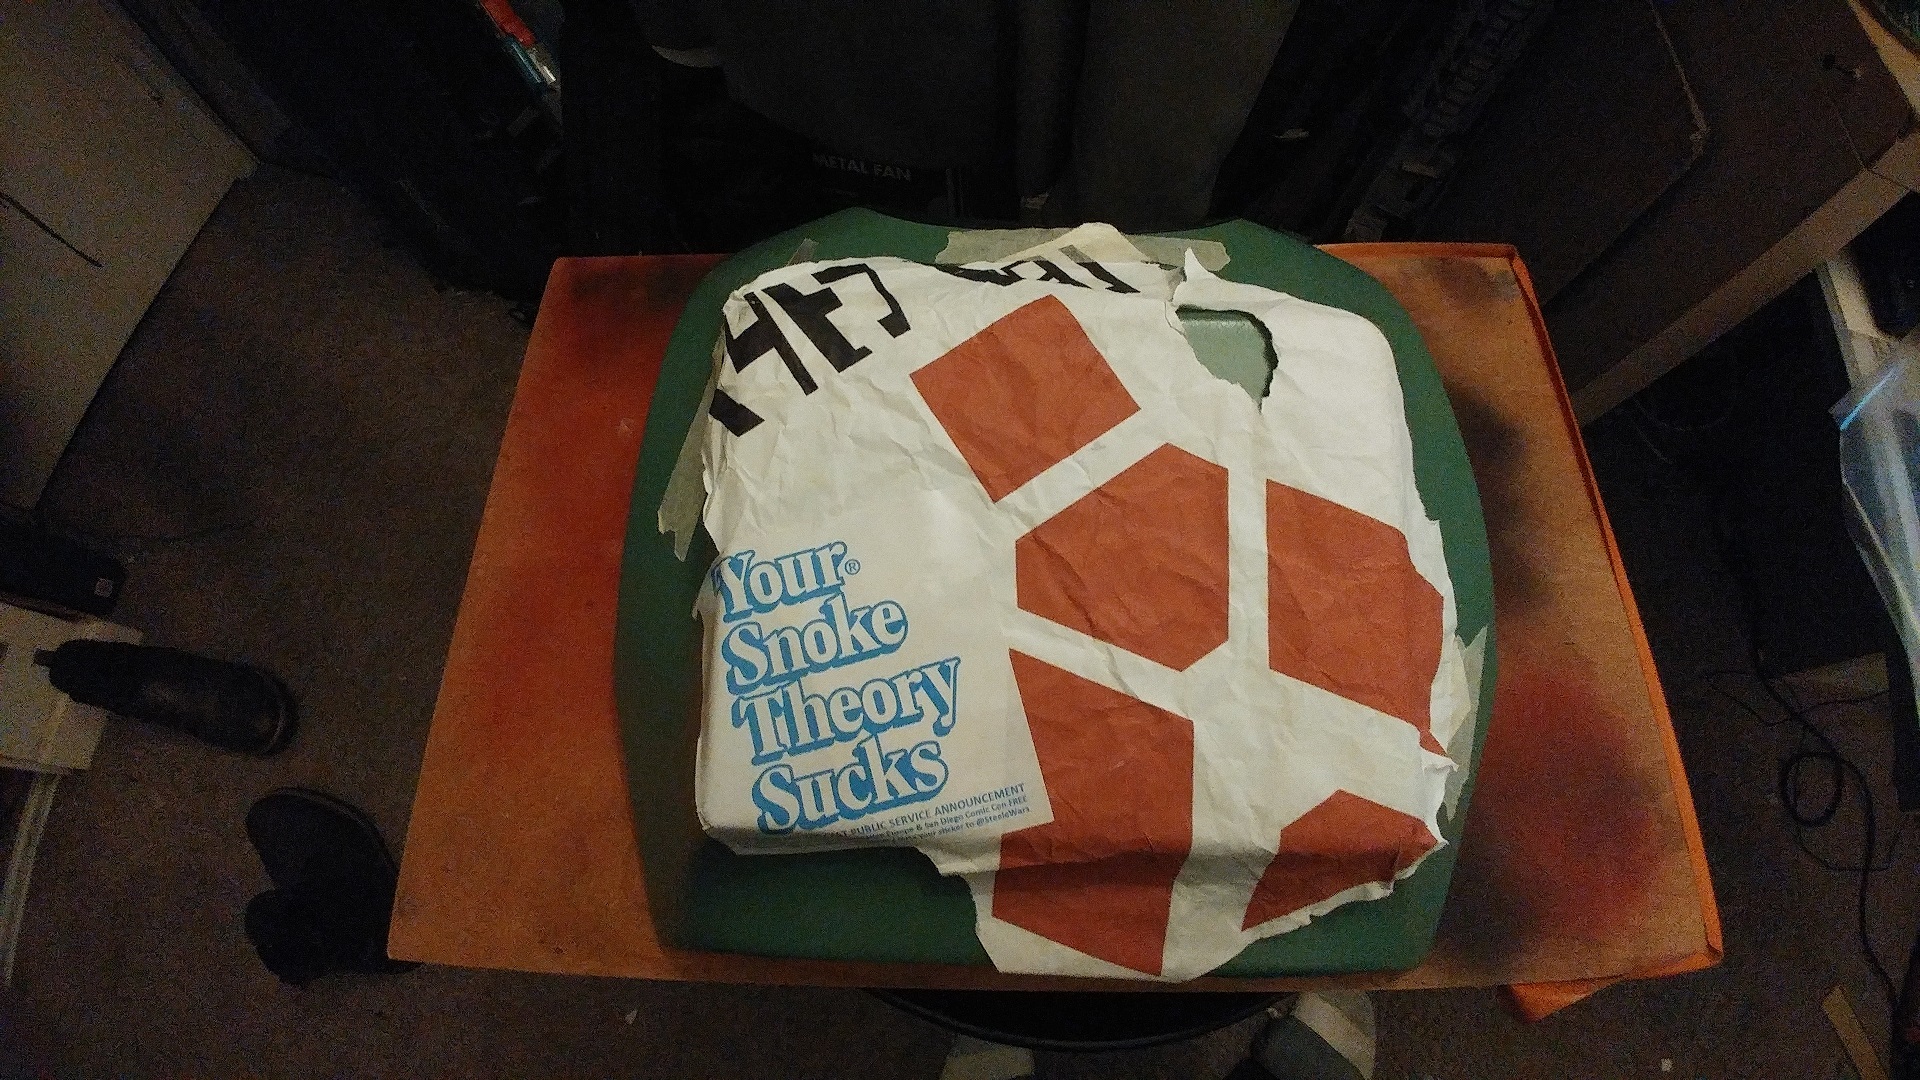
Sine we are talking about the back, let’s move on to the back plate. For iteration, all I did was attach the Velcro and the rubber lining around the neck.
Veers’ back armor has a mysterious plate on the back of which there is one screen shot and no reference shots for. And because I was in a rush to get this done before SDCC ’17, instead of making it (with very little reference and only theories on message boards), I just covered it from with the Wampa Warning Sign from a deleted scene from Empire Strikes Back. I thought that was clever, right?
And to wrap up the SDCC ’17 version of this costume: the ab plate.
This was fun to do. Like the rest of the armor, a lot of repair and sanding needed to be done. I also was lucky that I happened to have a 2″ leather belt with a bad looking Imperial belt buckle lying around. I was able to feed it through the slots on the side of the plate (hiding the belt buckle). With a little paint it was almost done.
The last thing I needed to do was add the ‘Snowflake’ greeblie on the front. Now, I could order a 3d printed one…but that’s no fun. The one I’m using is made from polystyrene plastic (the arms) and screw washers for the round bits. I thought it was close enough, so I gave it one more coat of paint and looked for the nearest AT-AT to command.

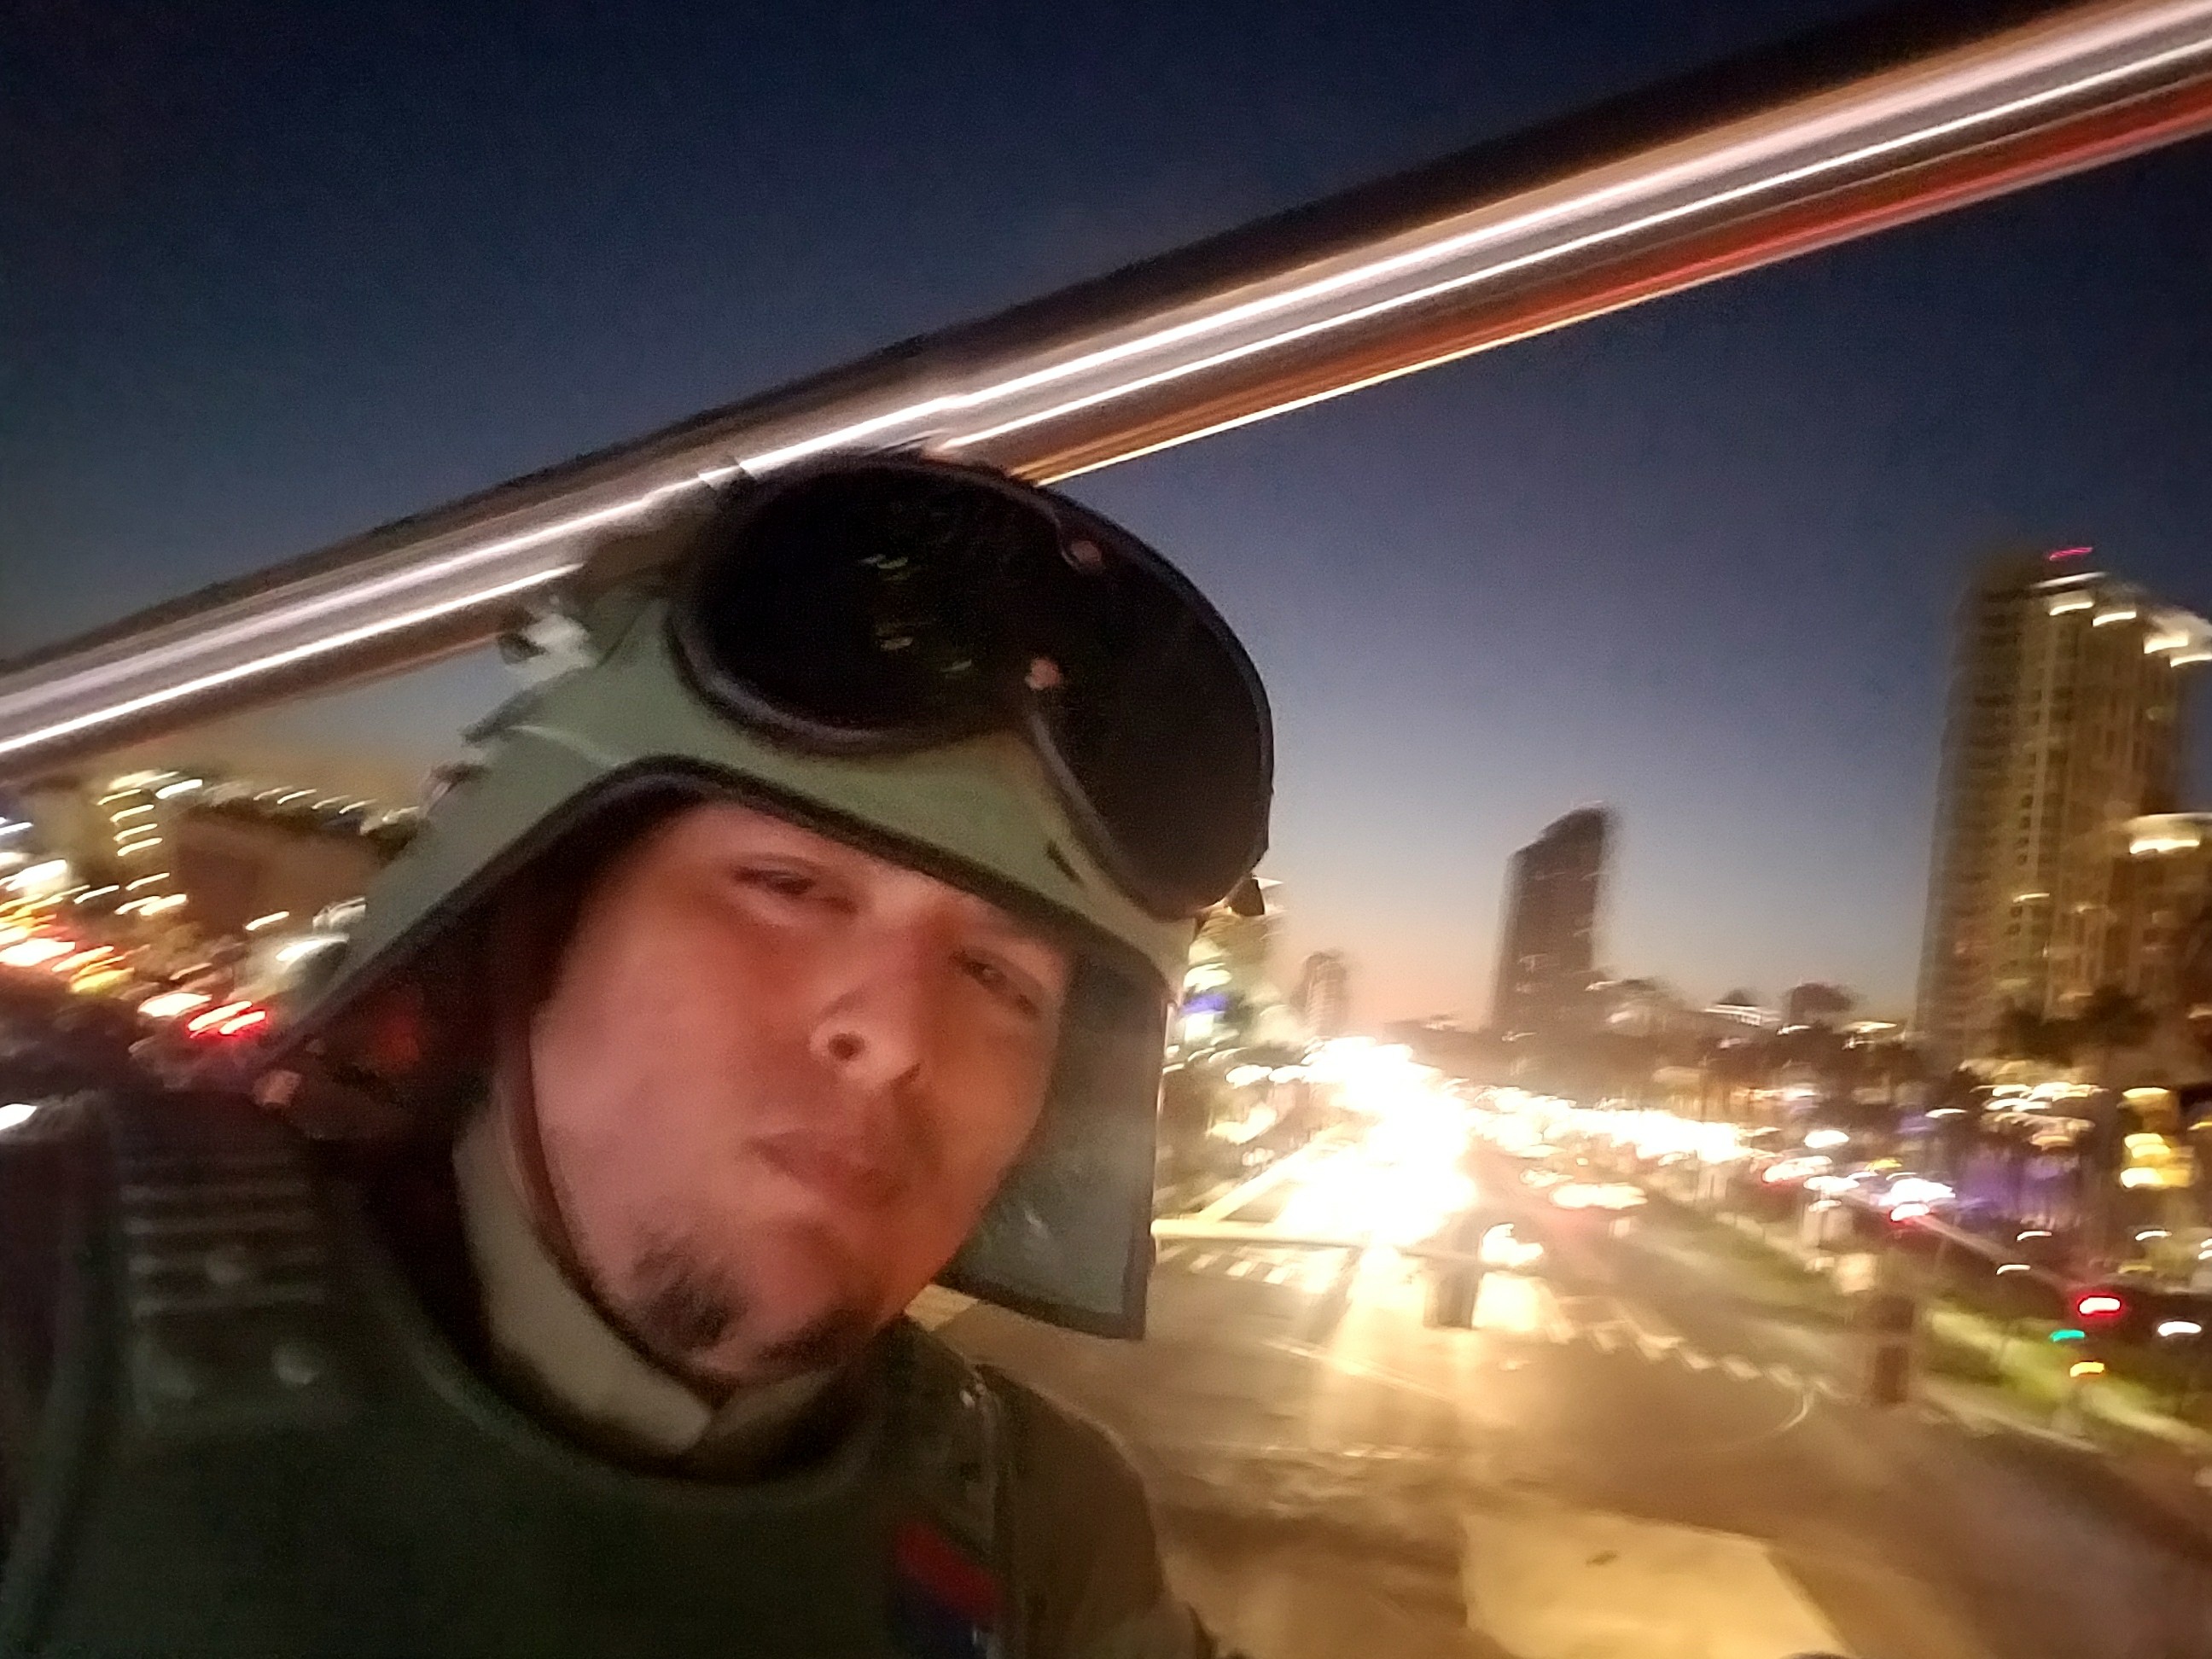
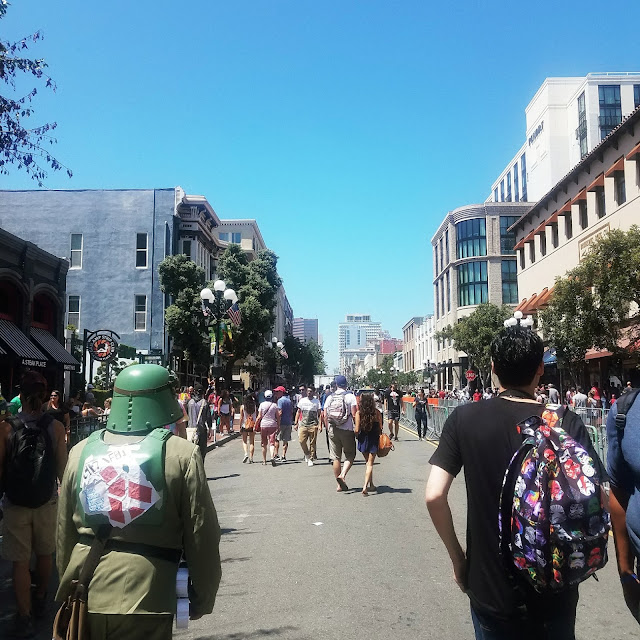
Here are a couple Pics from that year at Con:
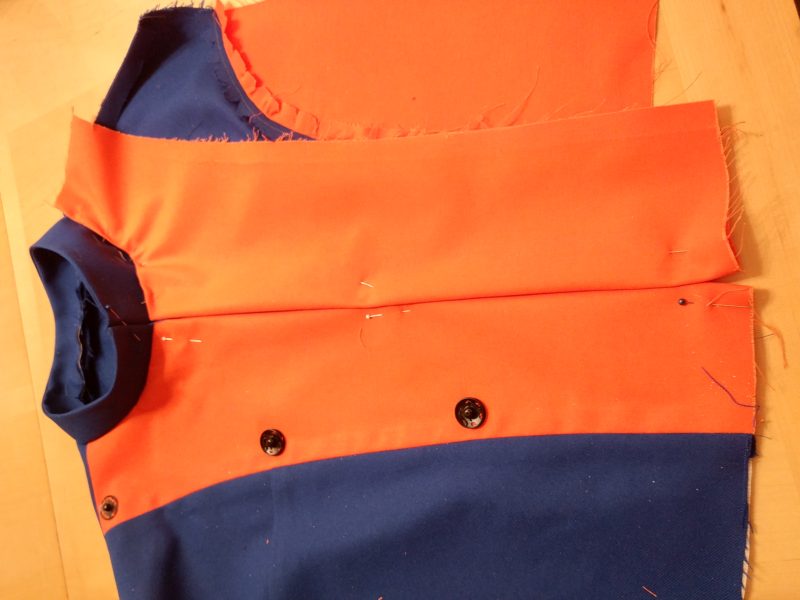
Next week I finish up this costume with a little tightening up some parts and adding the long elusive parts I needed to complete the costume. This Thursday I will continue my other SDCC ’18 Star Tours costume builds. Here’s a preview of where that is at the moment:
-Jon, in the Sewing Bay? Is this the joke I’m committing to?