
O M GOSH. Literally one week to go and a whole mess of work to do to get these costumes done on time.
When we last left our brave…co-host… I had ‘finished’ the majority of the work on the top half of the Officer Tunic. You may have noticed that the caption mentioned that i probably ripped some seams out? That happened 3 more times. This is my punishment for daring to think I could approve on Governor Tarkin’s simple and elegant design.
As I mentioned previously this all started solely because I found orange and blue fabric at a second hand store. I pulled out some old sewing patterns and started cutting out the patterns. This was a slight self esteem builder because I had to trim the pattern down from XLG to just LG. That was the only moment of joy in making this tunic.
So as a quick recap:
*sorry for the low quality reference images
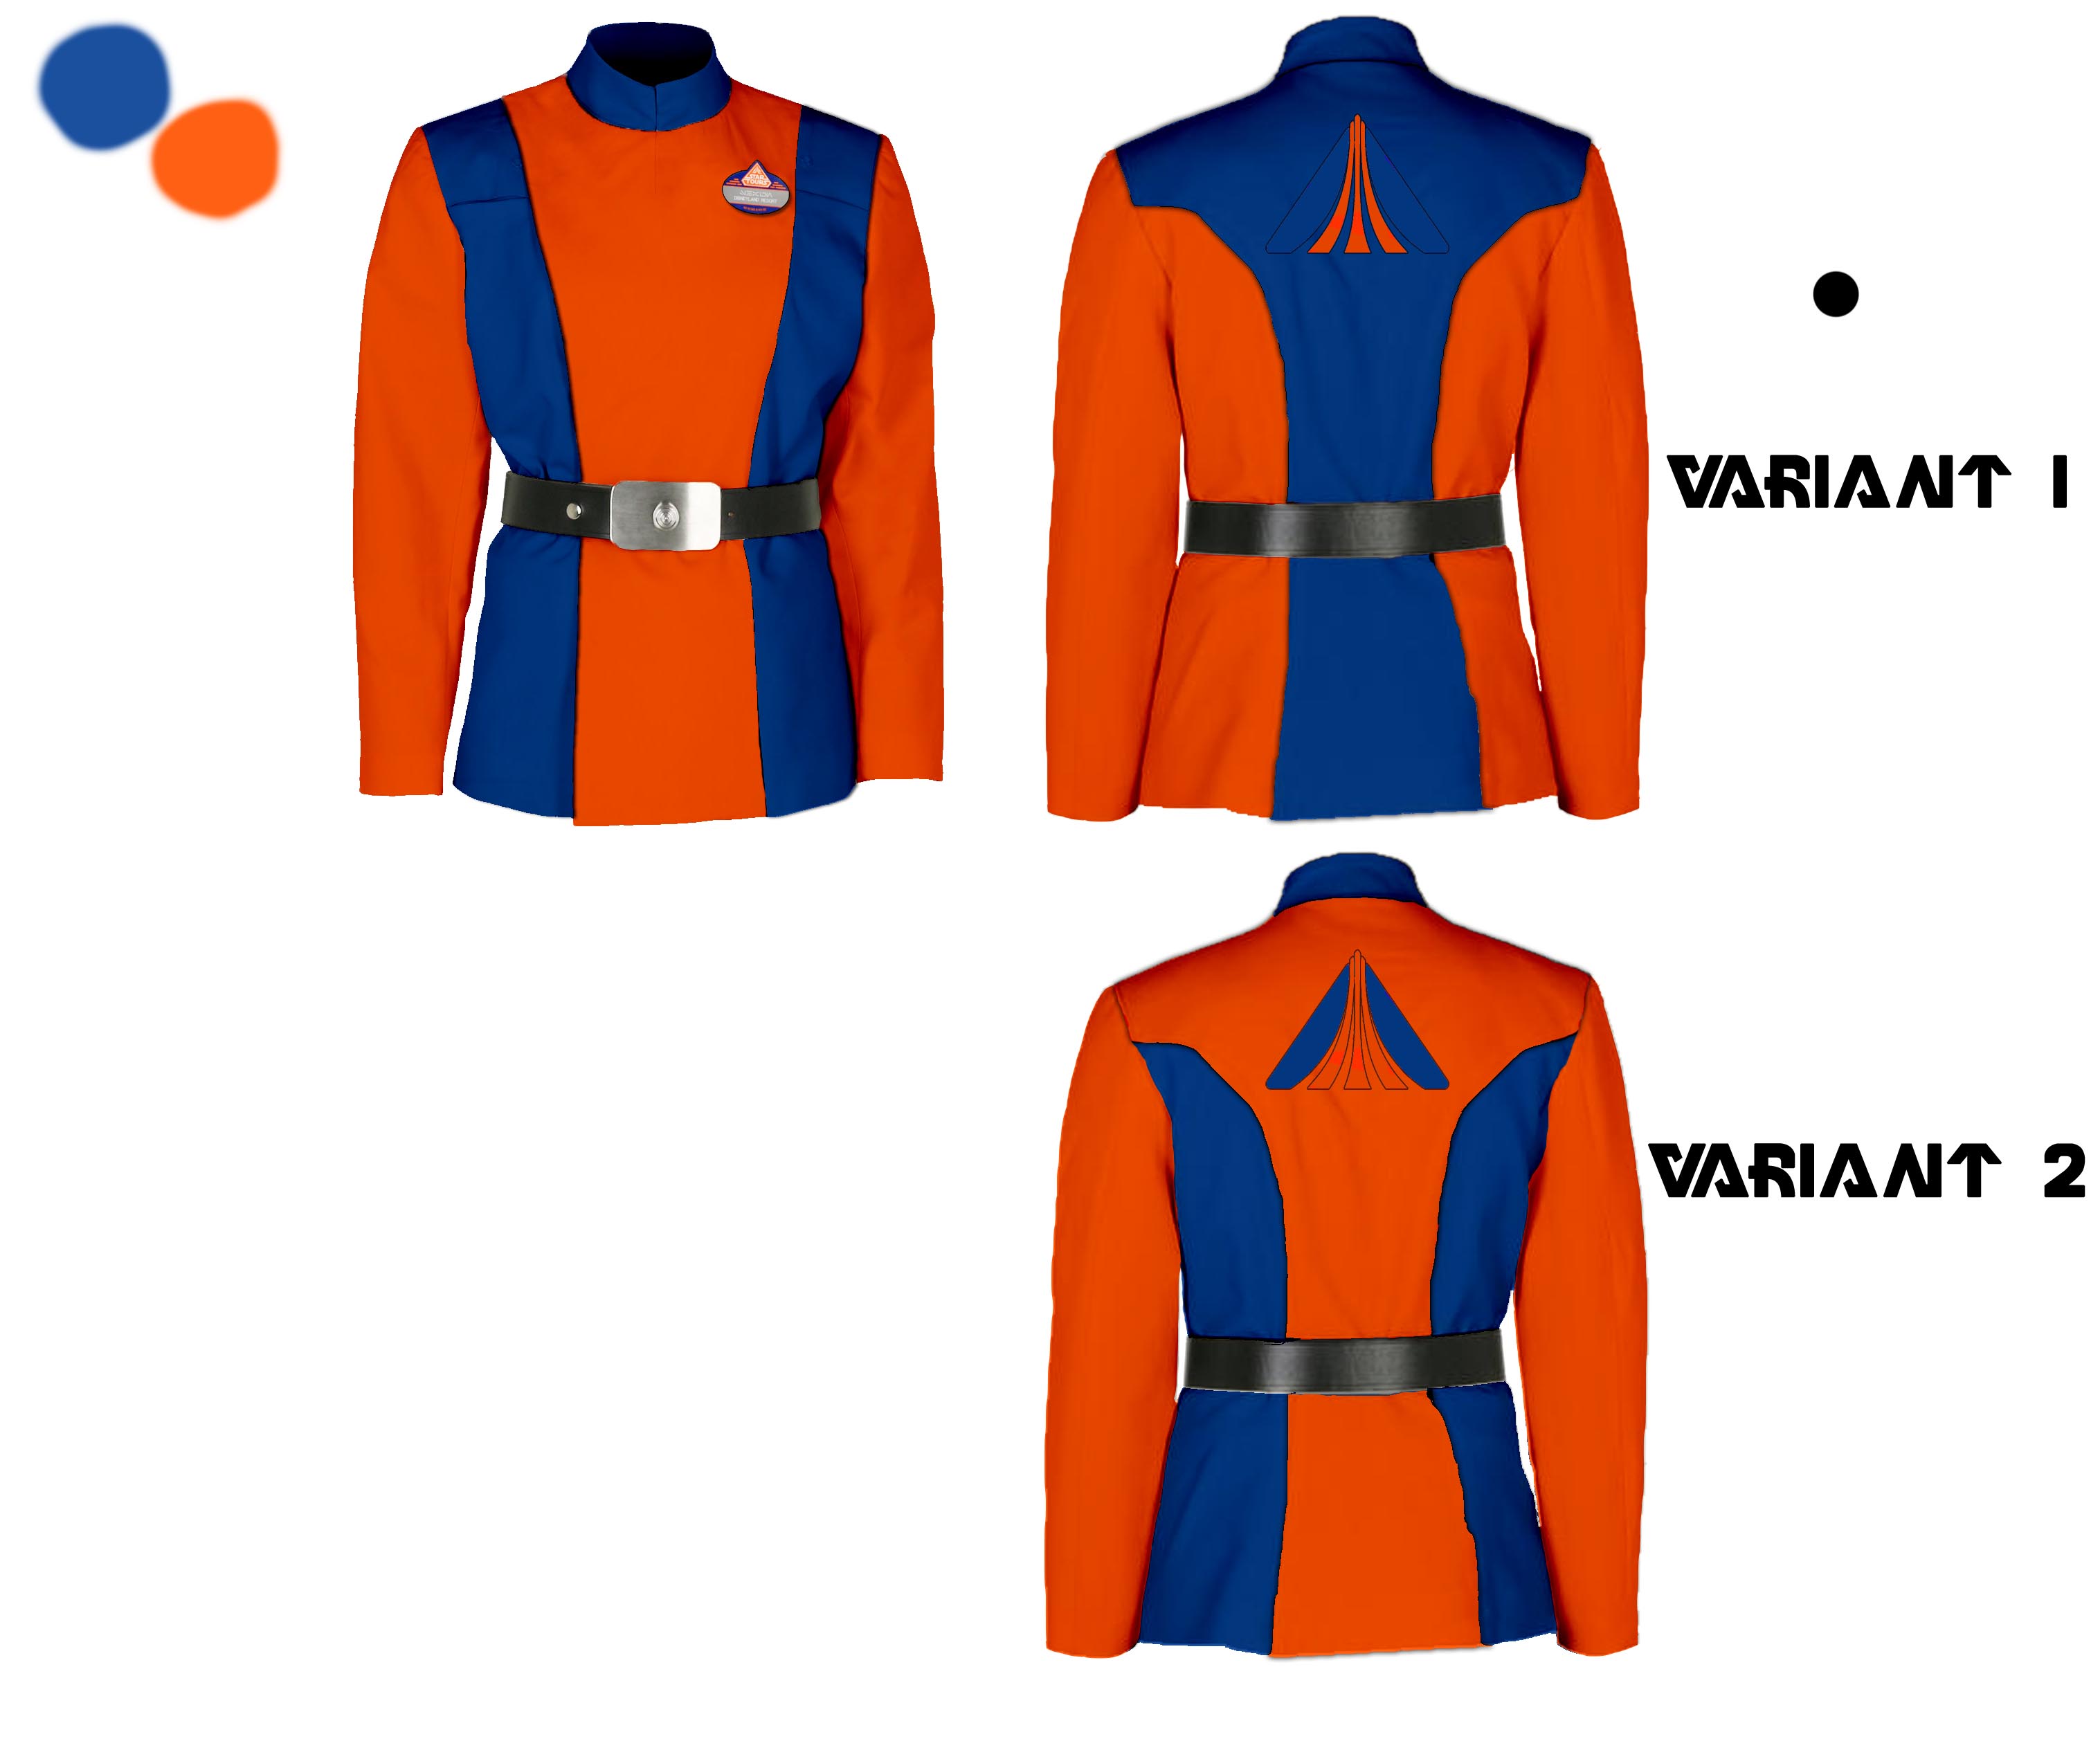
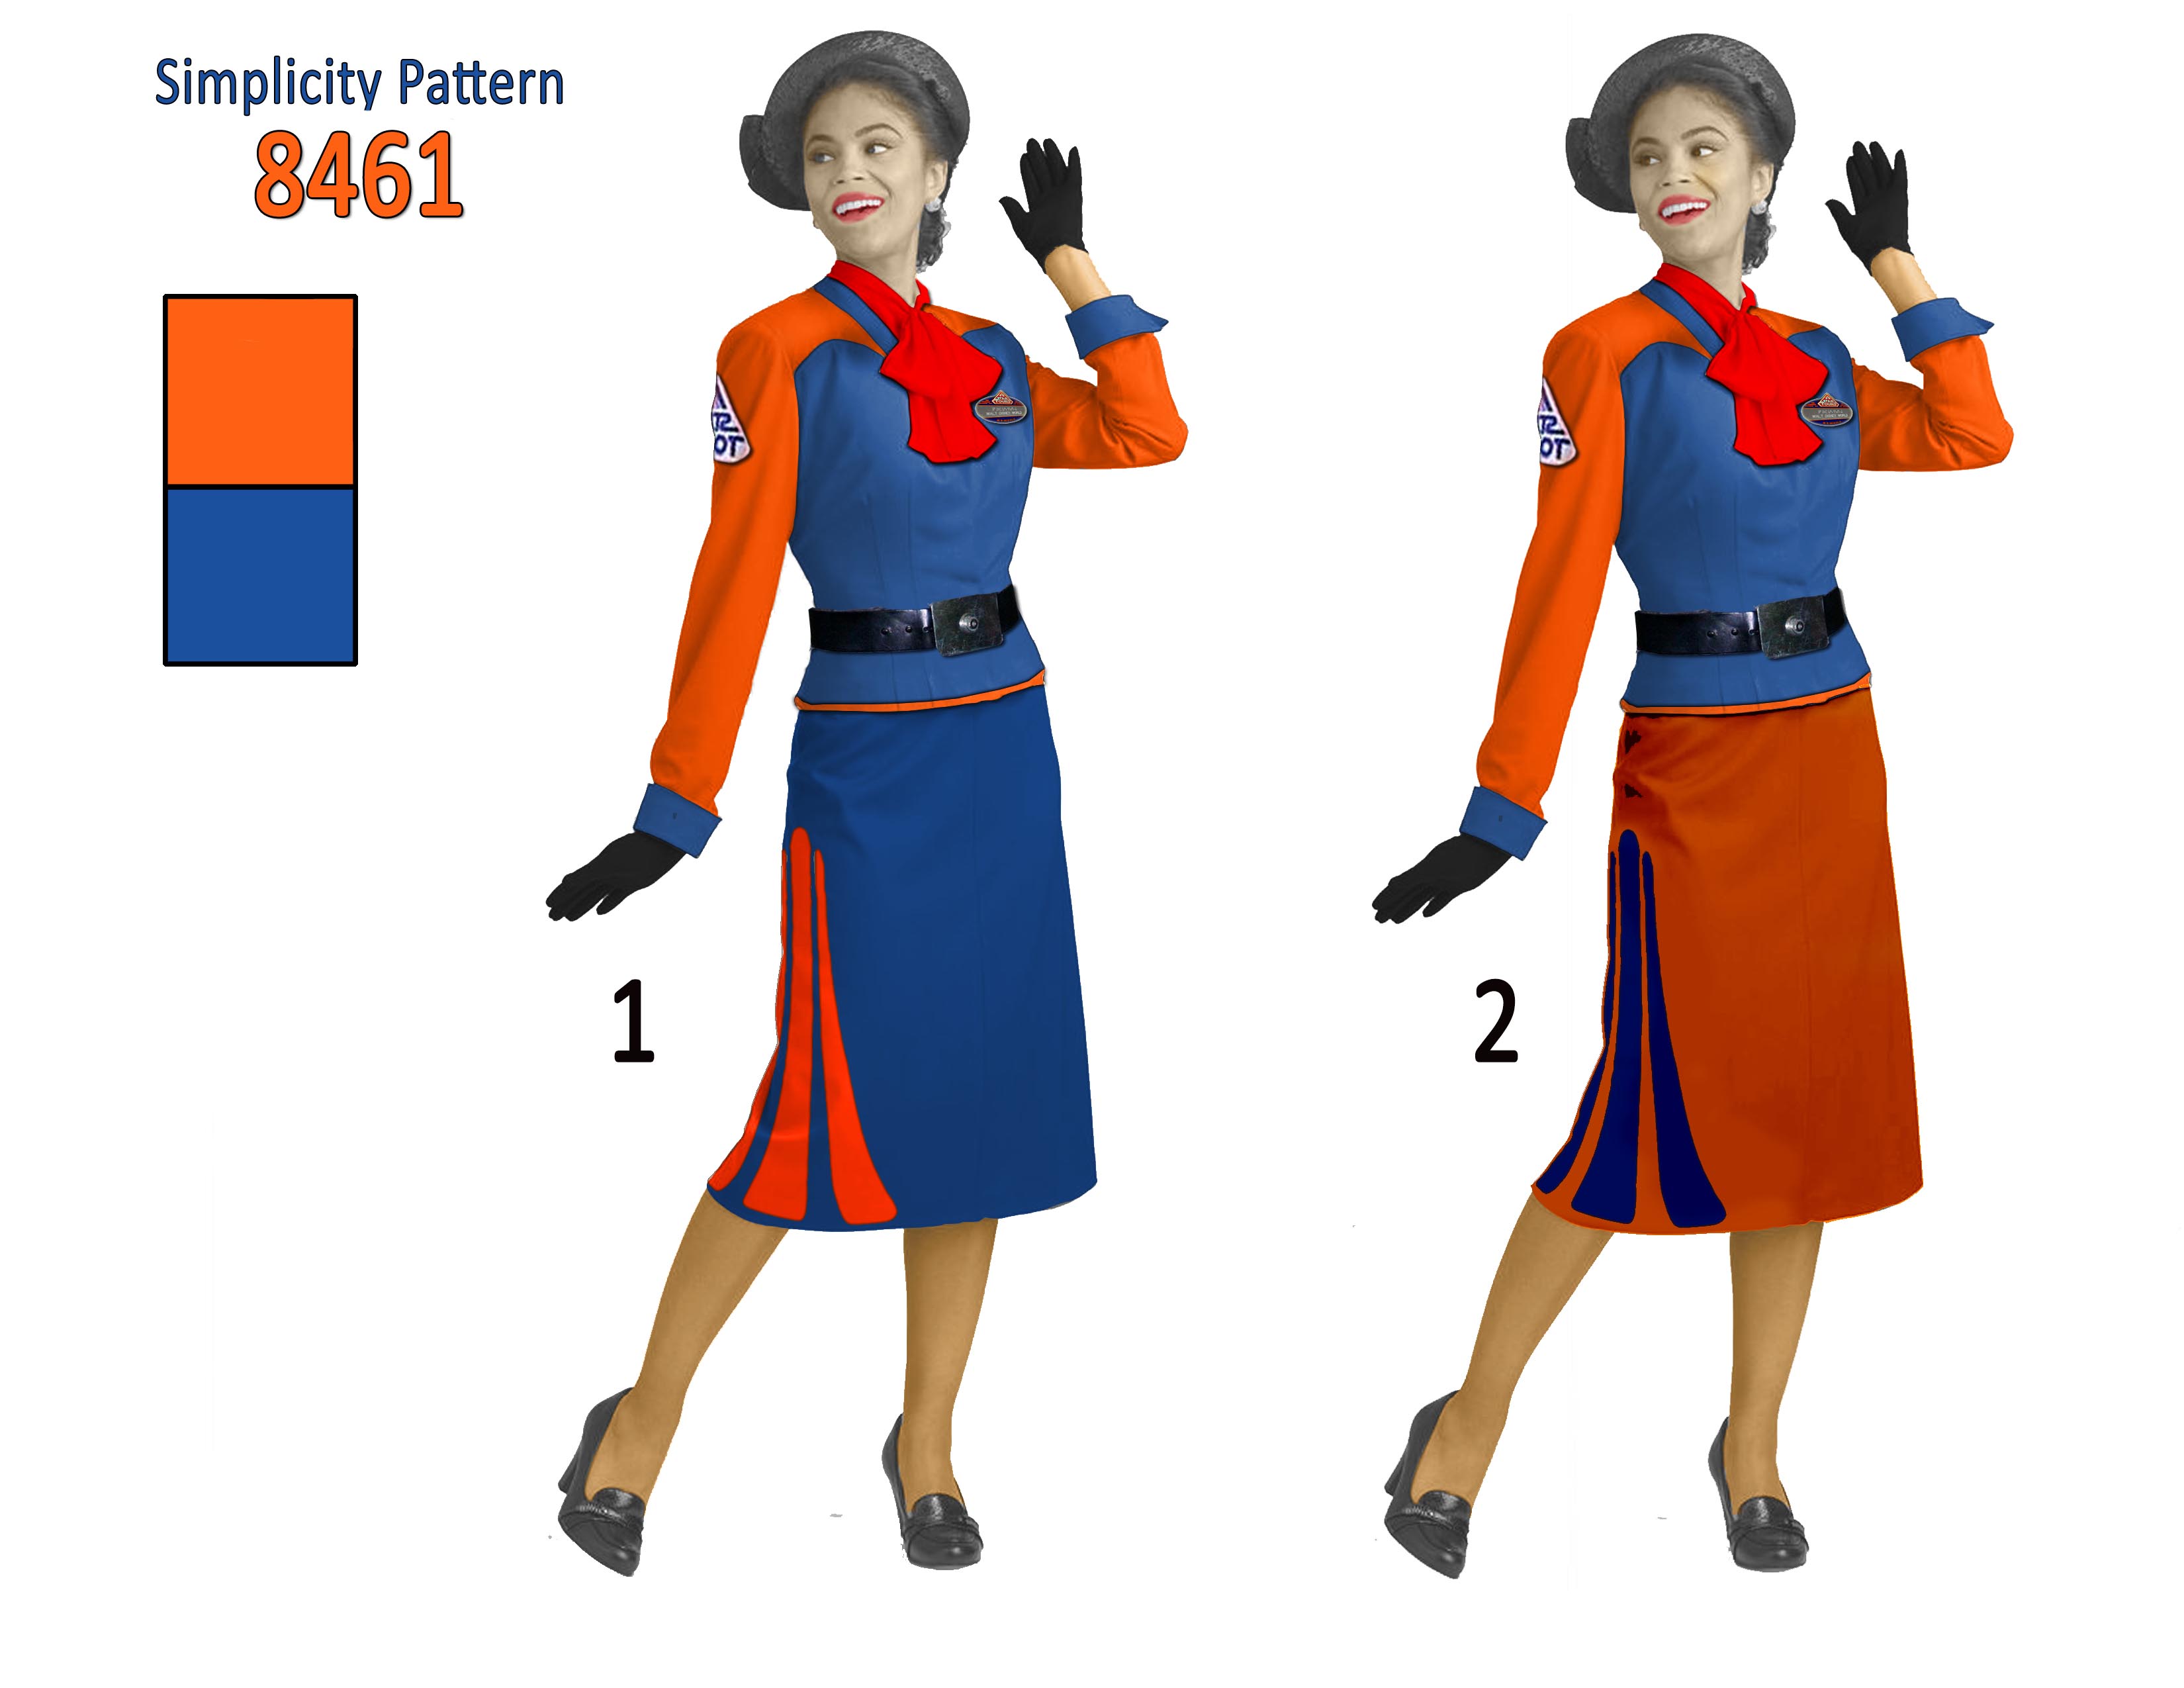
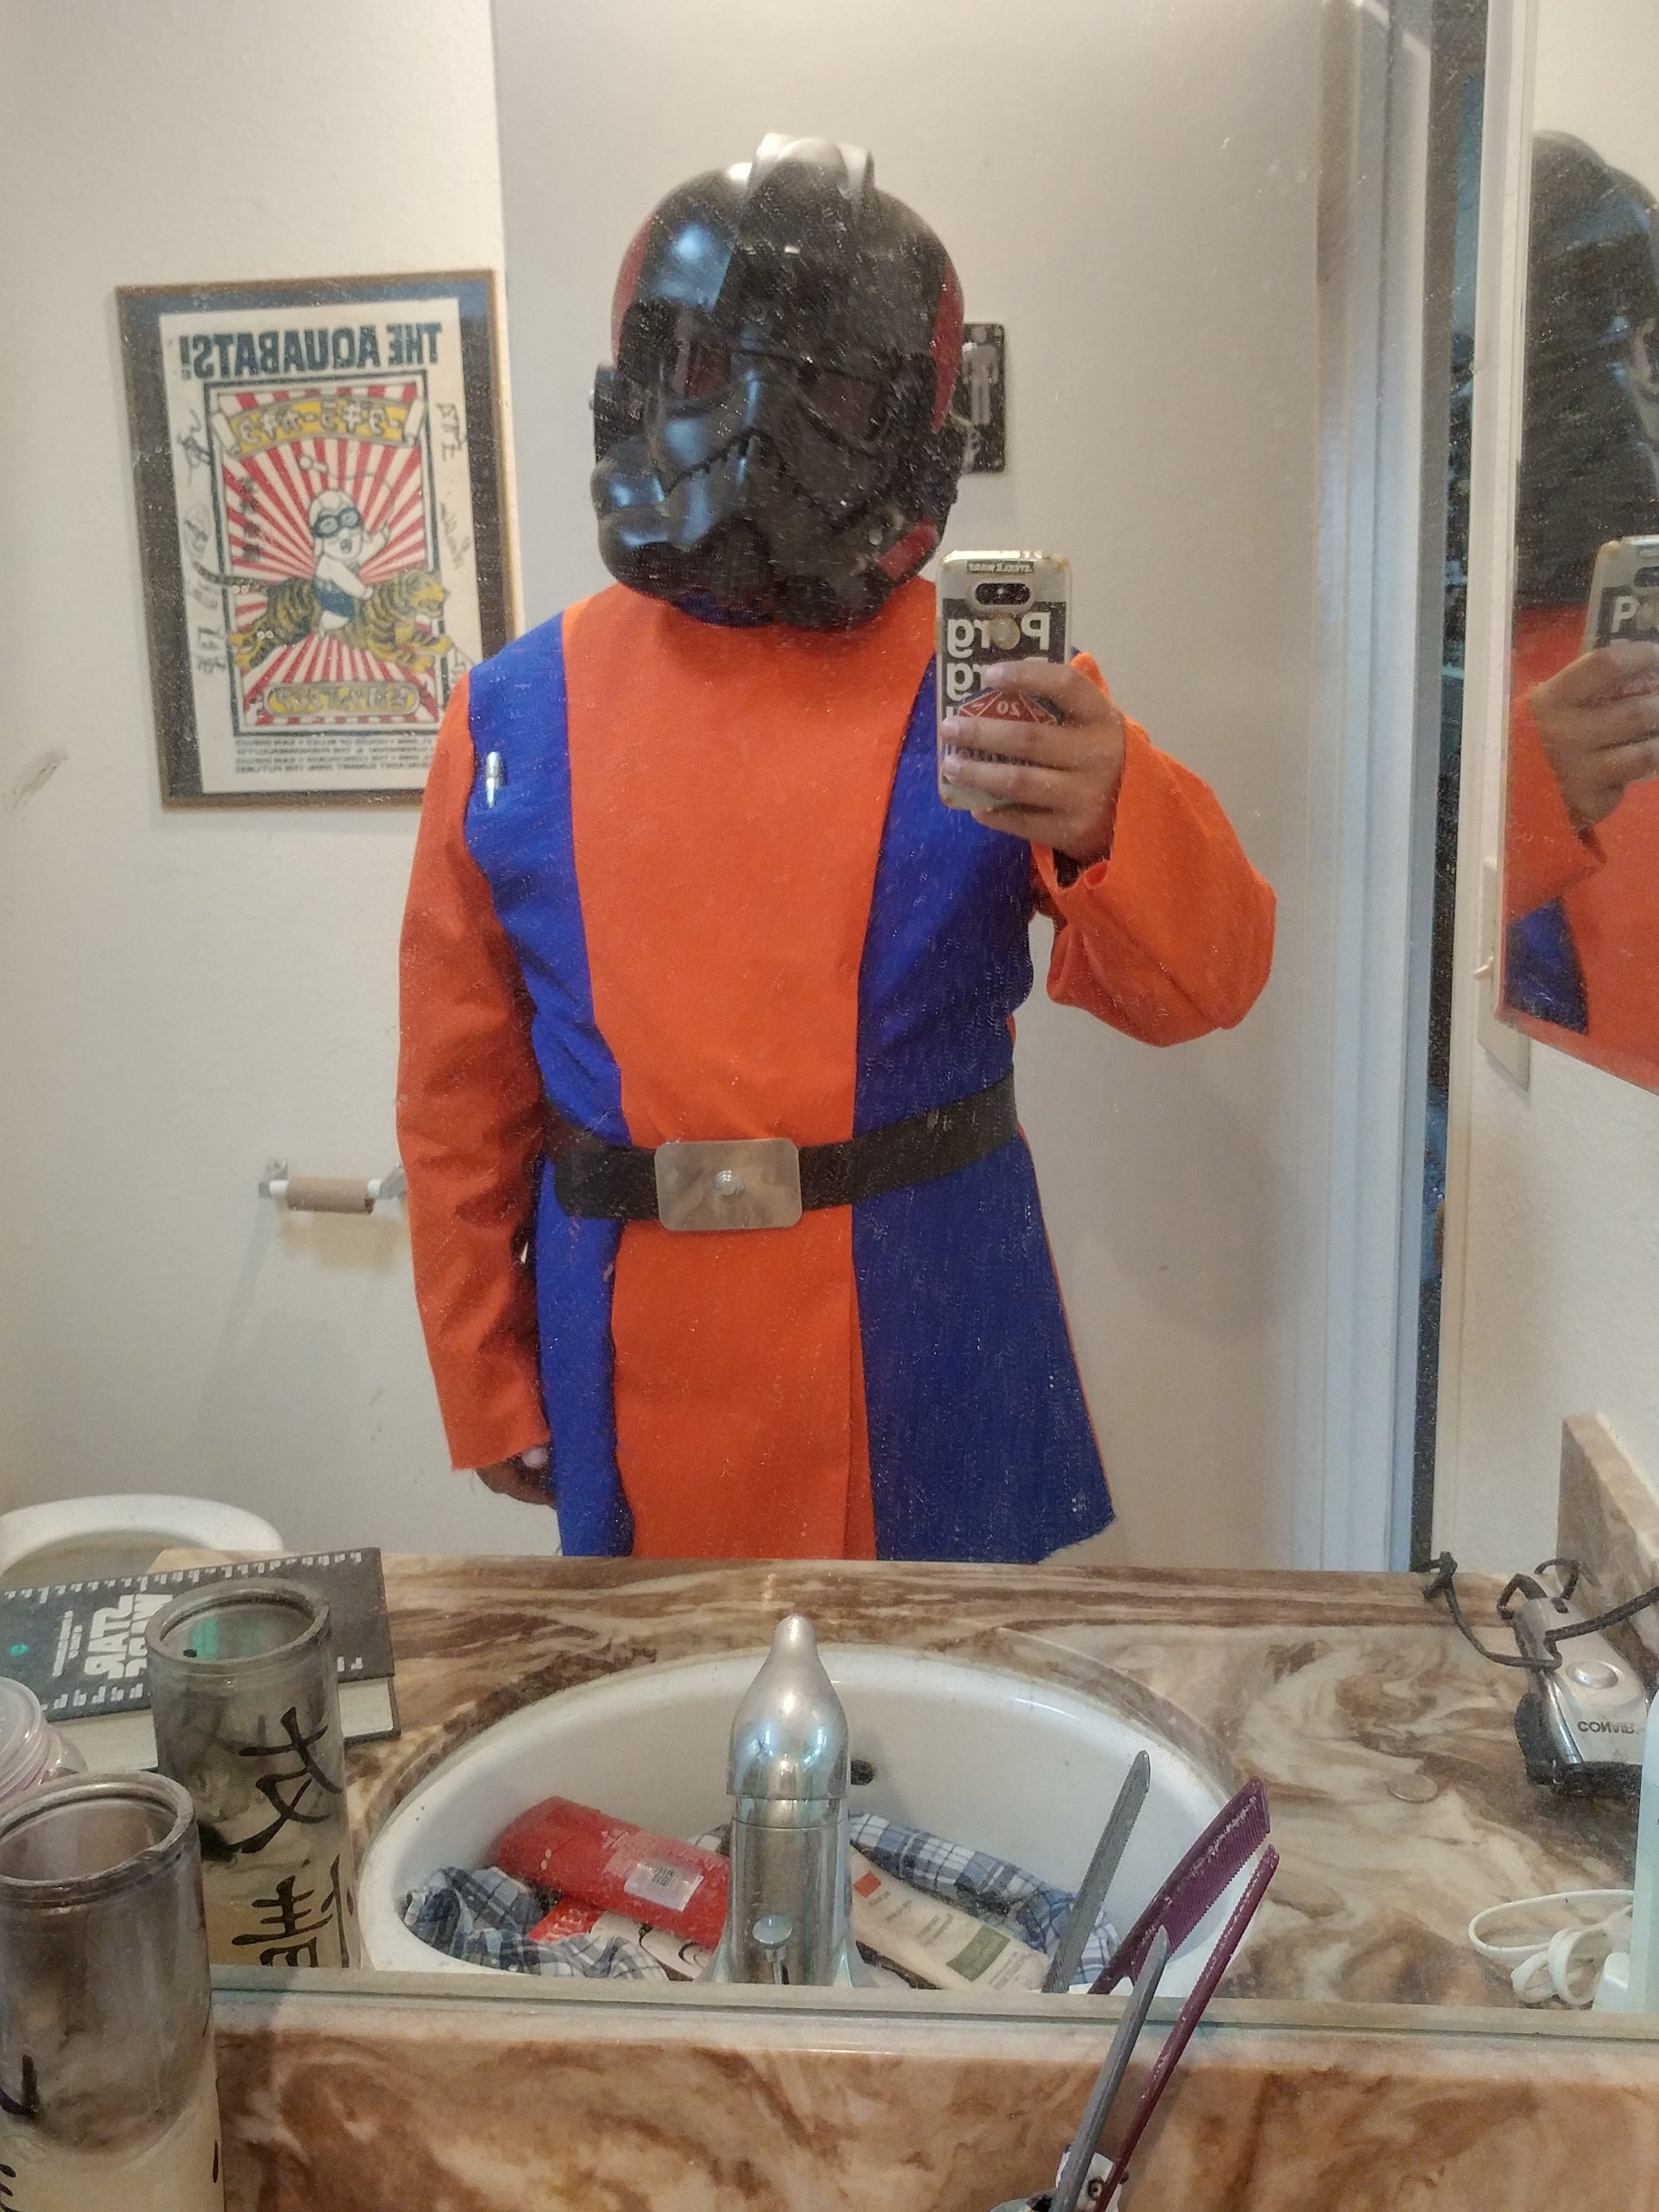
These are the costume we are making. The tunic is a bi-color Imperial officer tunic with the Star Tours Logo across the back as well as Star Tour Patches on the arms. The other outfit is supposed to be reminiscent of a 60’s Flight Attendant wit the same color alterations (solid blue with orange accents). Same placement of the Star Tours patches on the shoulder and the Star Tours logo center-right on the skirt. We will both have Imperial officer belts on and custom designed hats with the Imperial Code Disk center-front. After all, here at Star Tours, we follow Imperial Regulation.
With the designing out of the way, we can begin cutting out patterns and the fabric. I’m not going to go over every piece, but I will point out some of the more ridiculous things I did.

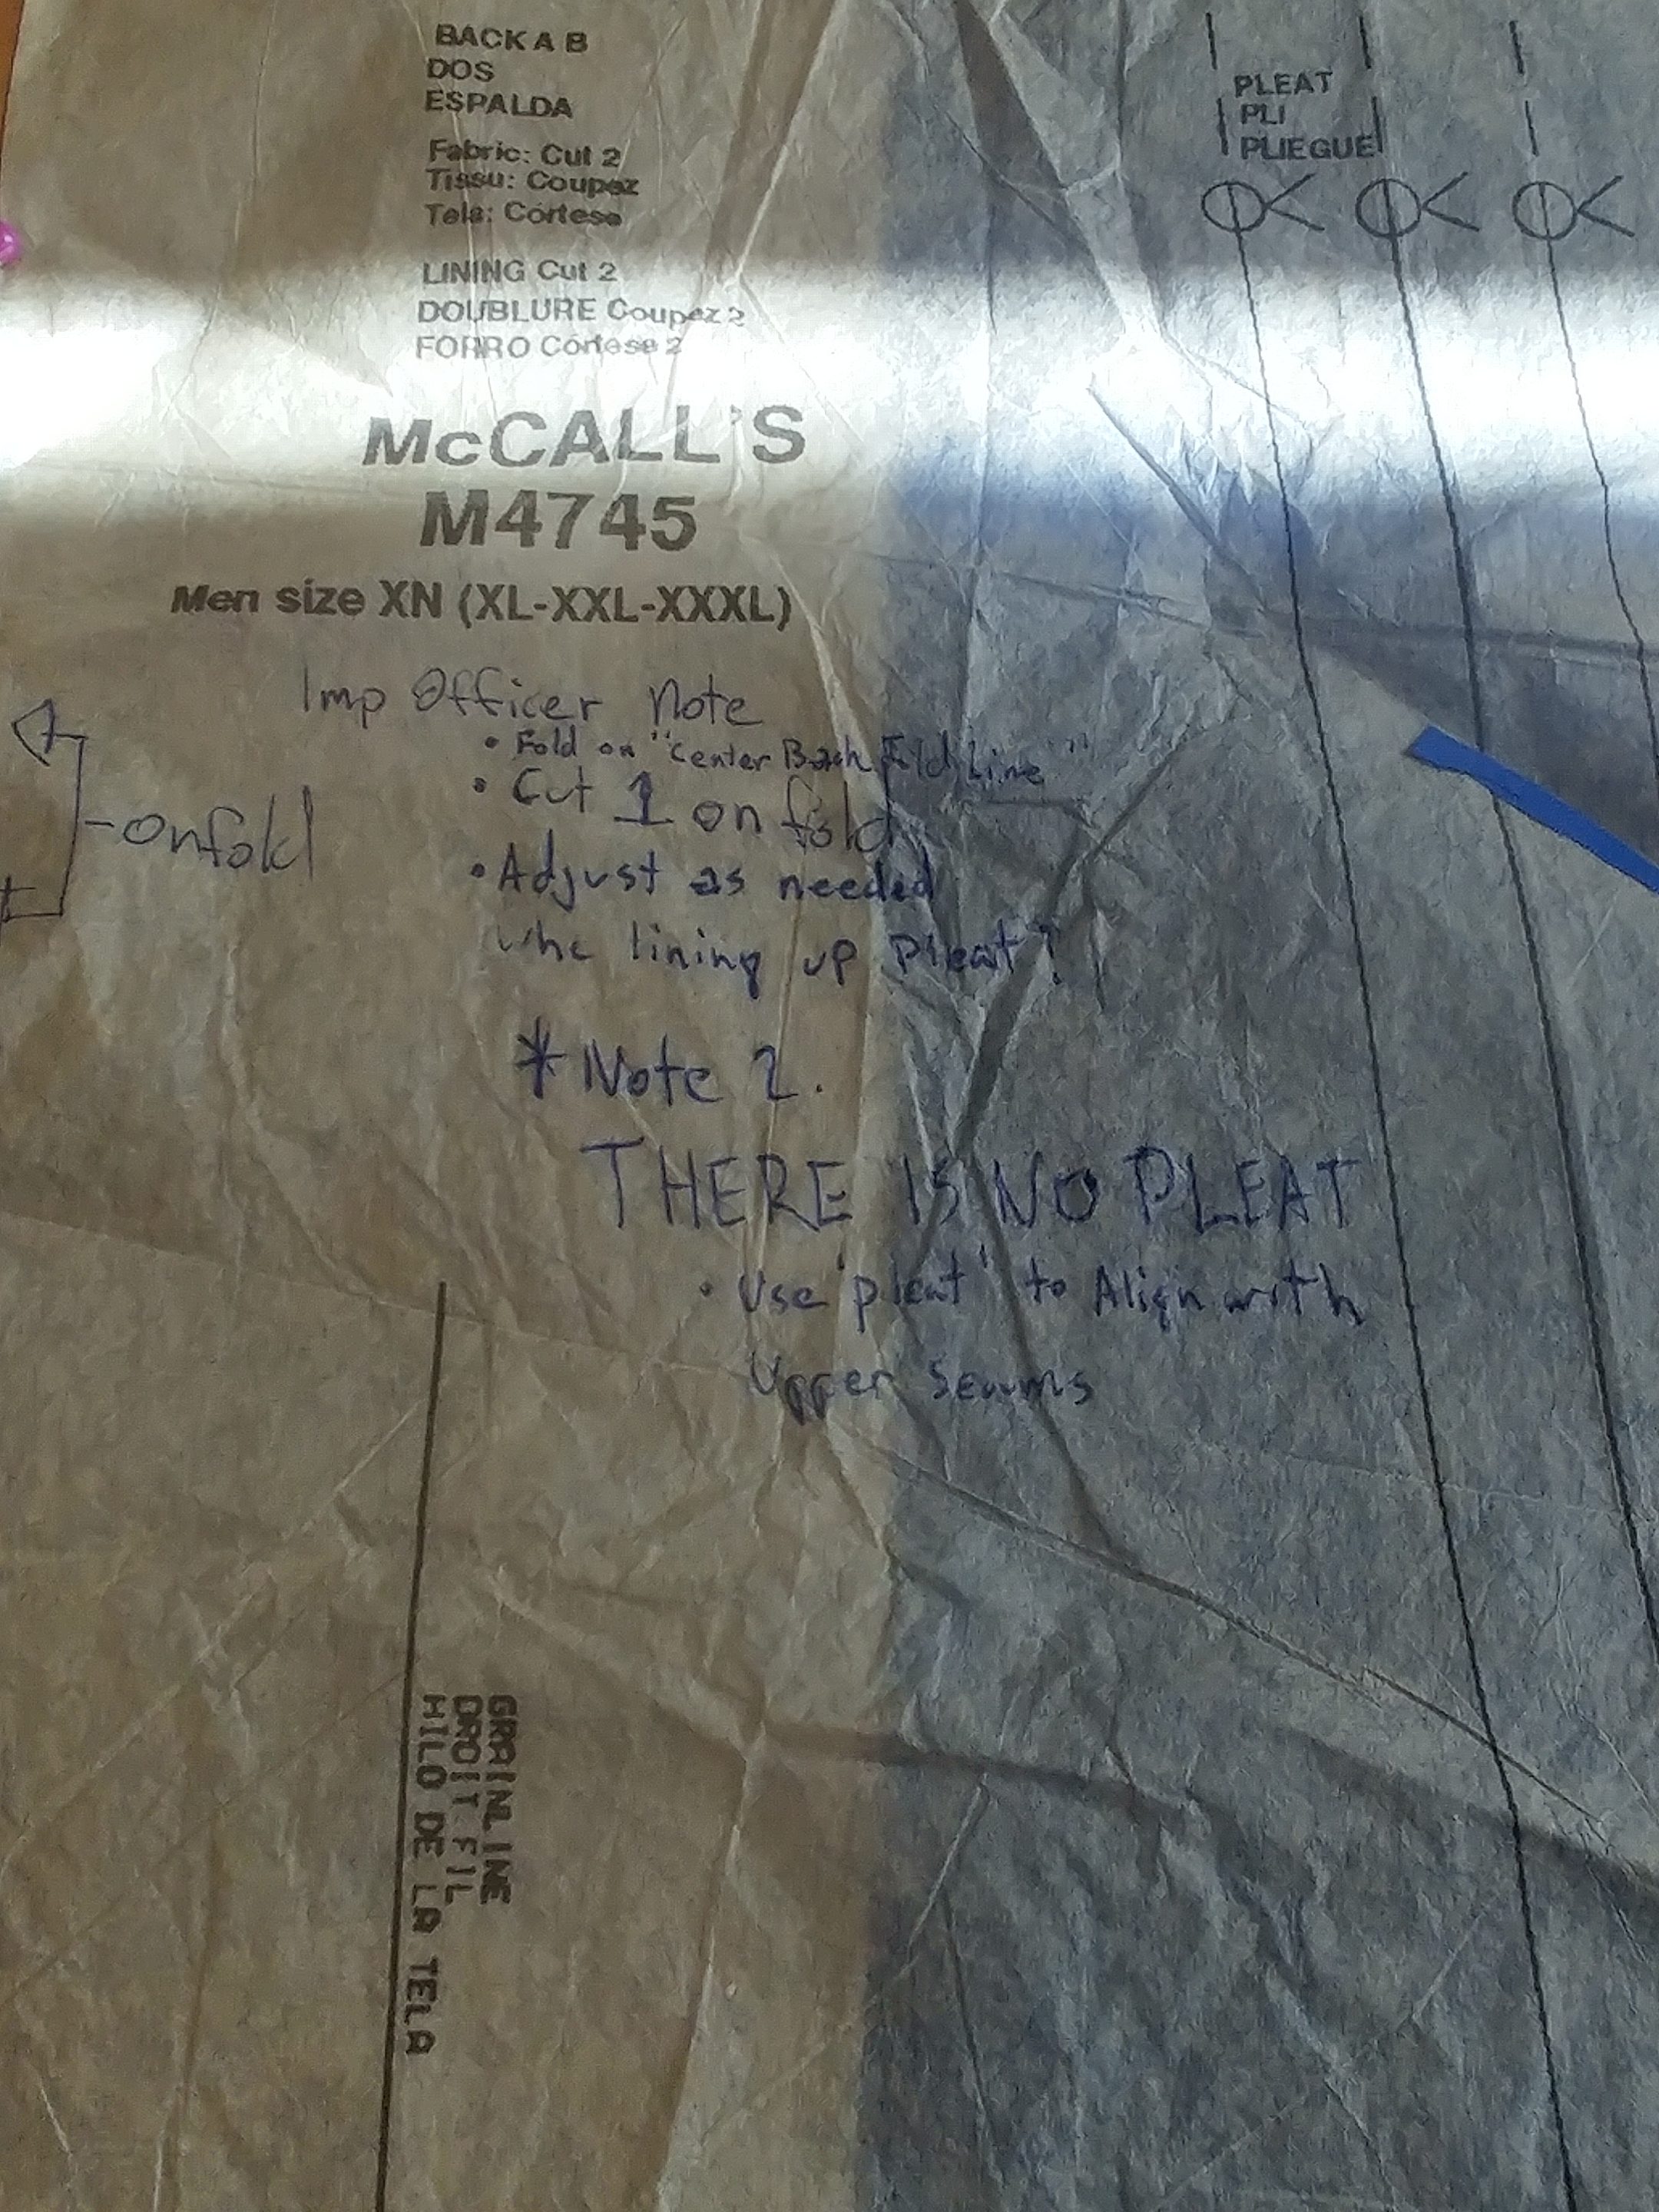
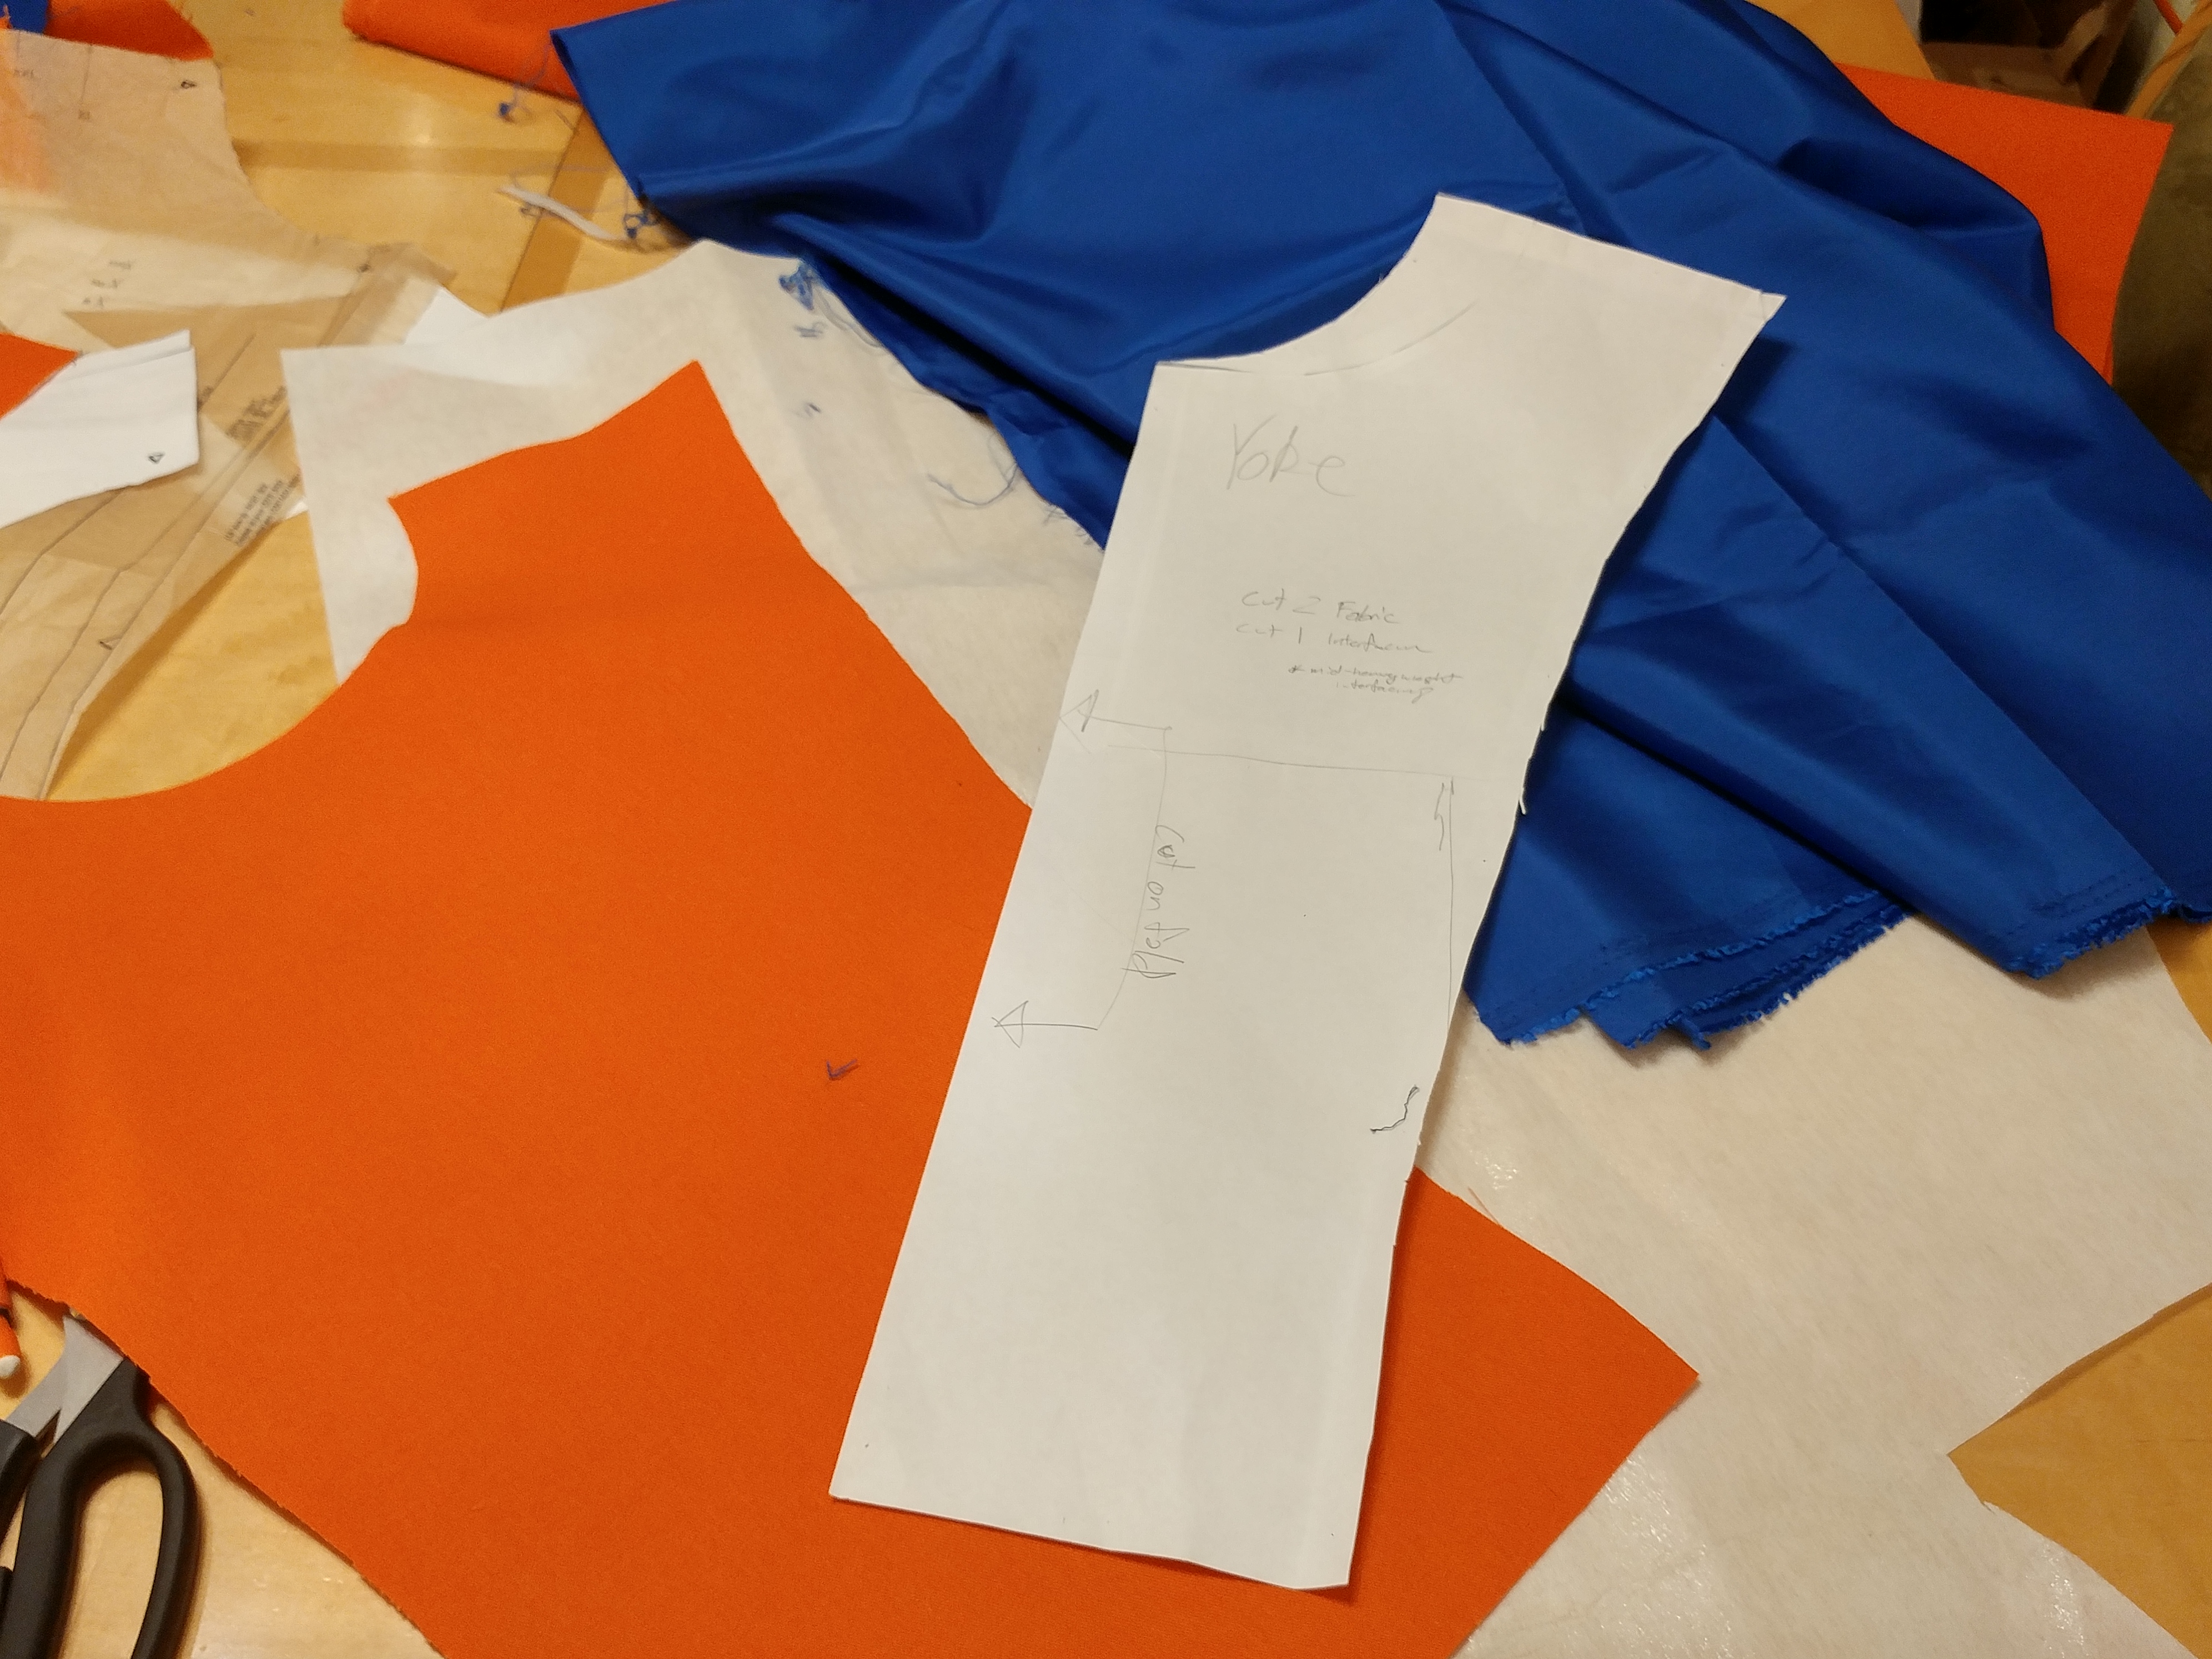
The first picture is the first modification I needed to make. The original pattern had a seam down the middle, the Imp Officer does not. So, I folded the pattern down the center line and cut the pattern on a fold which gave the final piece it’s nice ‘one-piece’ of fabric look (above right). This was the simplest straight forward modification.
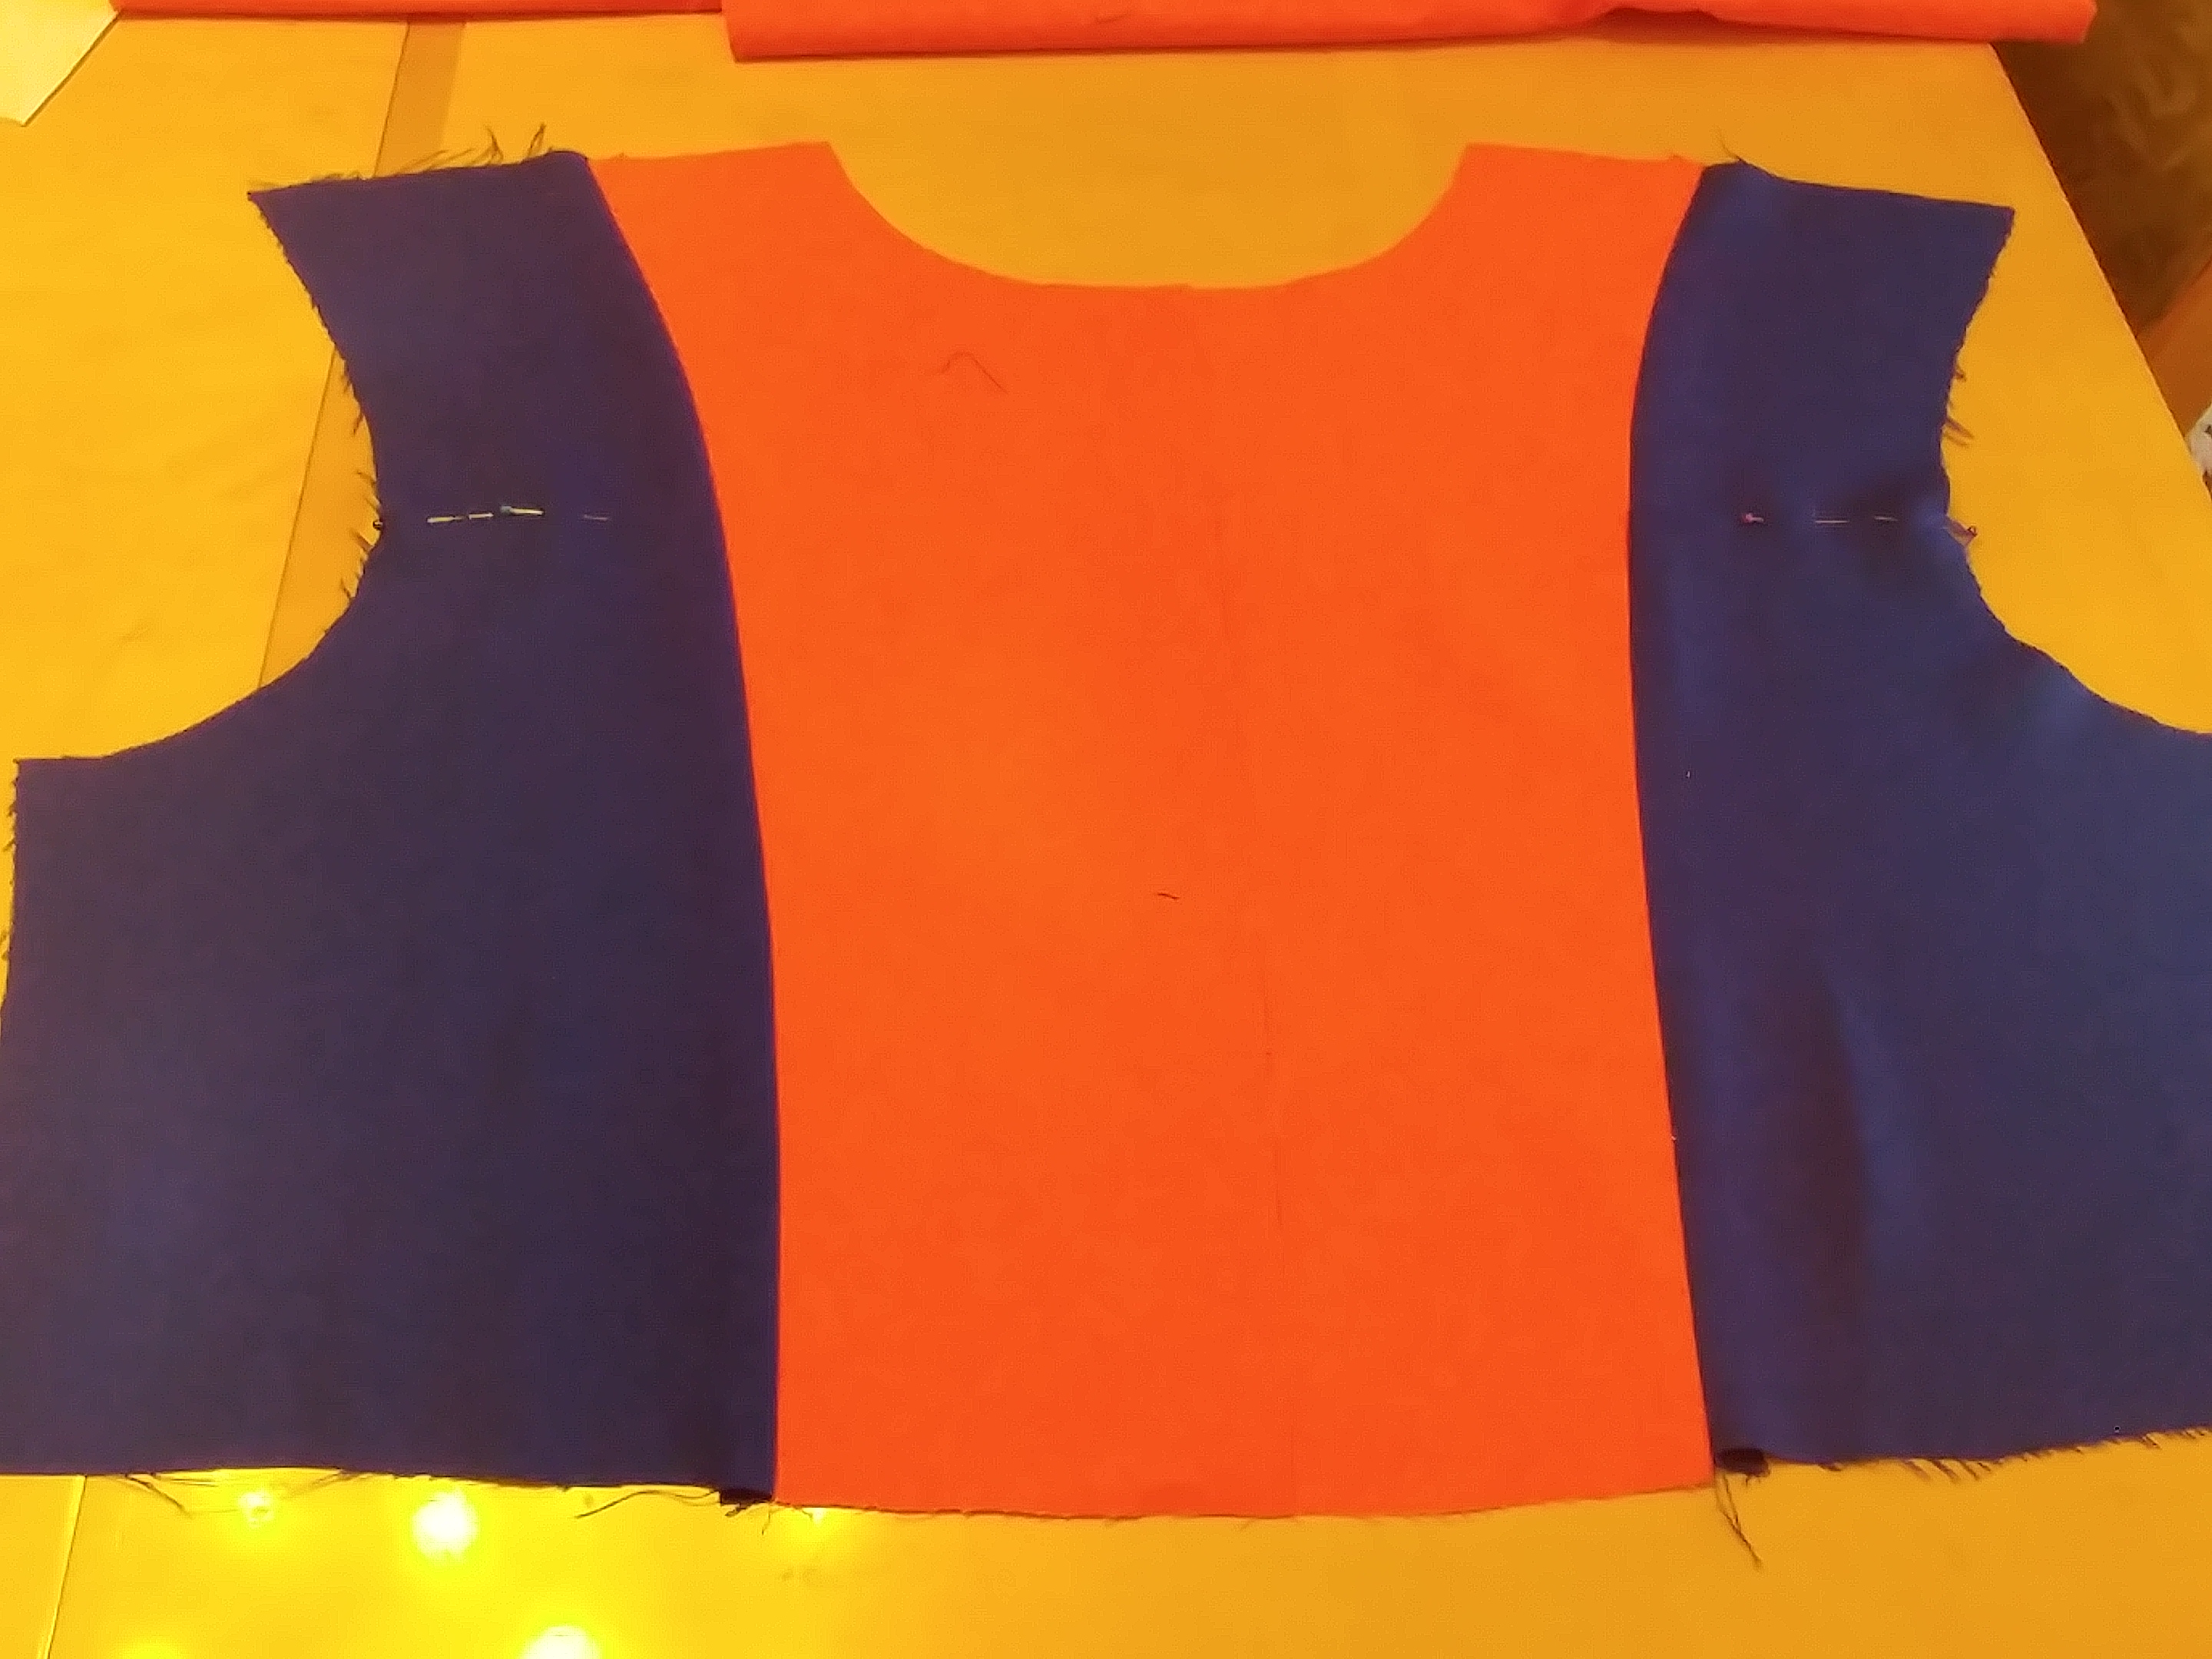
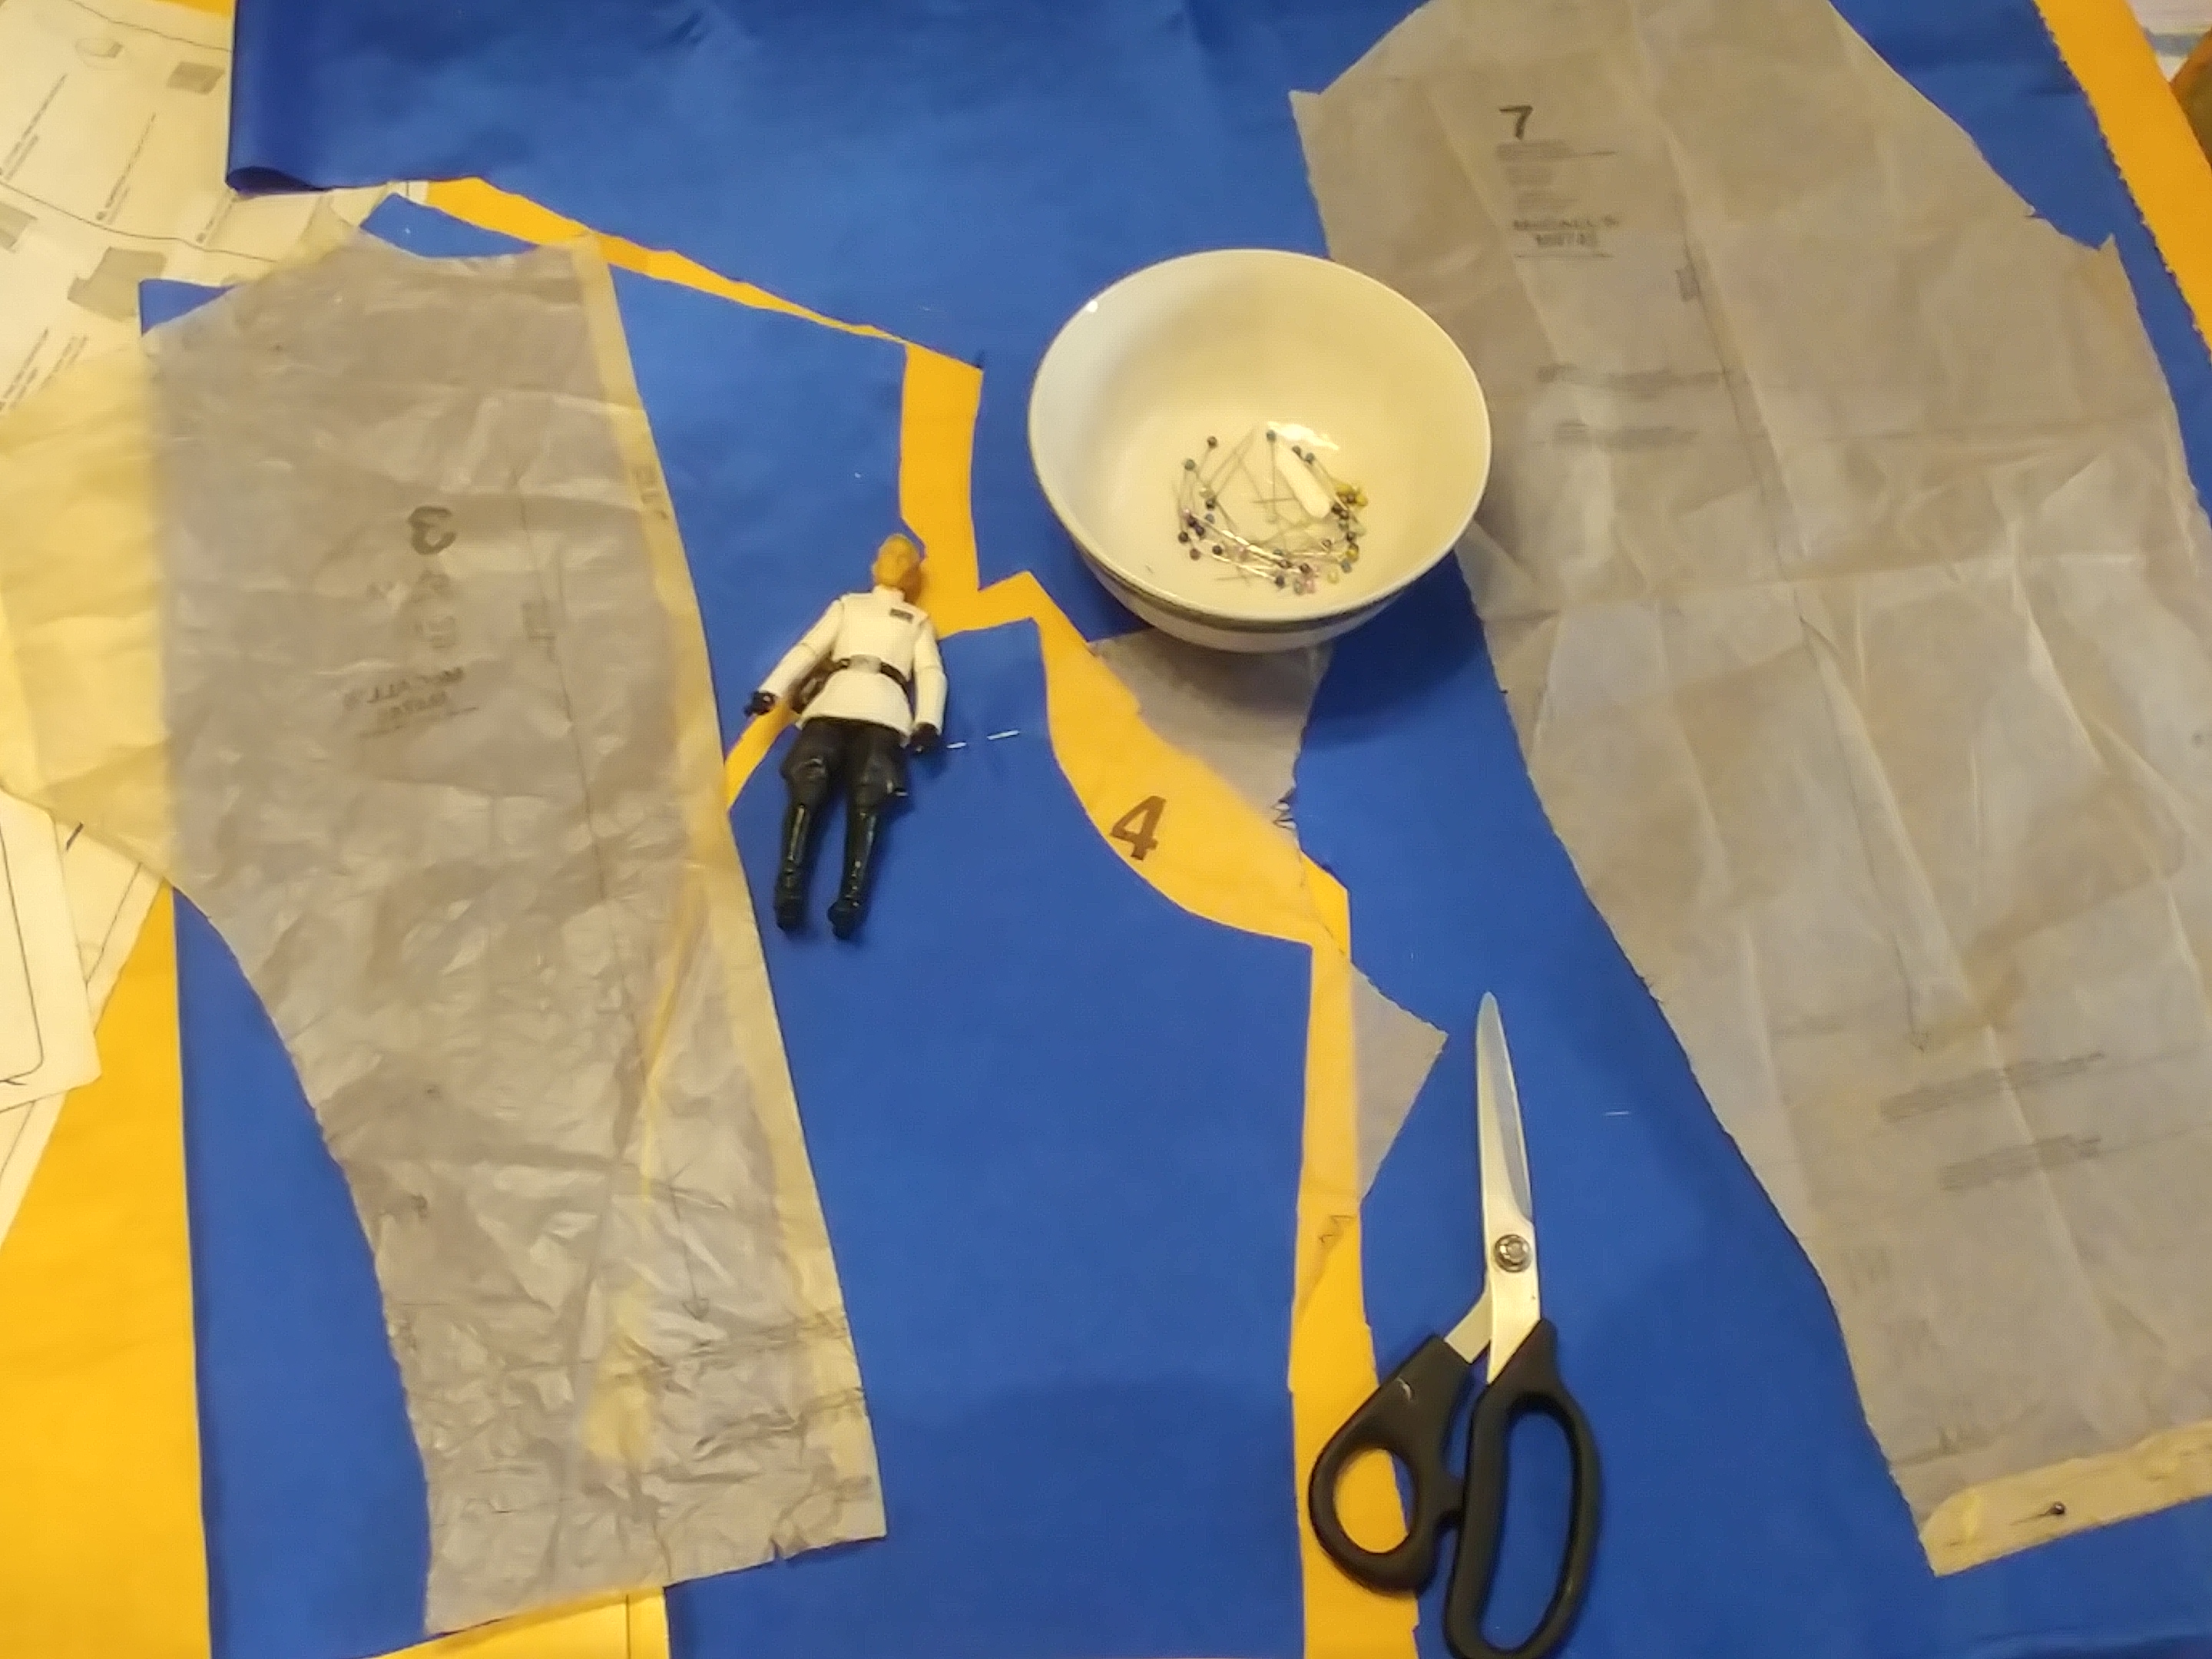
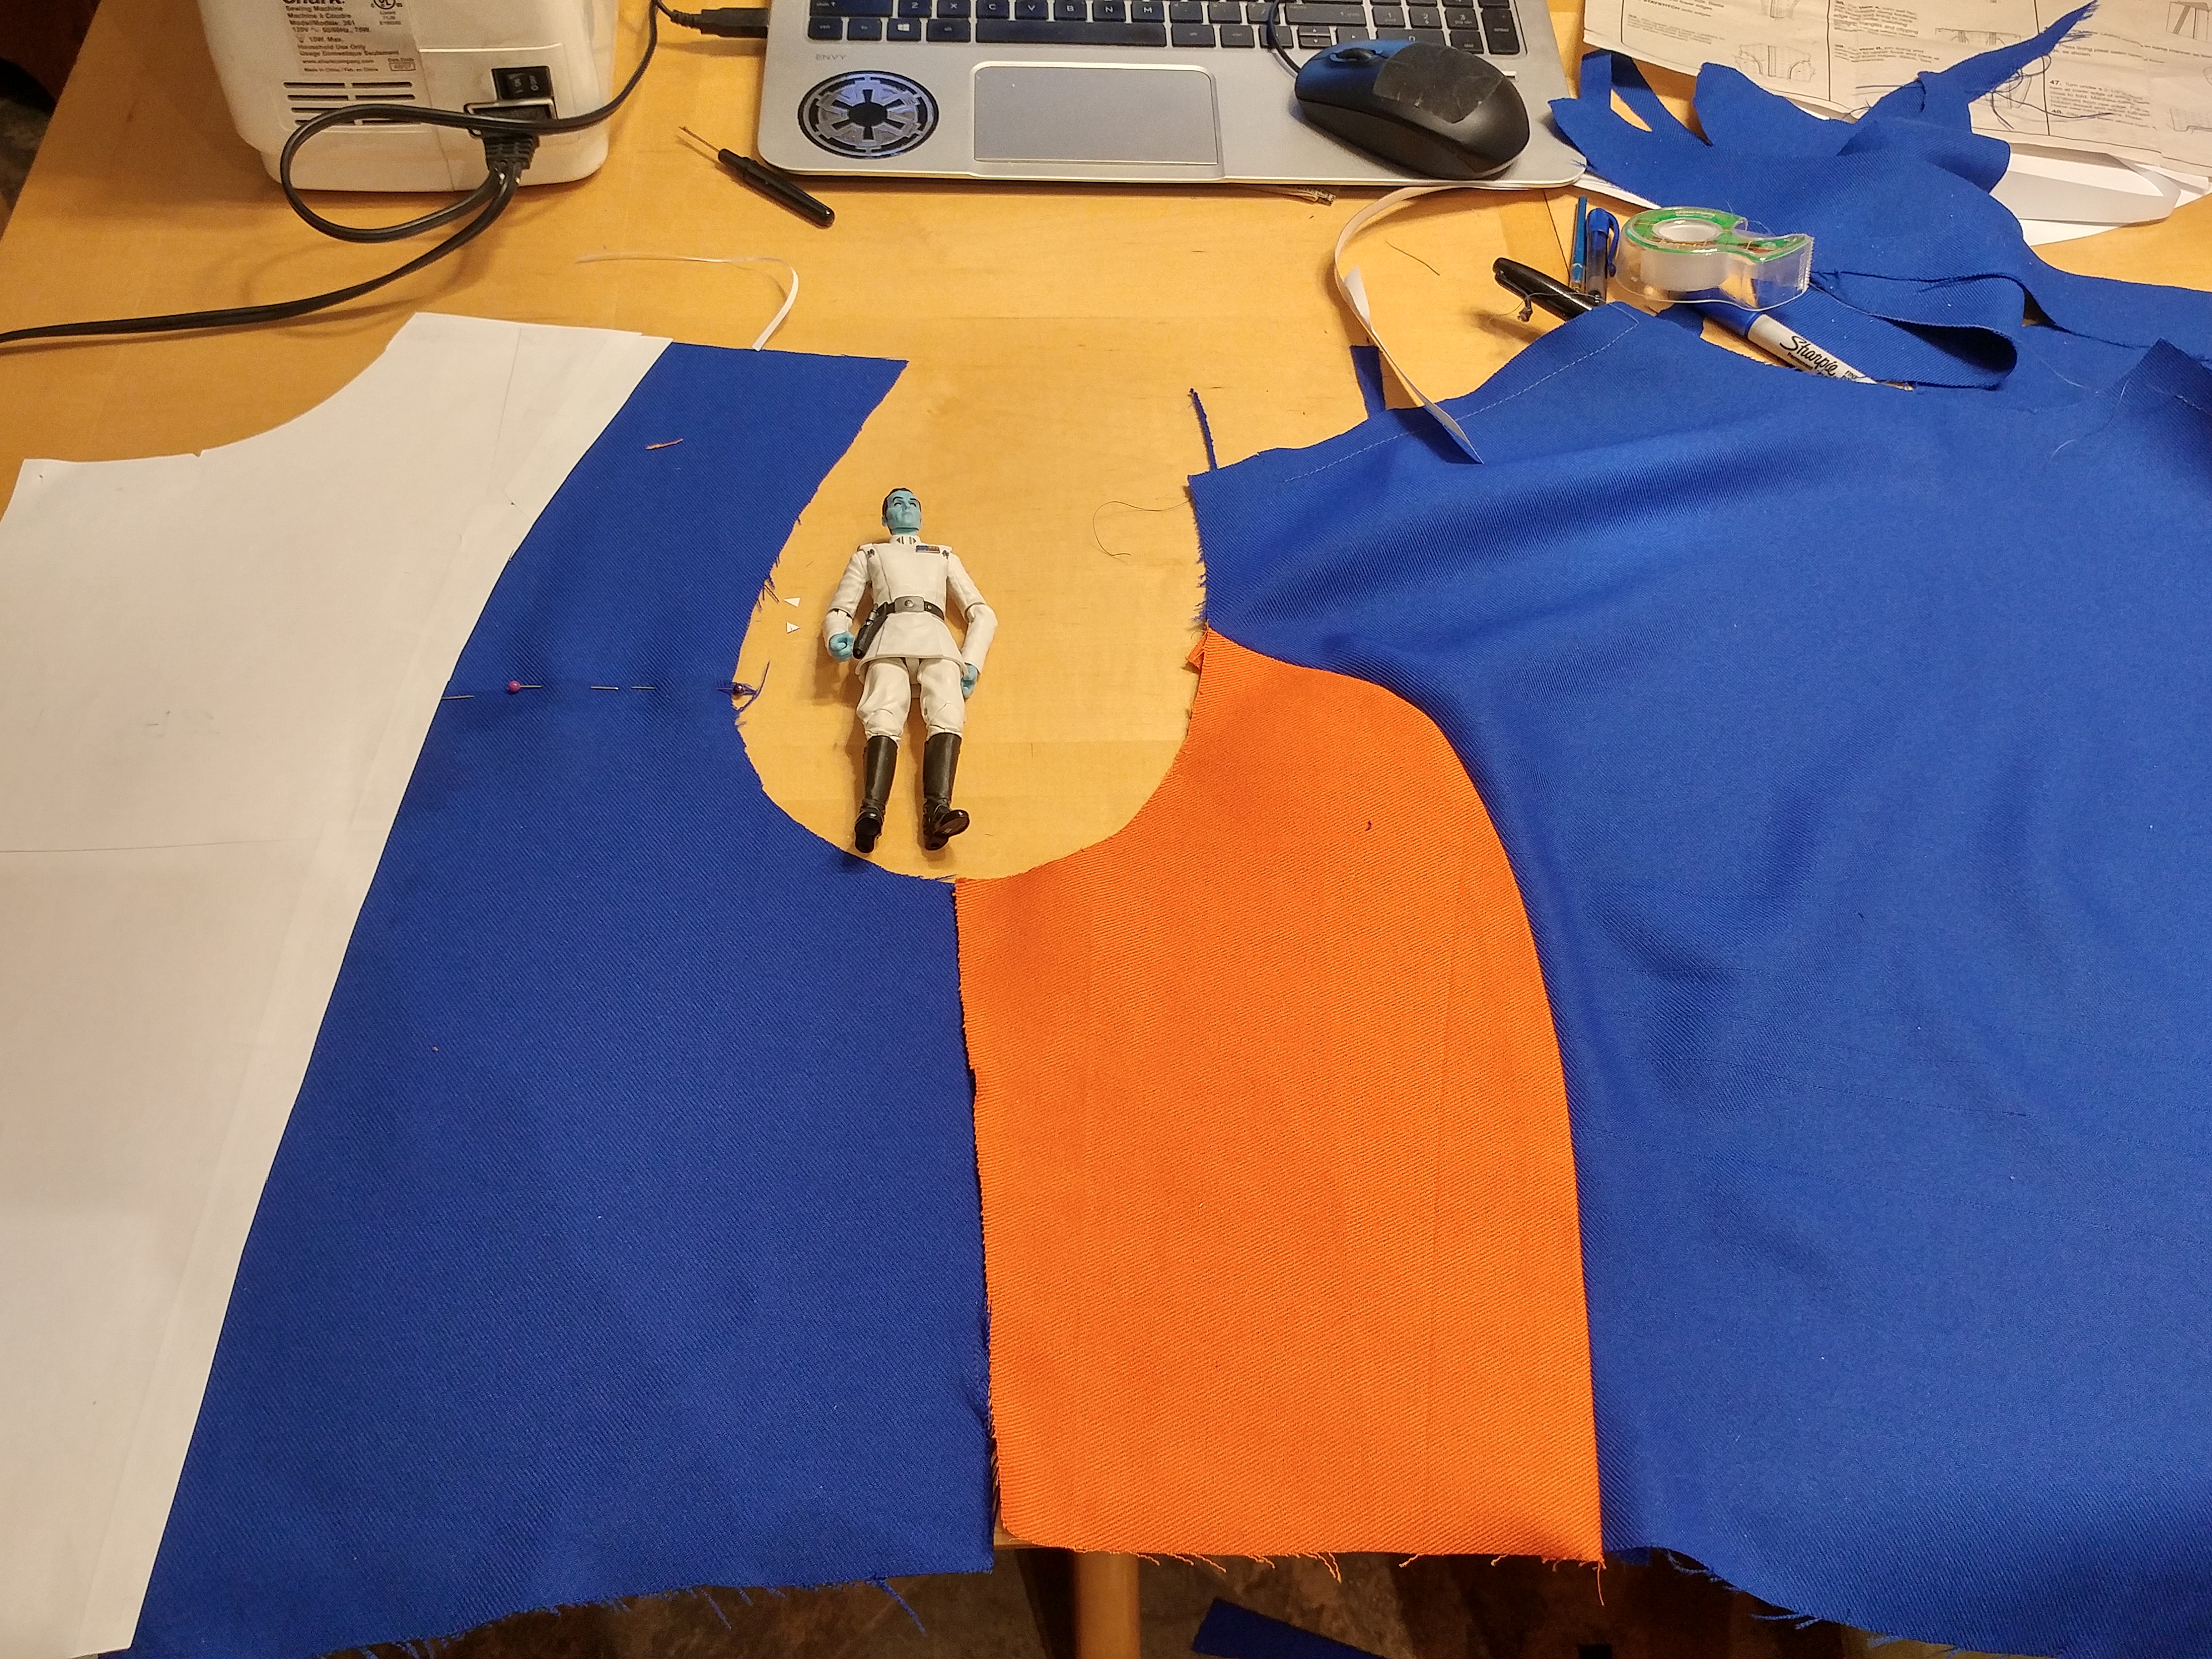
This is where the headaches began. The Imperial tunic and the pattern have this piece(s) as one cut (in the center of orange bit are the edges of the Left/Right side. But because I was making a ‘unique version’, I traced the original pattern onto paper, and cut it into three pieces.
- The Blue section – This piece has the arm-hole and the Code Cylinder pocket
- The top 1/4 of the Blue – This is the separation between the top and bottom with room to insert code cylinders (you can see the bobby pins holding the two pieces together)
- The Orange – This was cut to the shape of the yoke that crosses over.
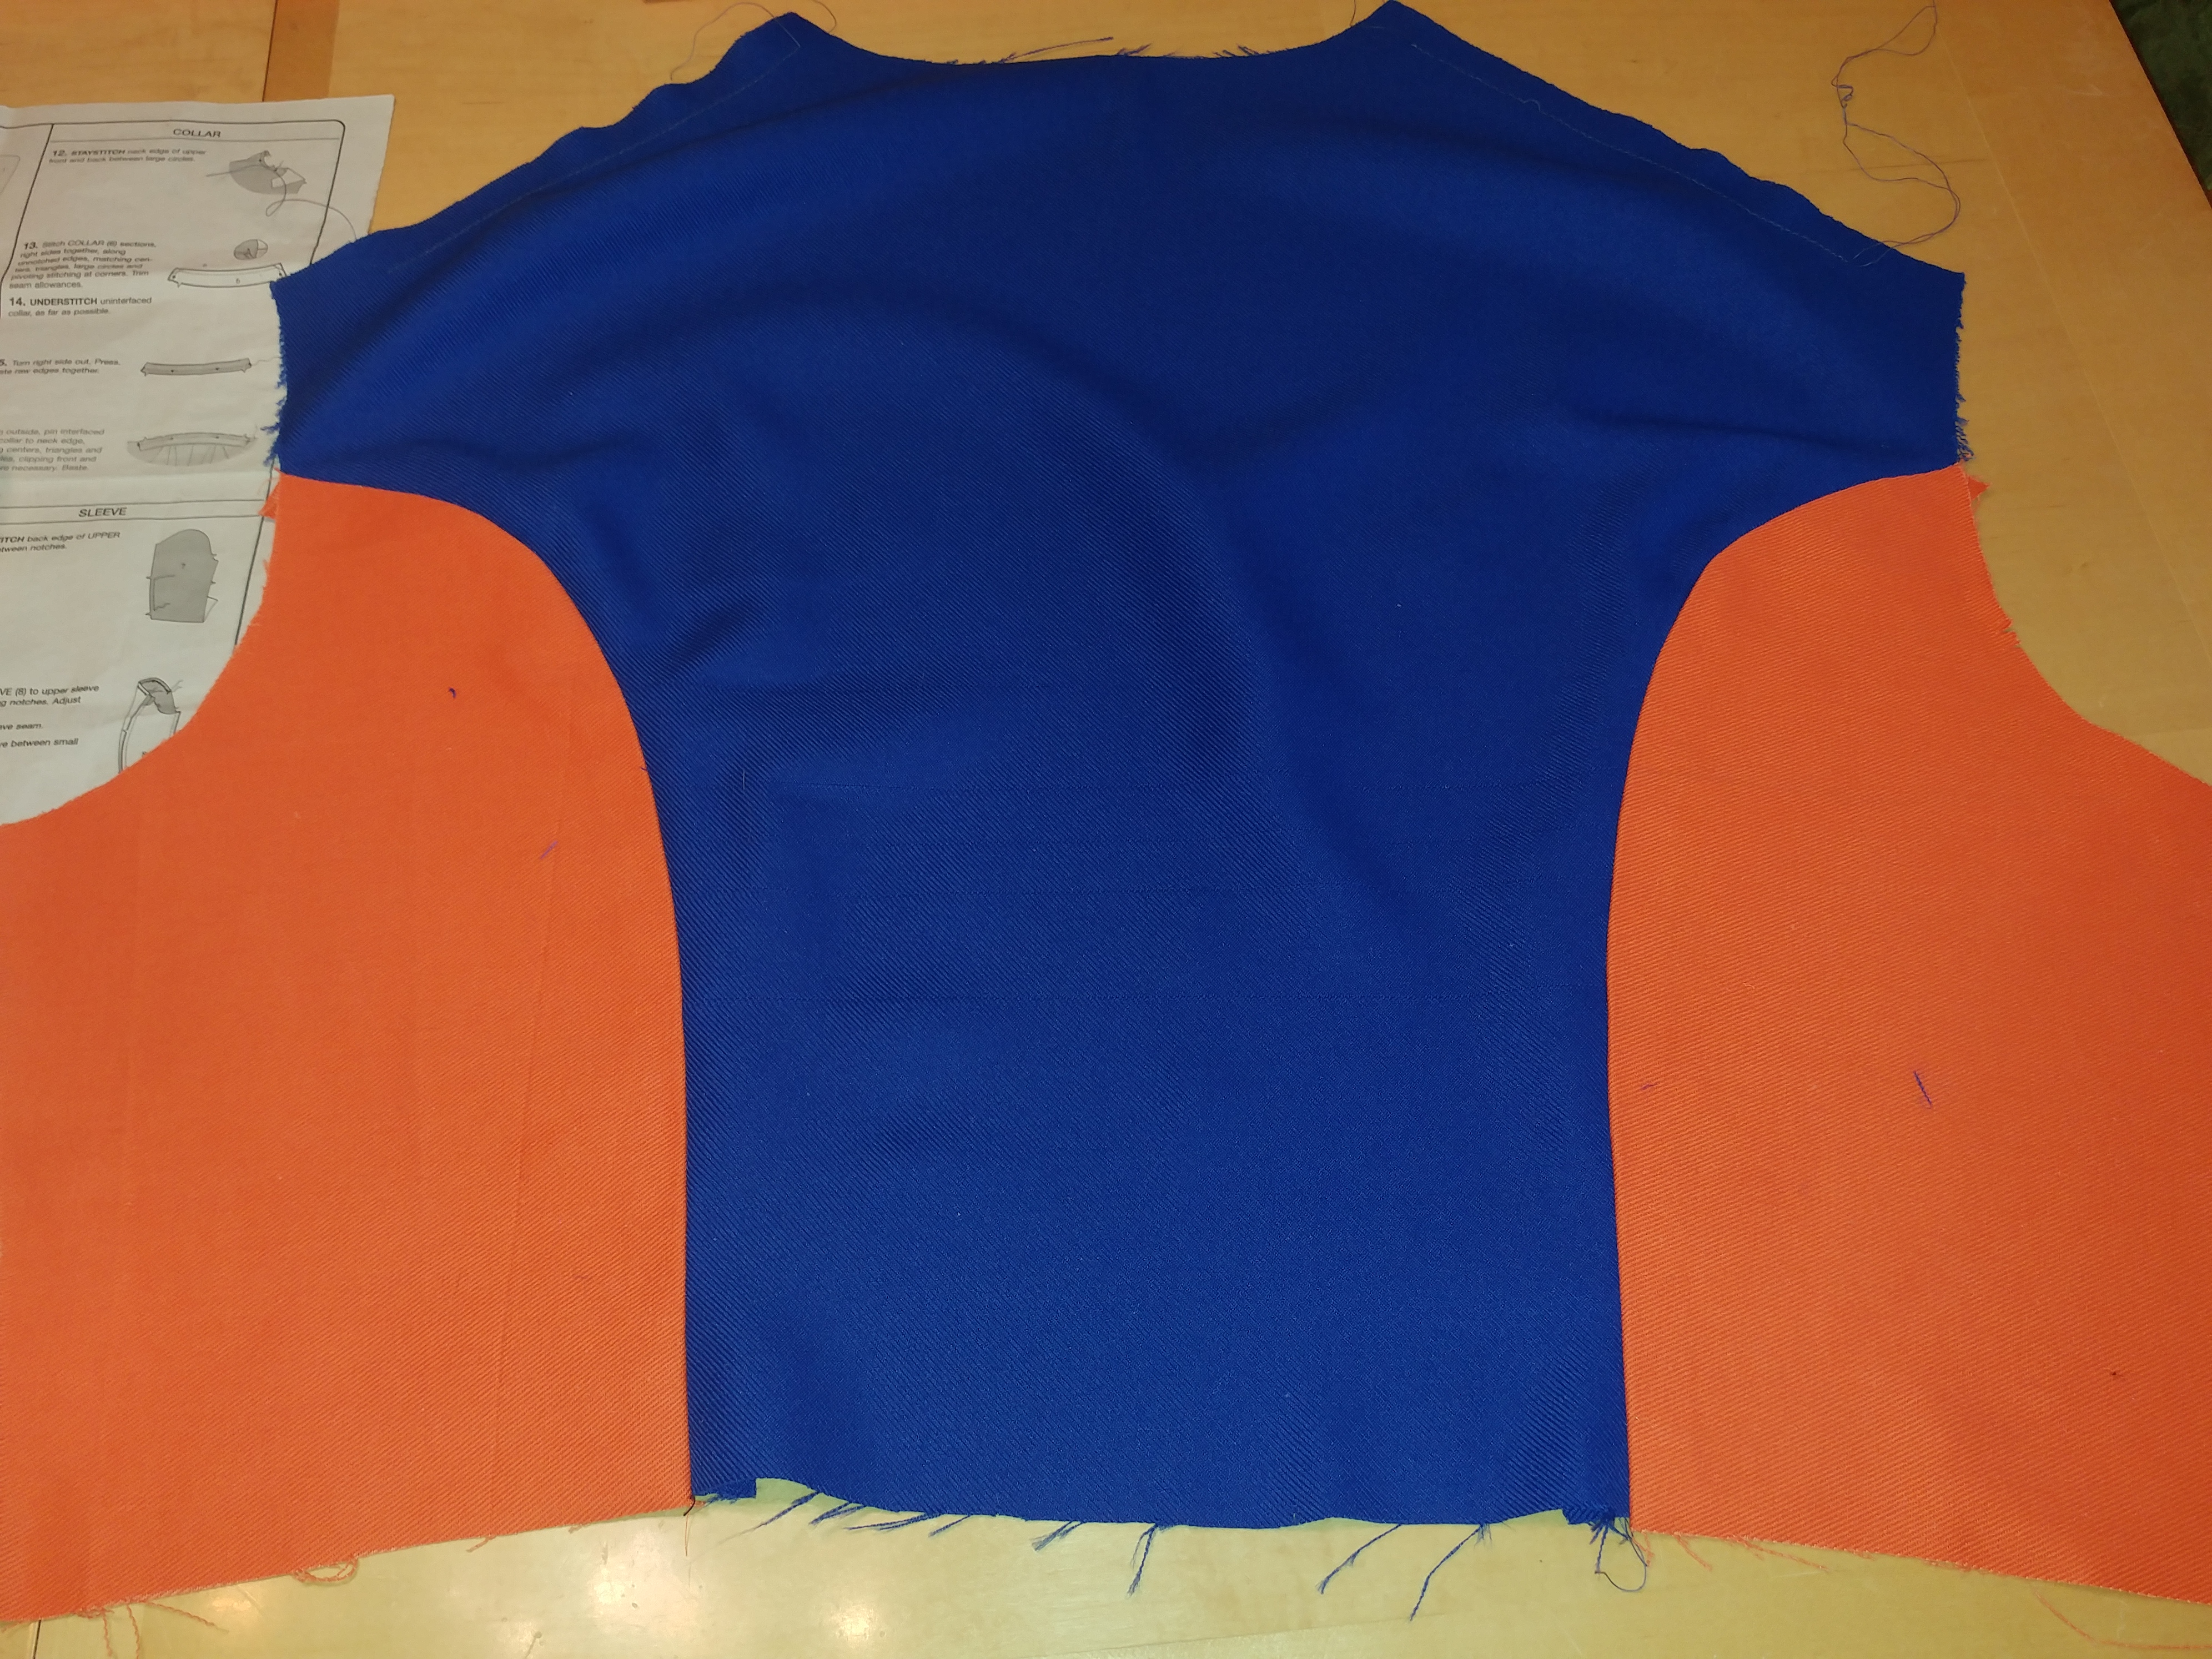
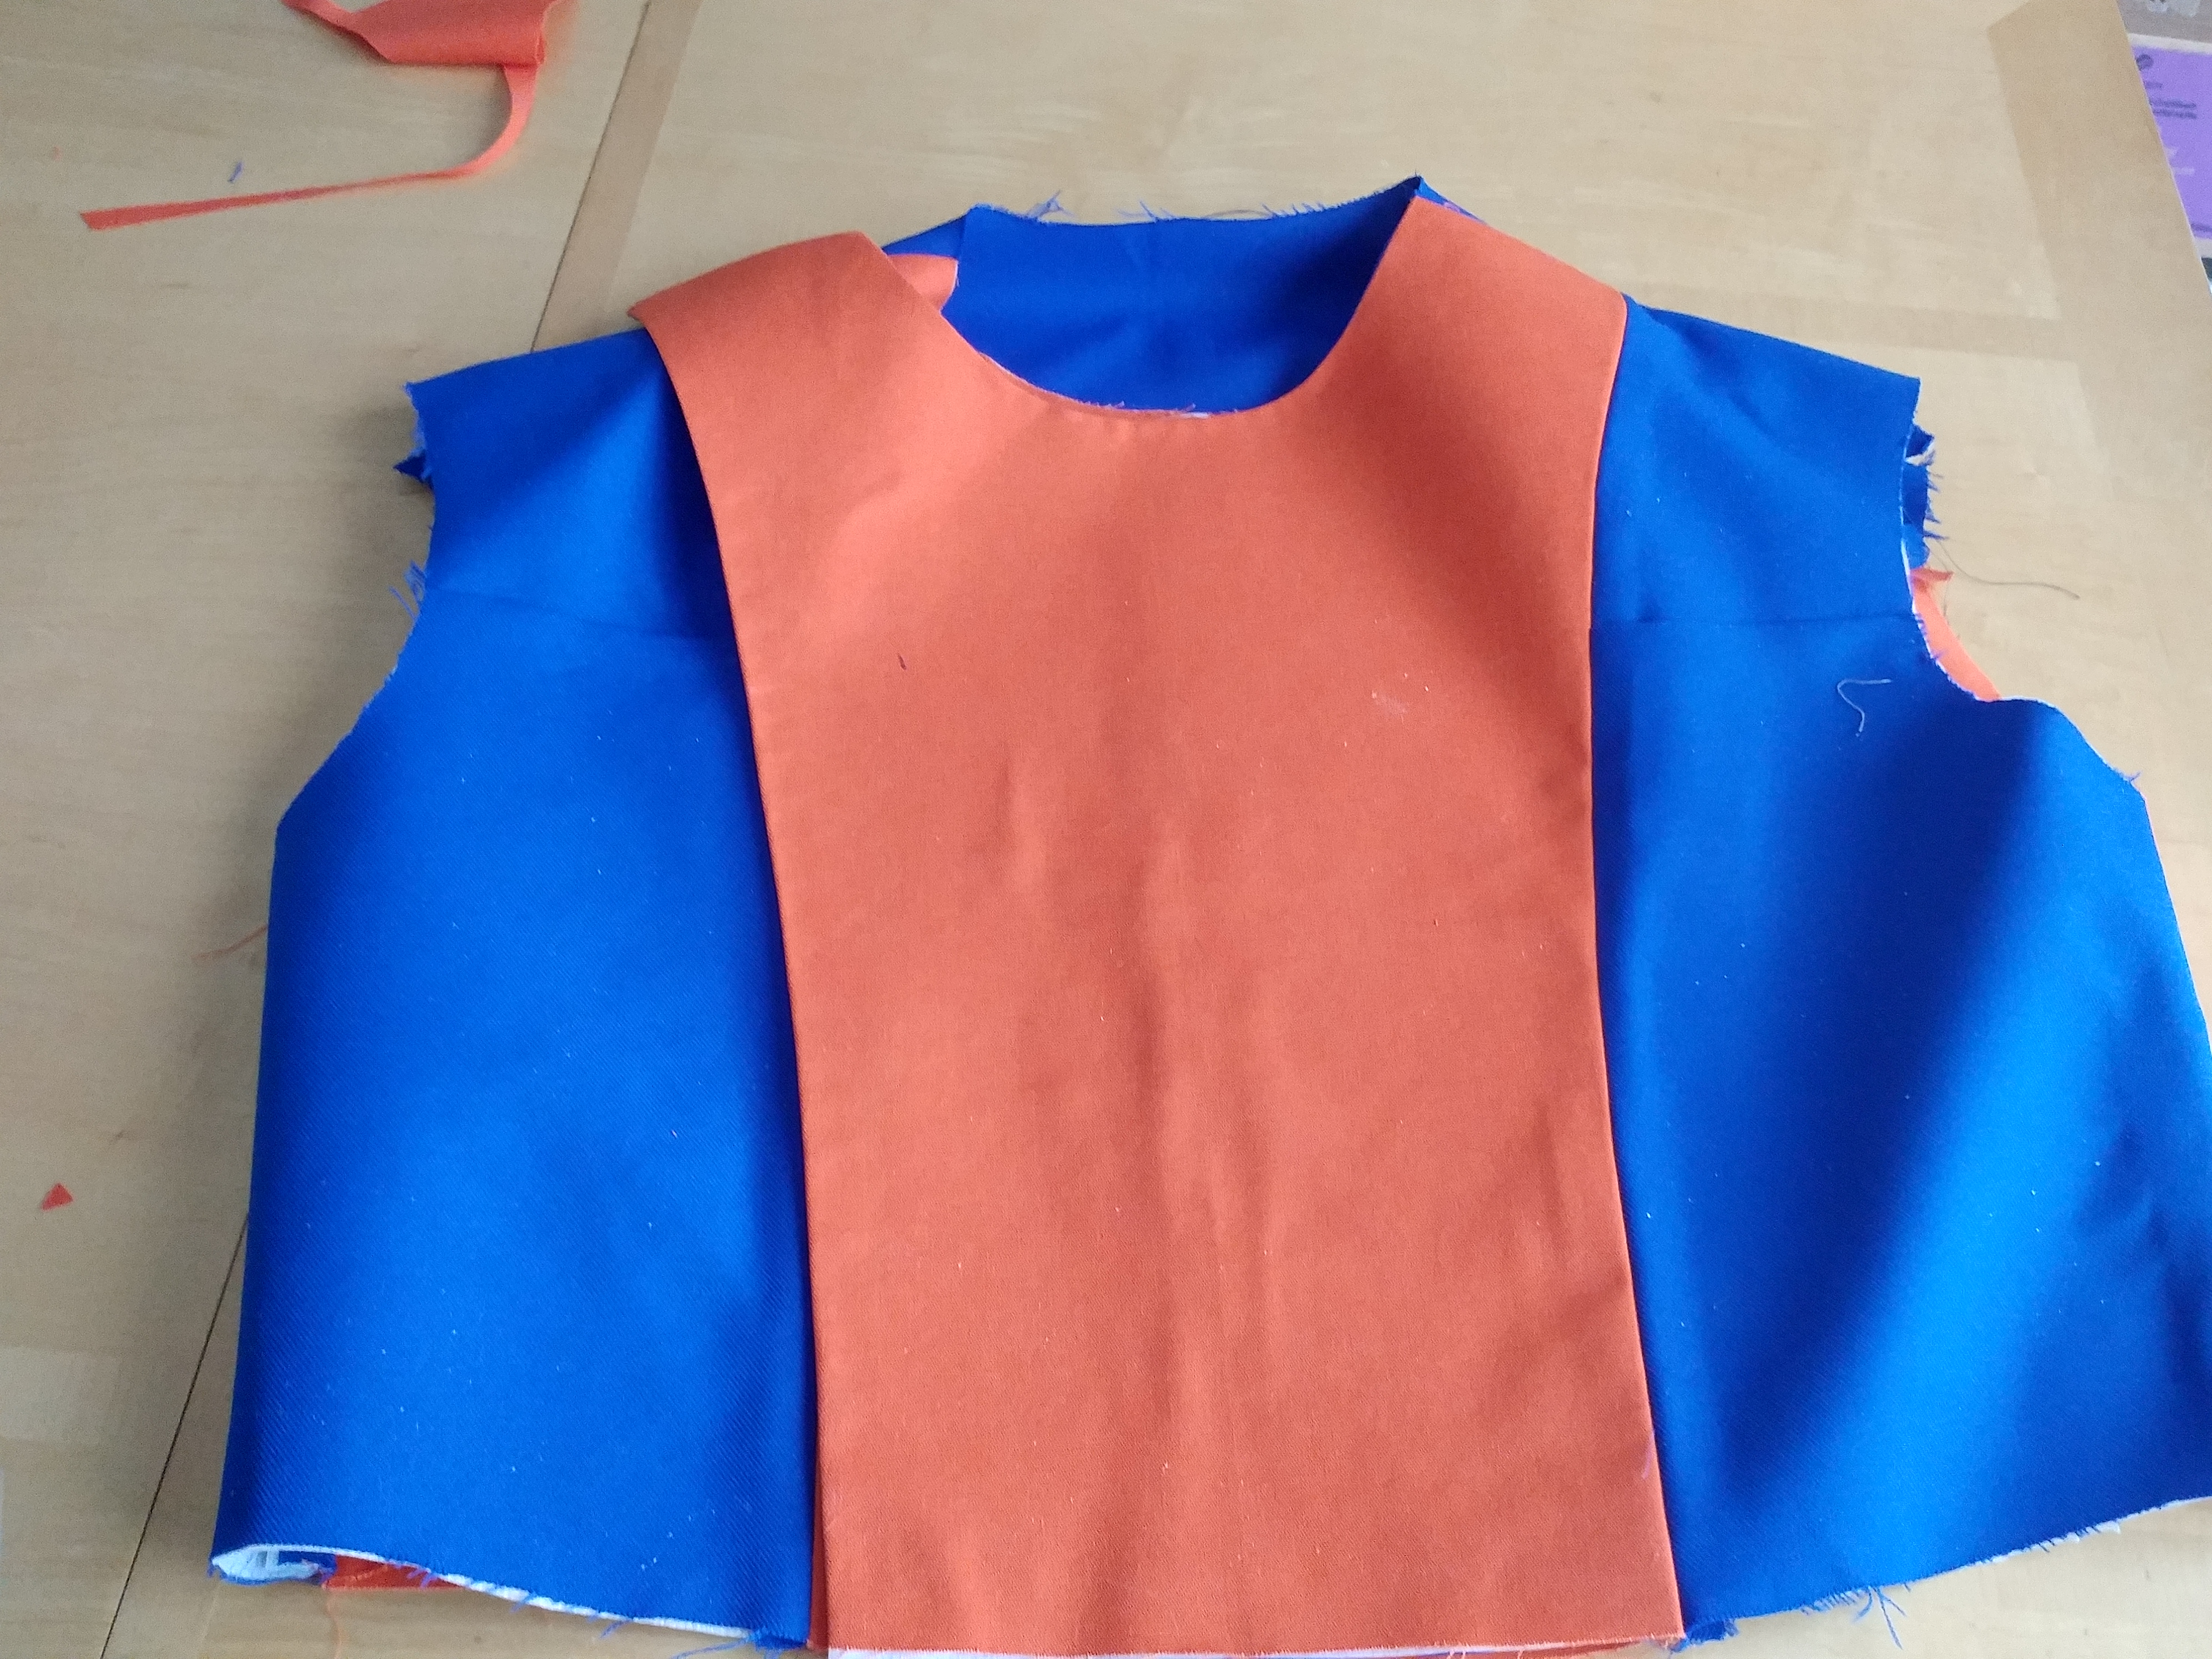
I built the uniform like this so that when I attach the yoke (which is also orange) the new seam would follow the attached piece. It also made sense to me that sewing the yoke panel into the seam to the right side seam would look better that top-stitching it along the seam. Which it does, but caused a ton of problems down the road.
The other reason I wanted the center bit to be orange was that I planned to make the reverse side of the yoke blue. So if I wanted, I could un-button the snaps holding the the top of the yoke to the right side, the flap would fall, and the color scheme of orange/on blue would still there.
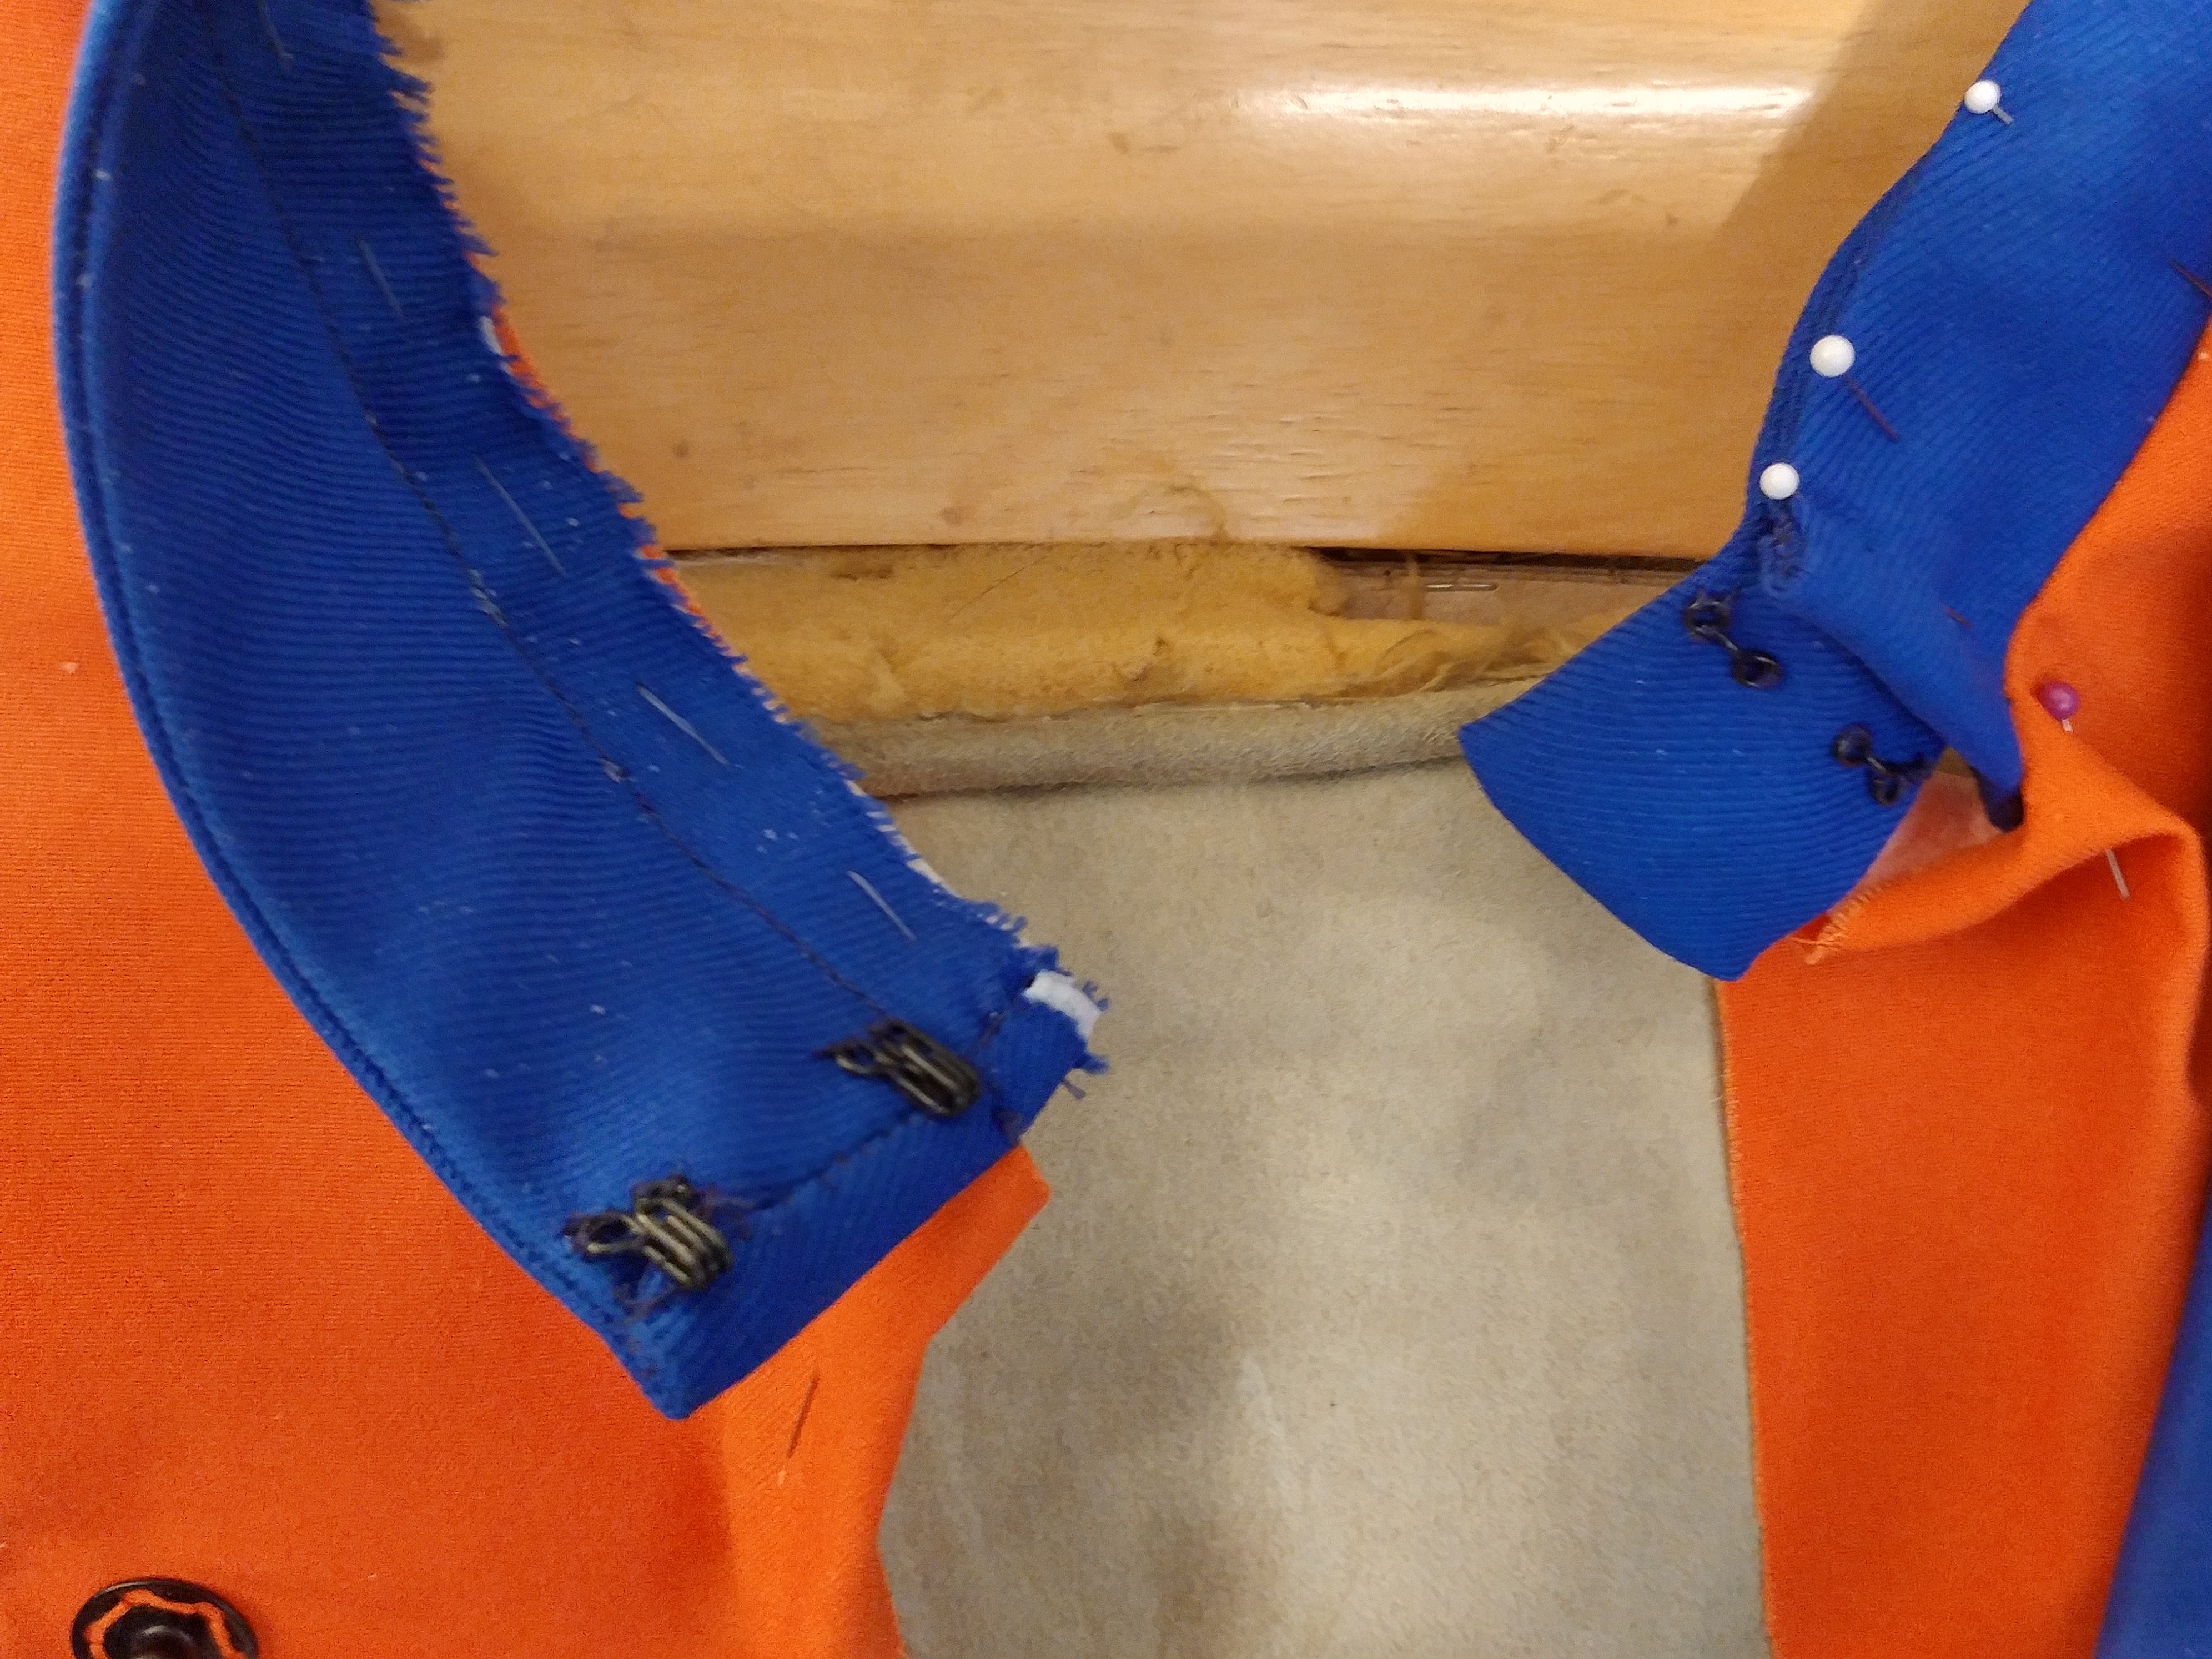
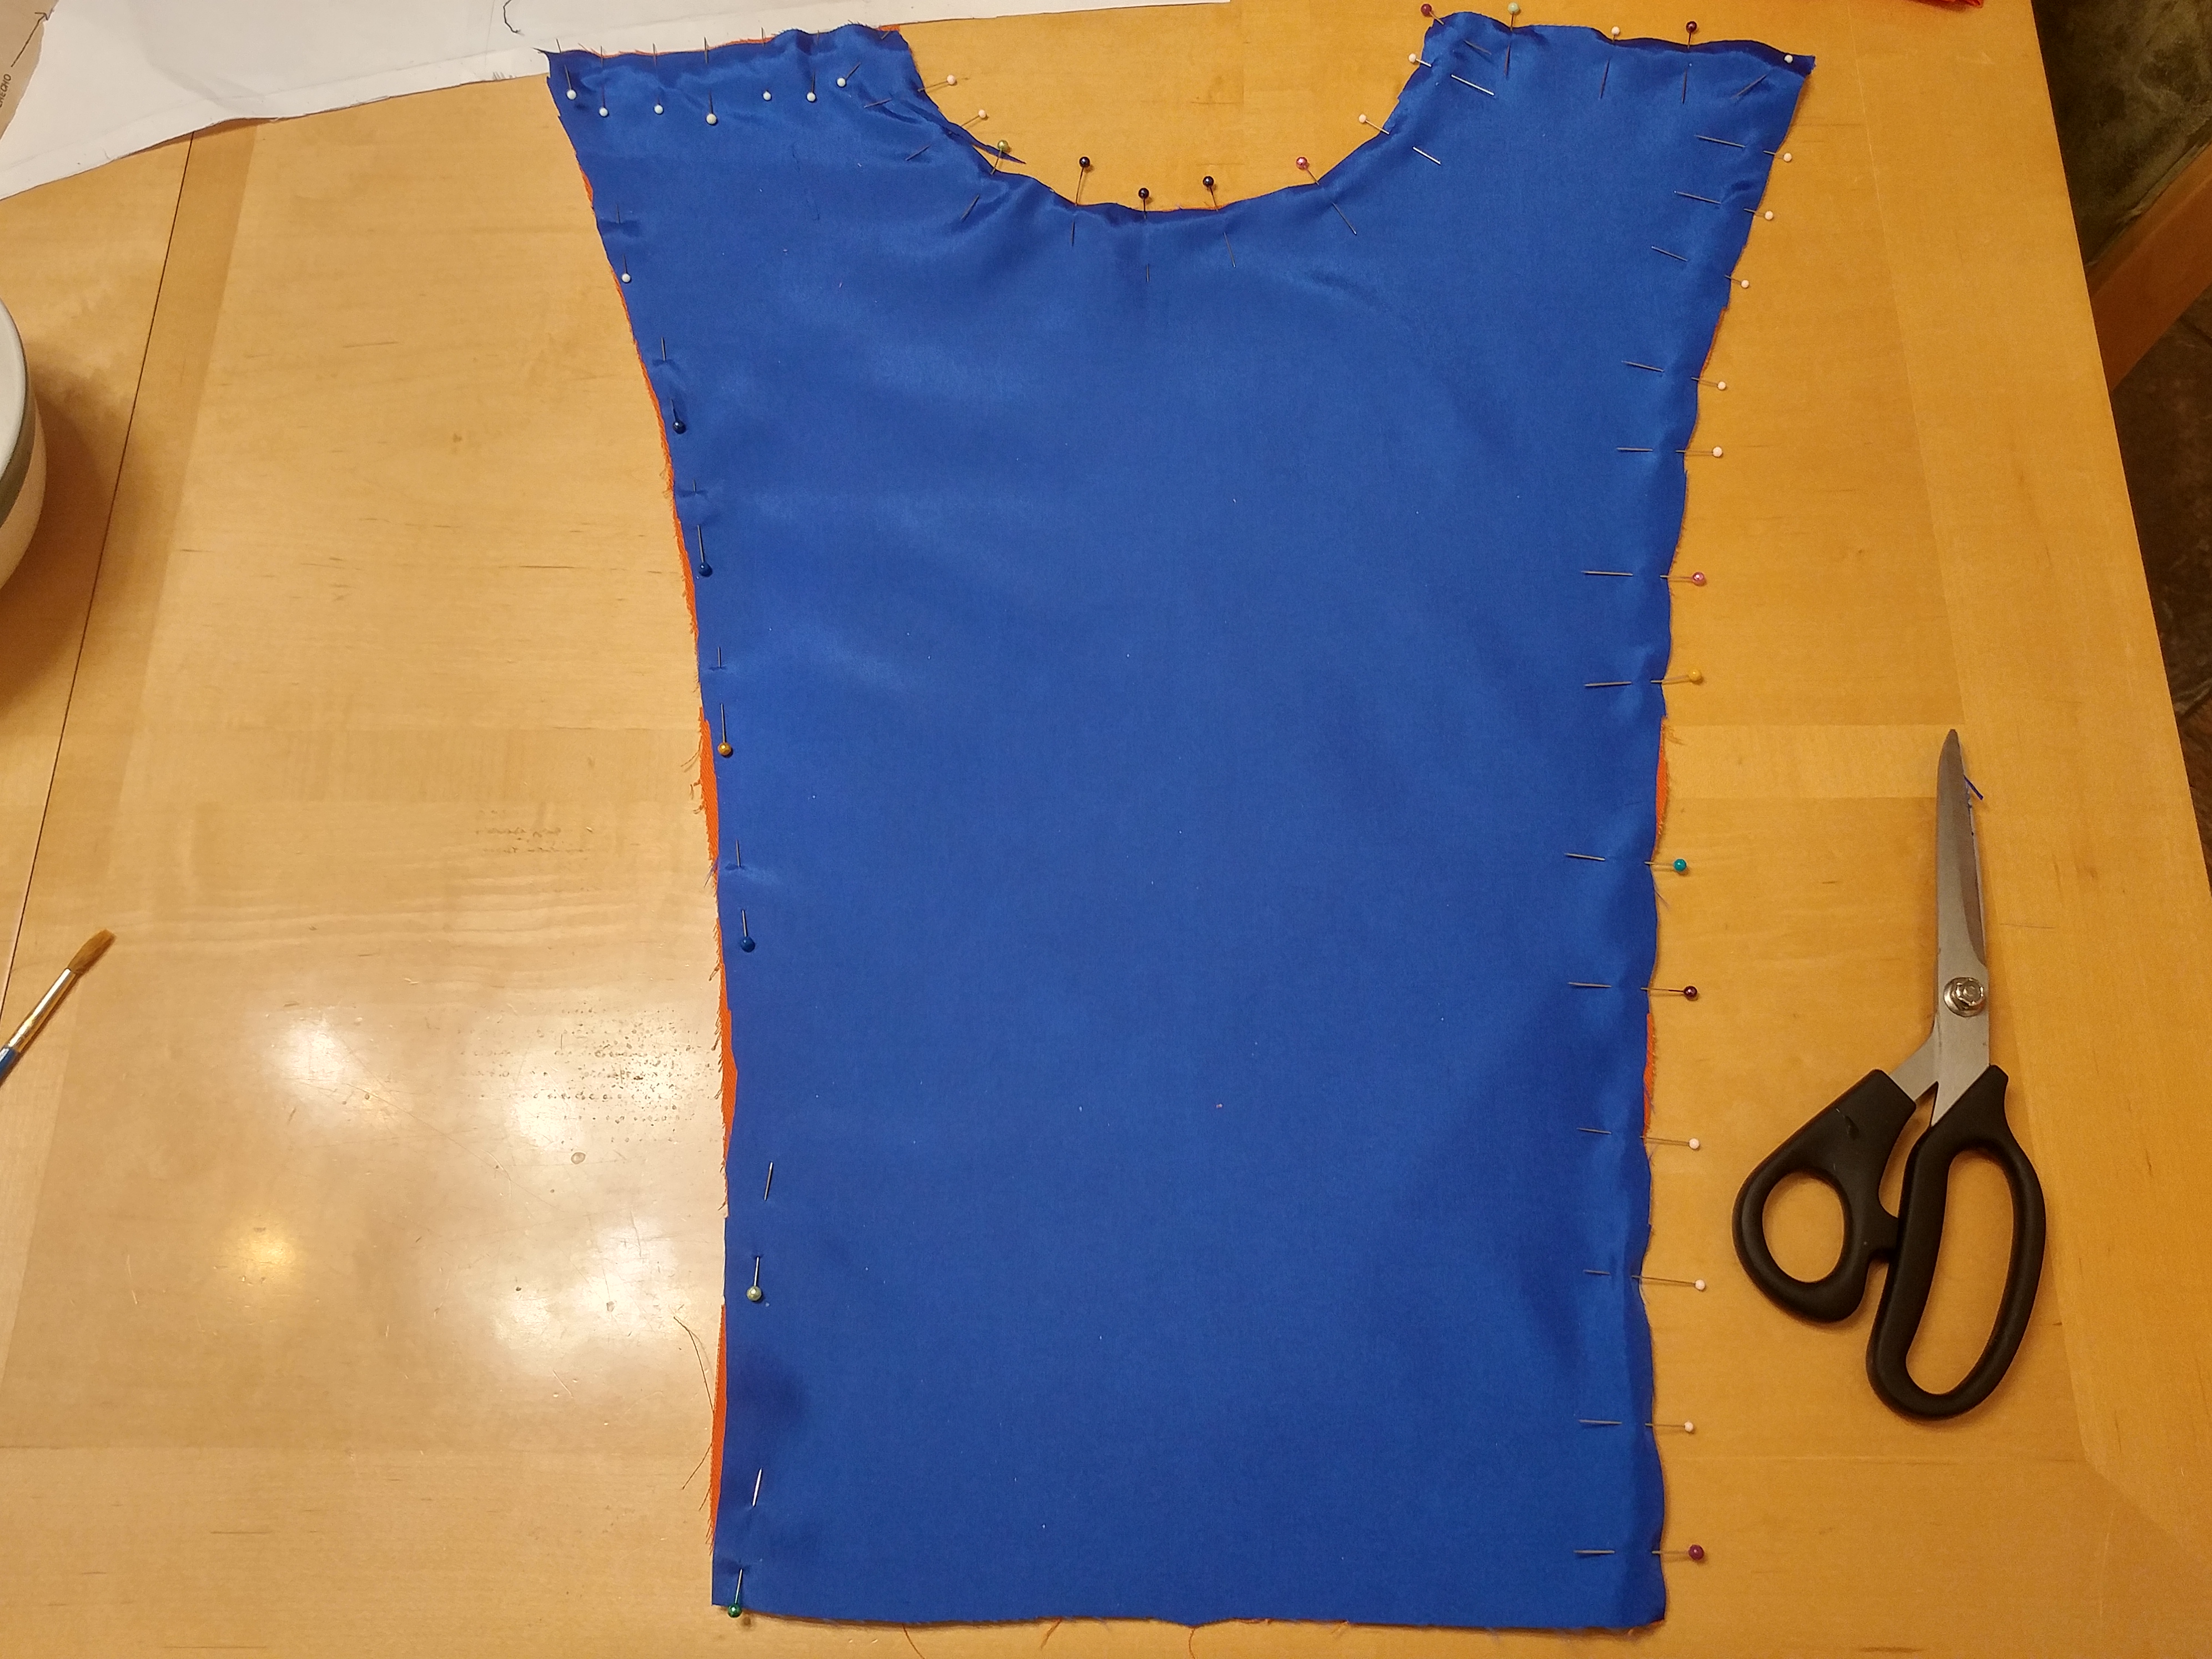
With the front and back pieces ‘completed’, I of course, sewed those together and added the Mandarin Collar. The collar for the pattern was a little shorter than i liked so I added a 1/2″ when I cut out the fabric. I wish the collar was about 1/2″ larger than that after I had attached it. Oh well, next uniform I’ll get it right. The collar is secured by two hook fasteners on the corners with a ‘modesty’ panel behind it. I guess in ye olde times, having your neck skin showing through the gap was immoral.
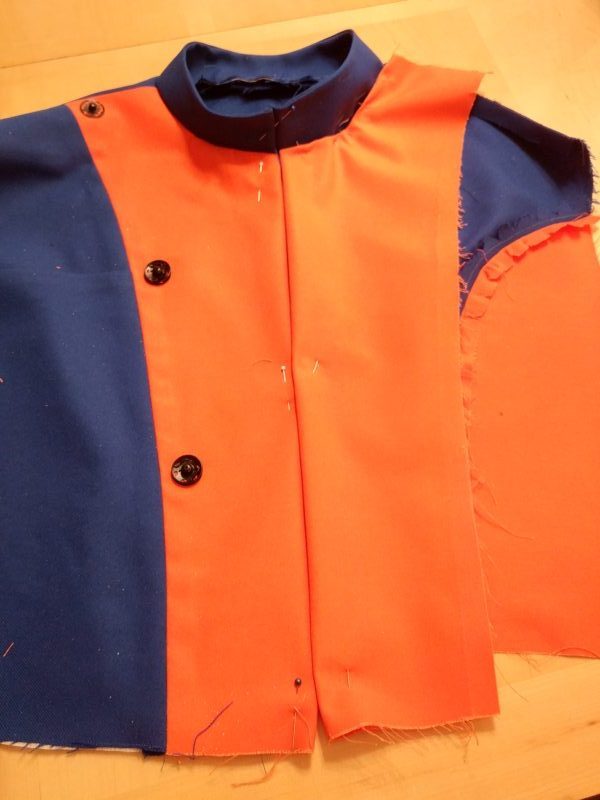
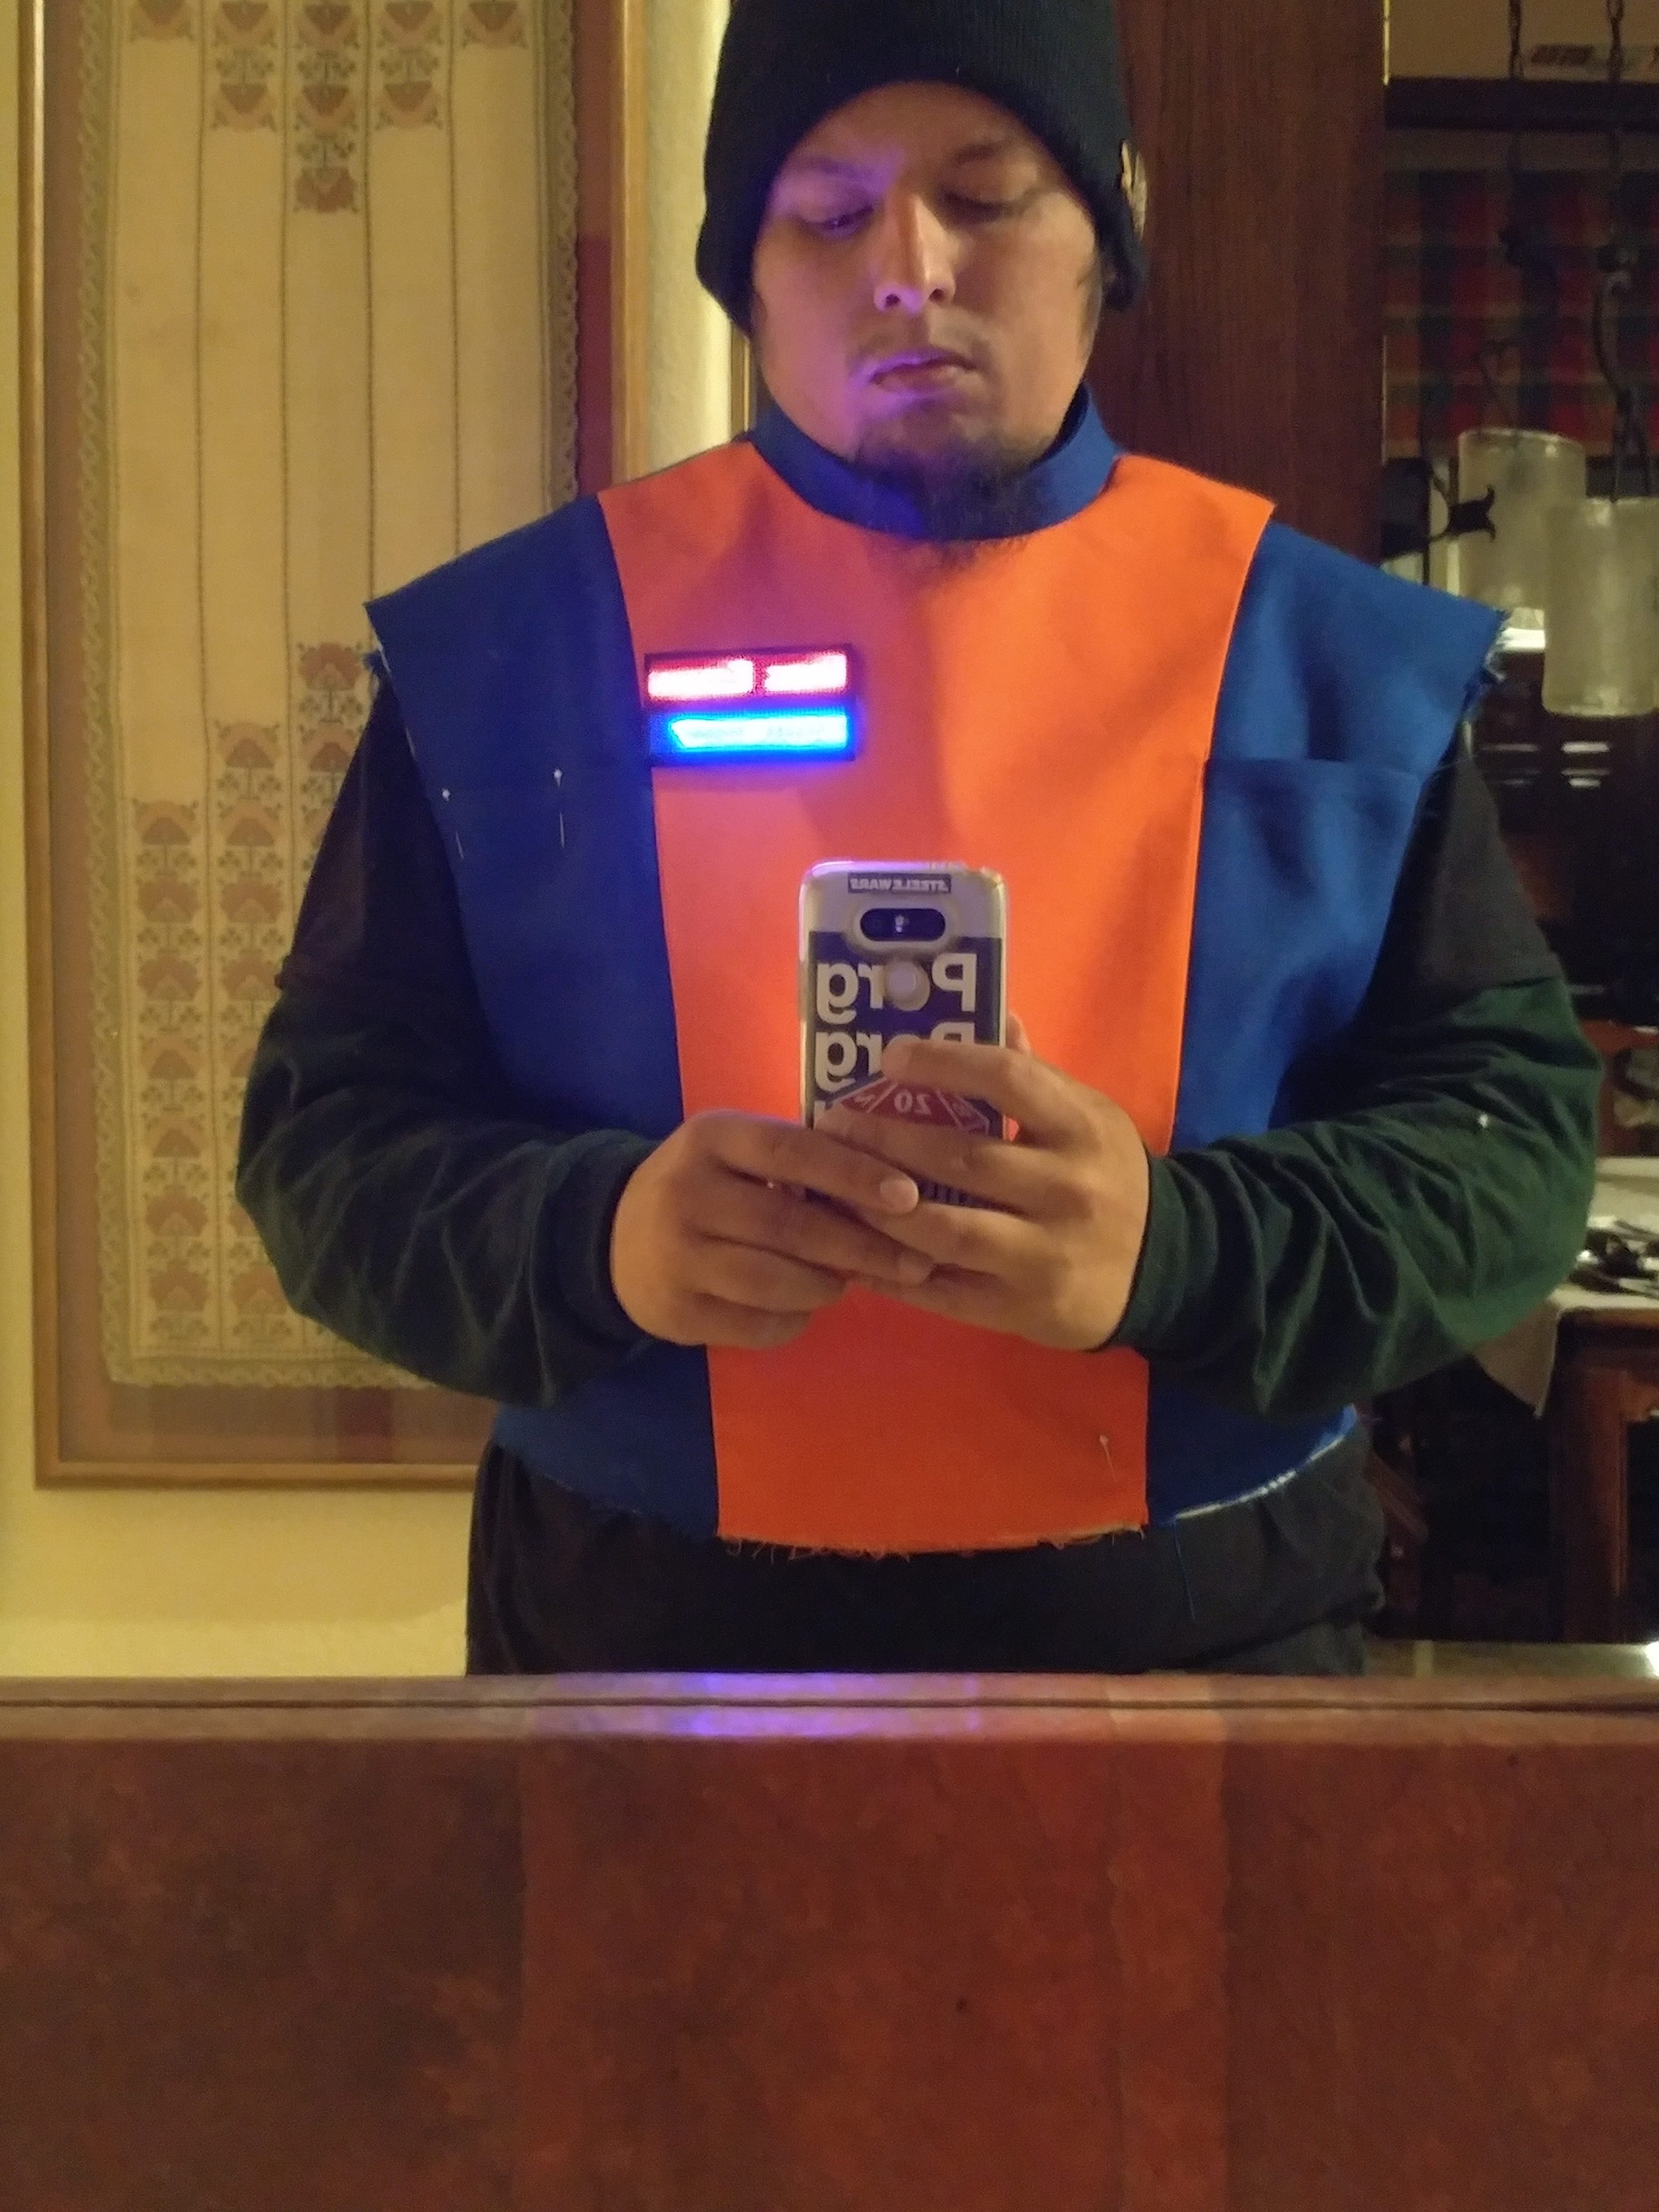
With the yoke done I started adding the snaps to the right side of the jacket making sure the edge of the yoke would cover the orange/blue seam when it was attached (left picture). The right-most picture is the first test fitting with pieces that actually fit together, this was taken about 3AM. Champion. Are you wondering what those lights are on my chest? Well…
SCROLLING LED NAME TAGS. That are programmable with the fonts on your computer. Of course I have Aurabesh. These are both programmed with the same info, Aurabesh is just a wider font than normal roman characters so they don’t always show the same info. I also programmed a little starspeeder. These are part of a different project for the costumes I hope to get done AFTER the costumes are finished.
Still here? Cool, we’re almost sorta done. Promise.
That last thing for the tunic is to make the lower half or ‘skirt’. This was mostly a straight forward process. No crazily shaped custom pieces.
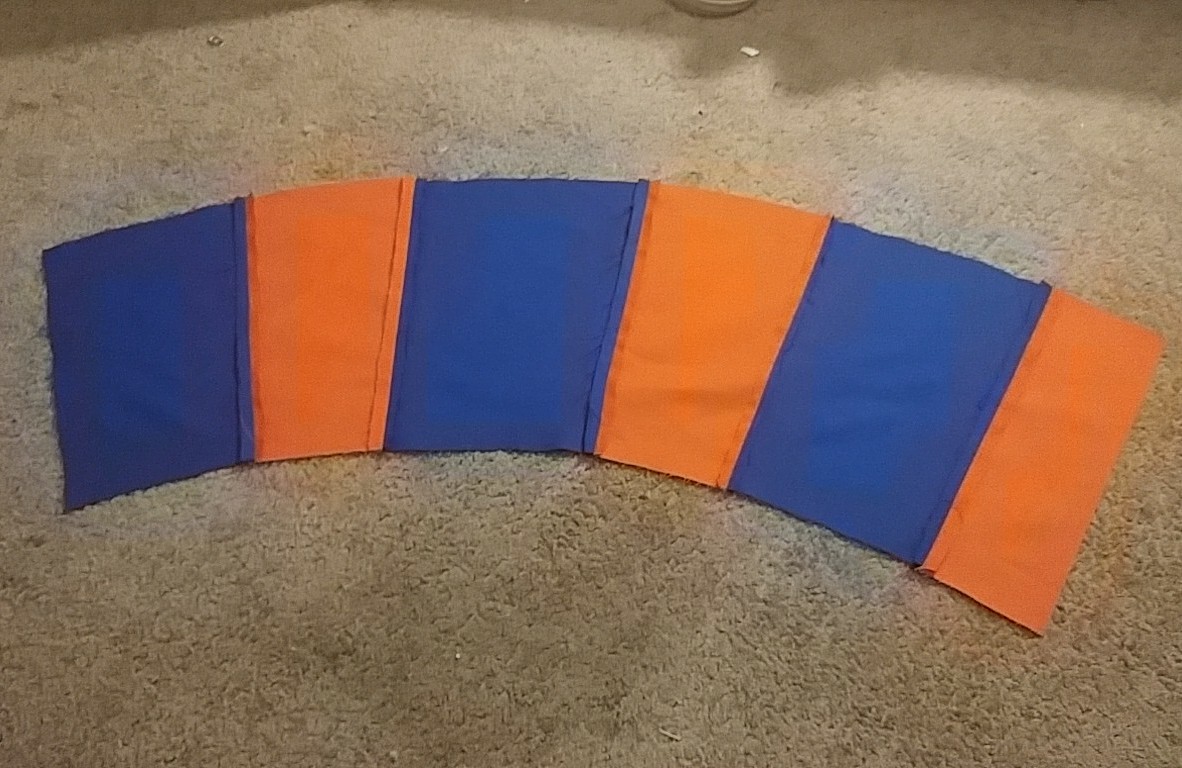
The skirt pieces are, for the most part, trapezoids in alternating colors. Laid out on my floor, I felt like i was making a skirt for a Denver Broncos/Idaho State cheer squad (the colors and shape.) I also began to lose sanity a bit because I started writing notes on the custom pattern pieces.
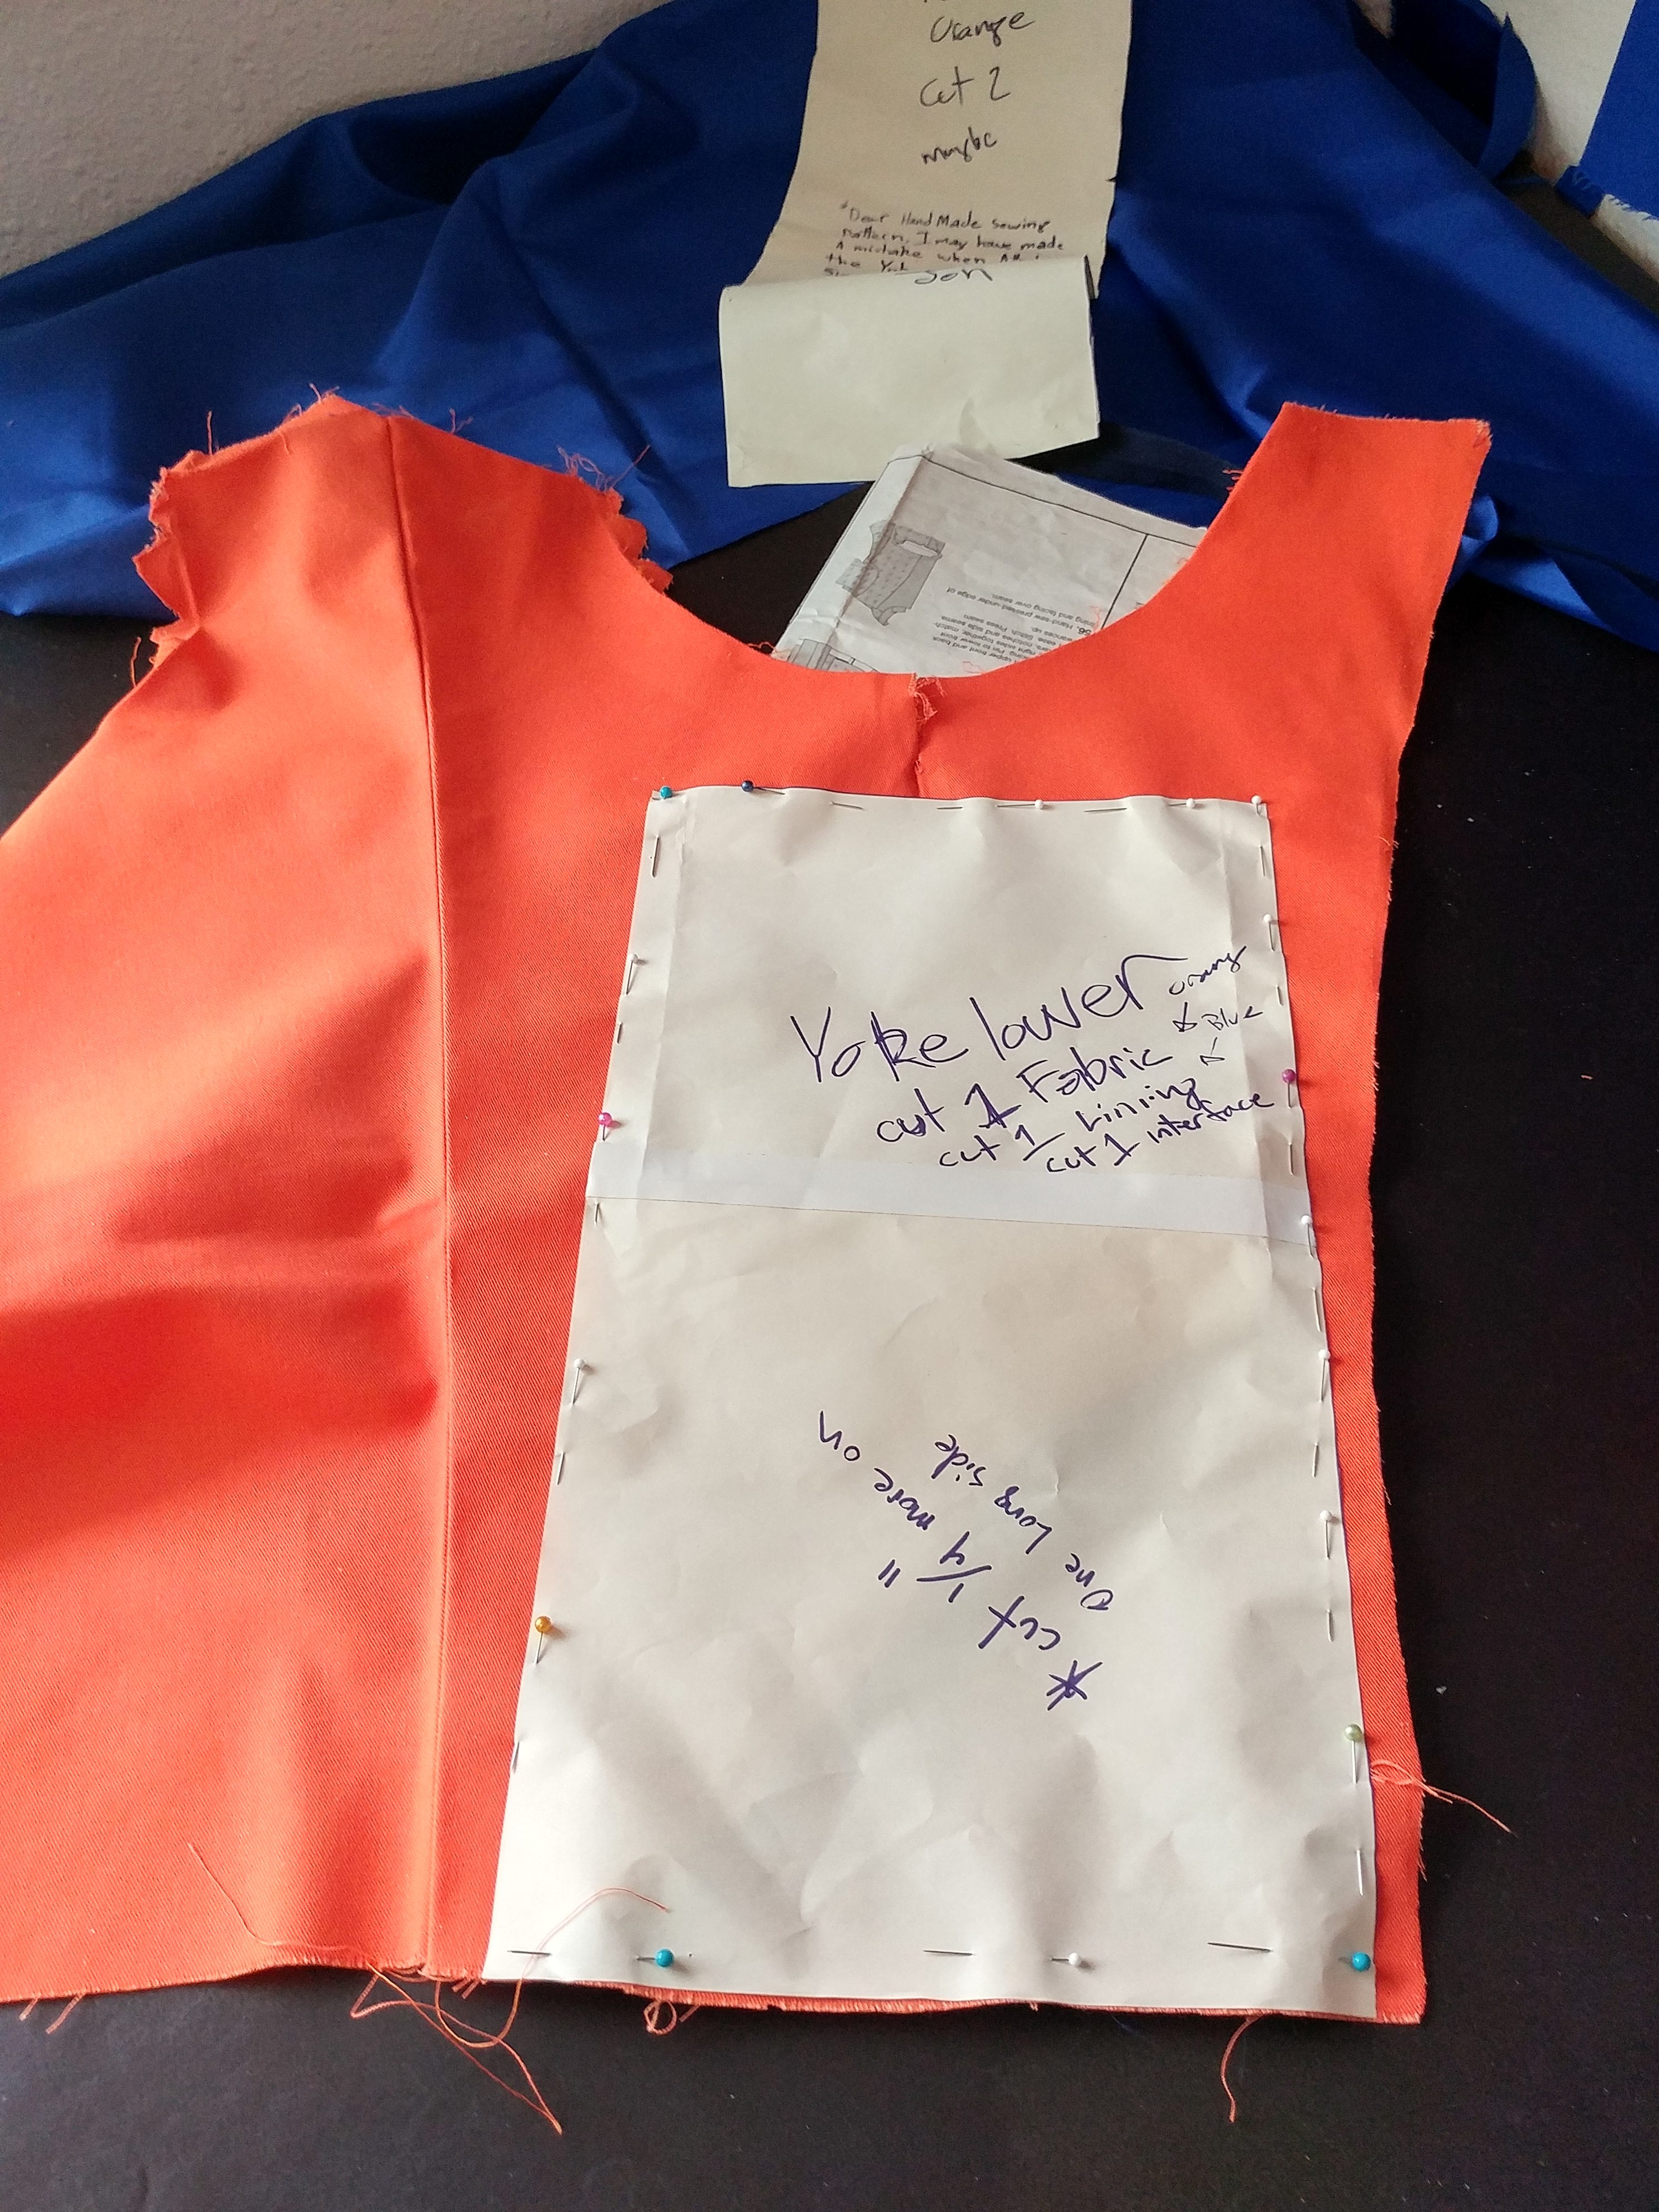
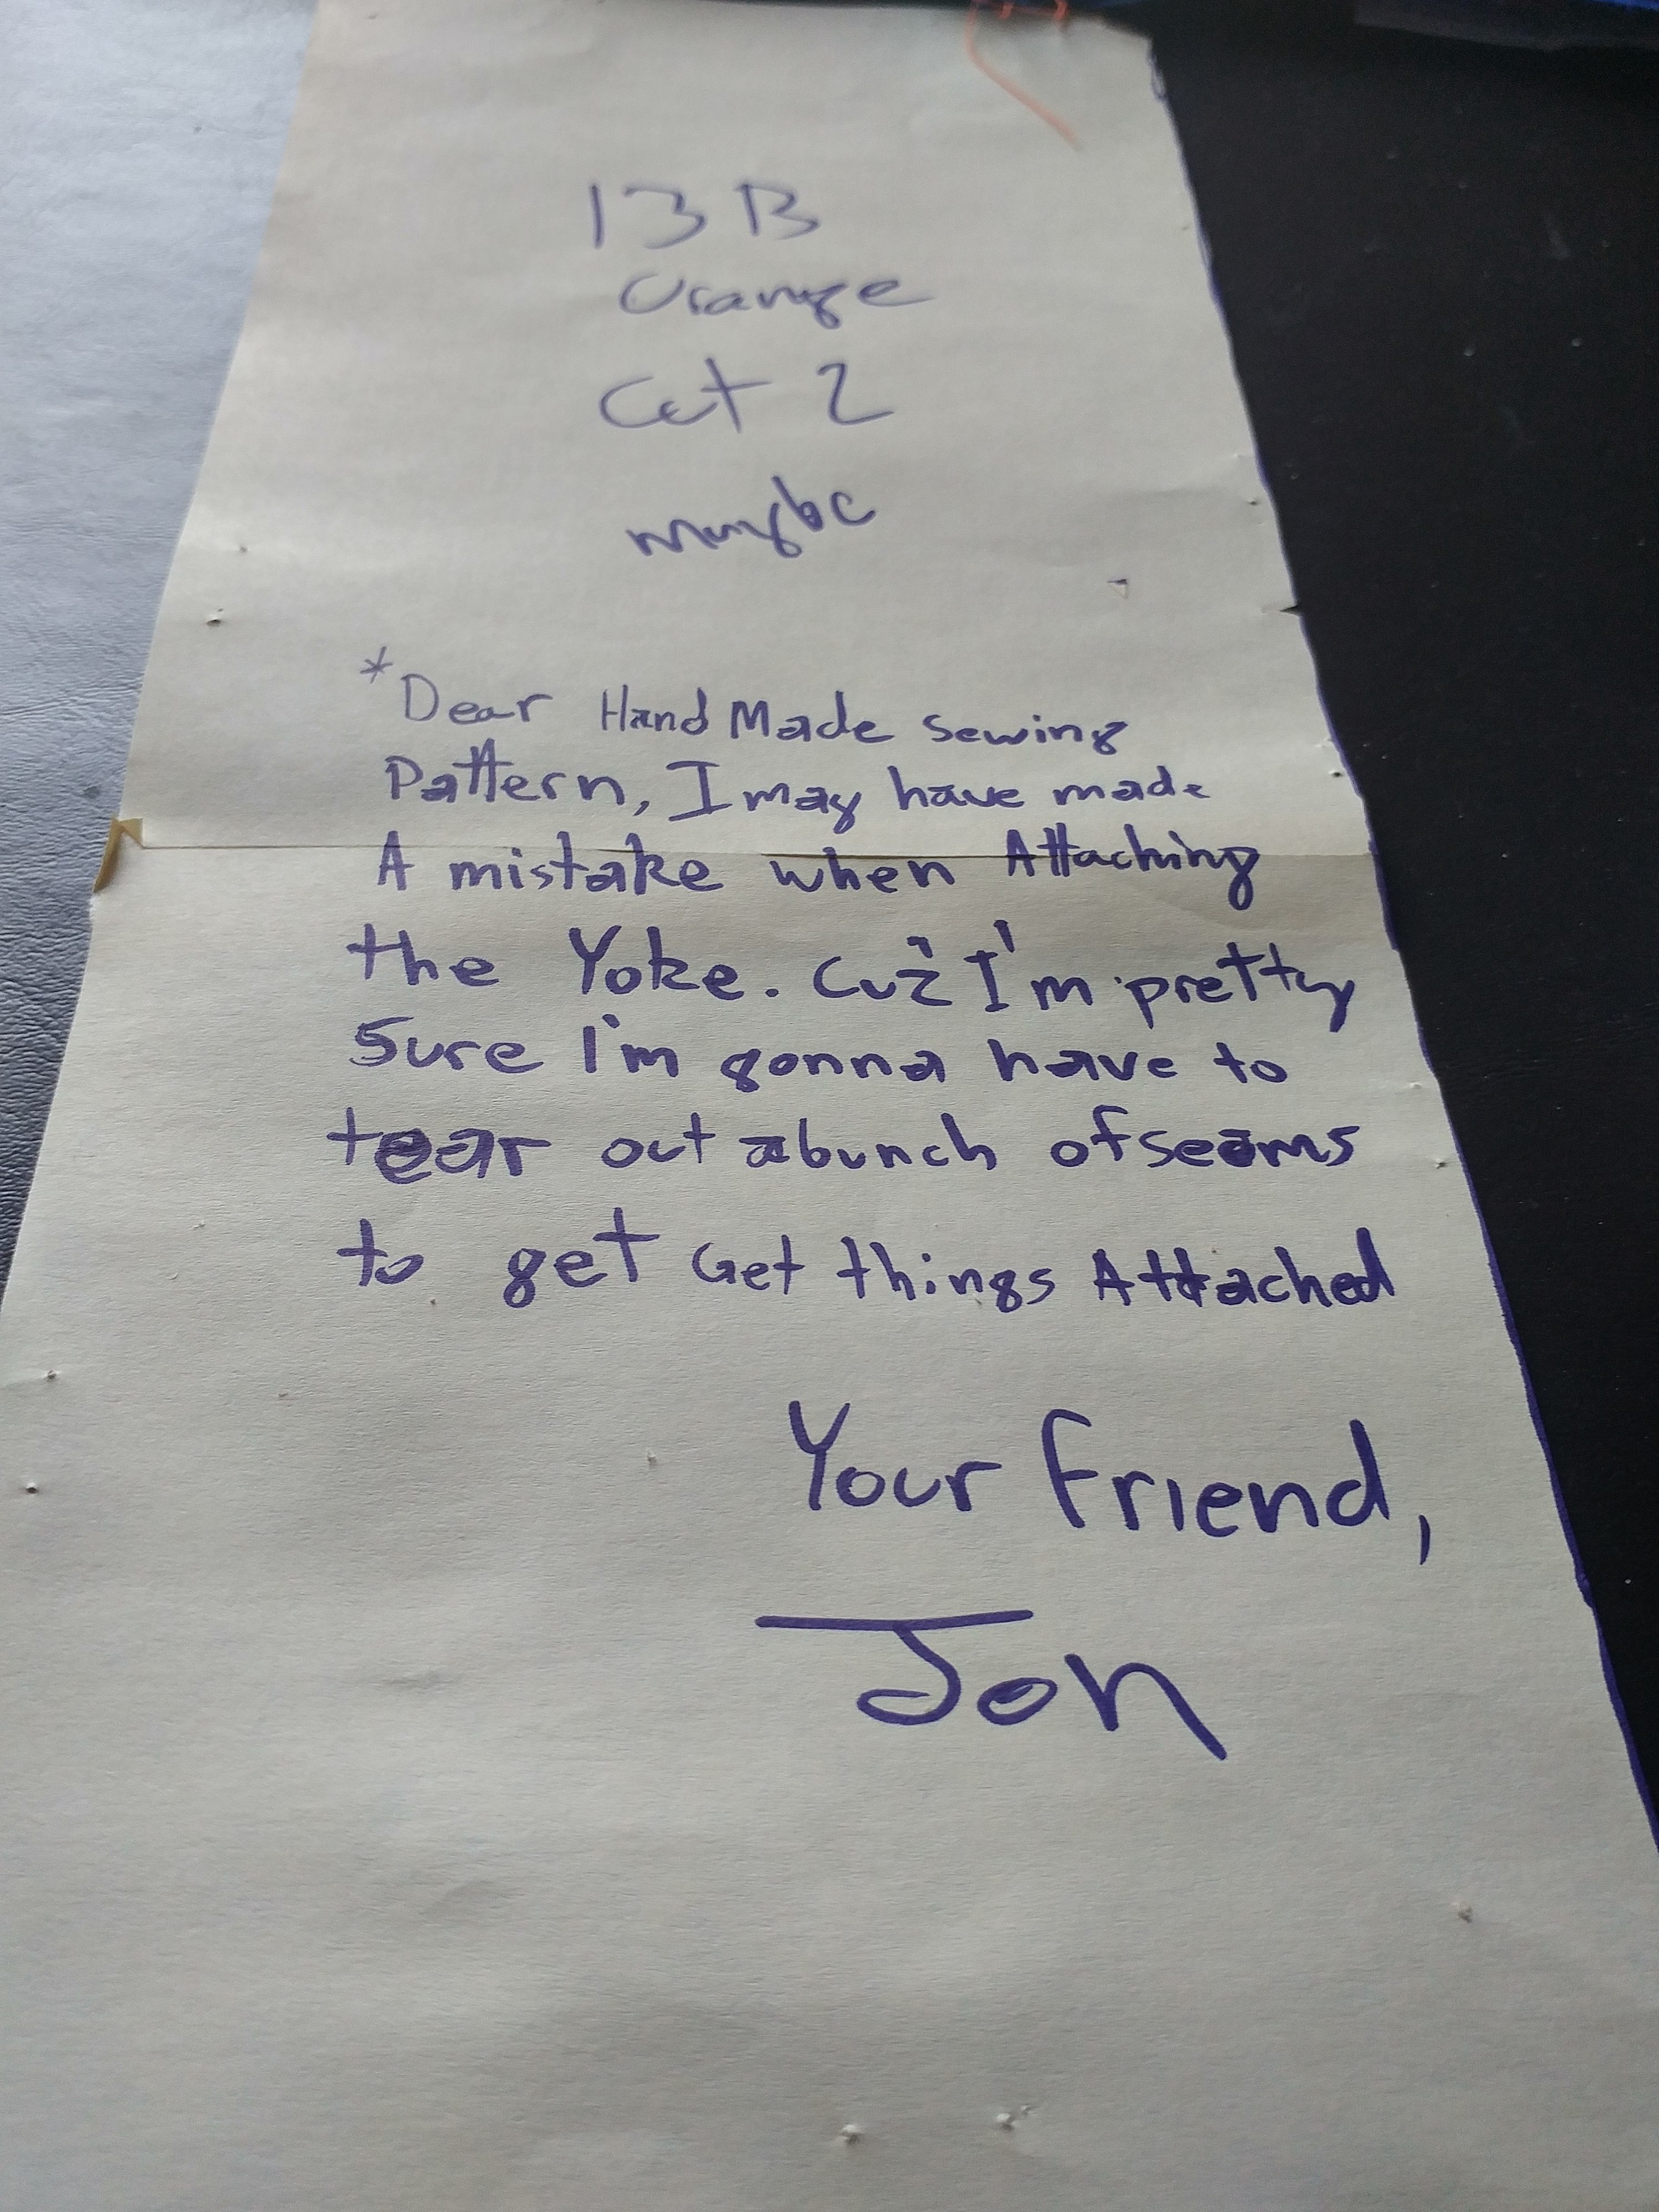
So here it is (sorta). The lower skirt, as of writing, is still only pinned in place. I’m having some difficulty with the yoke on the lower bit. I also just remembered I need to sew the cuffs to the lining… and make pants. So there’s that.
BONUS CONTENTish:
I wen to the Swap Meet to get away from the heat and I ended up with these gems.
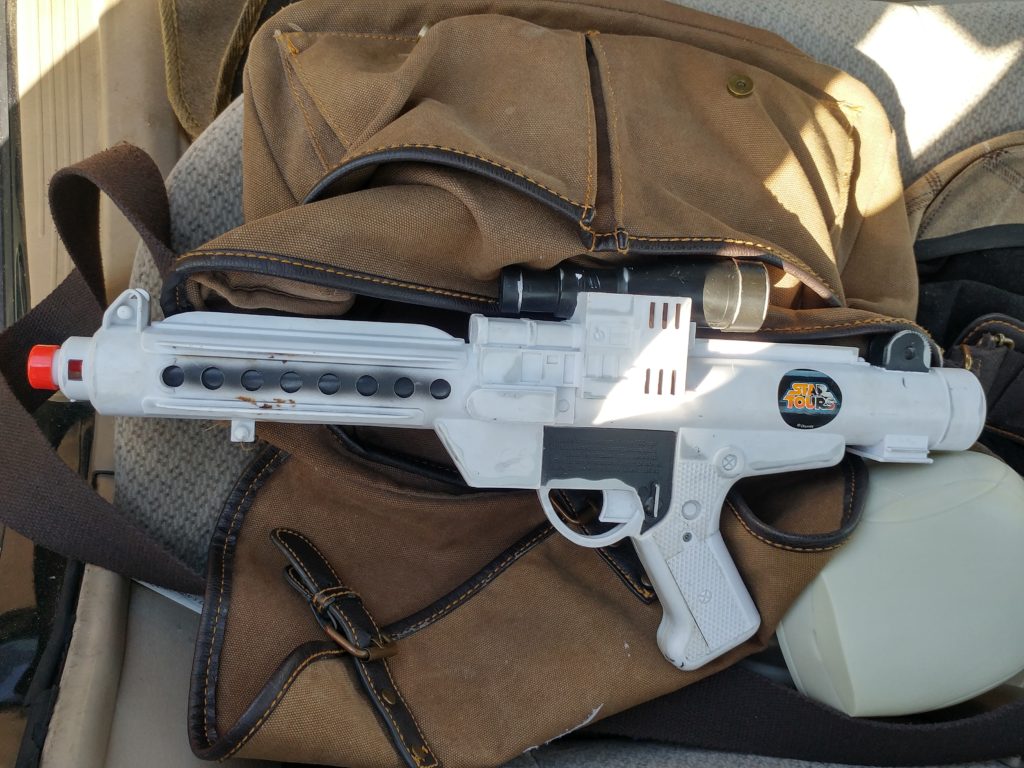
3 American Dollars. Still has the Star Tours Logo sticker from the gift shop. When I was youngin’ I had one of these. I vividly remember picking it and the orange Han Solo blaster at the local Toys R Us (RIP). A few years ago I picked one of these up and converted it with a online kit (DoopyDoos):

I may clean up the seams and re-paint it gloss white and stick a star tours logo on it. Say it is standard issue for Star Tours flight crew when in the terminal (Exhibit Hall).
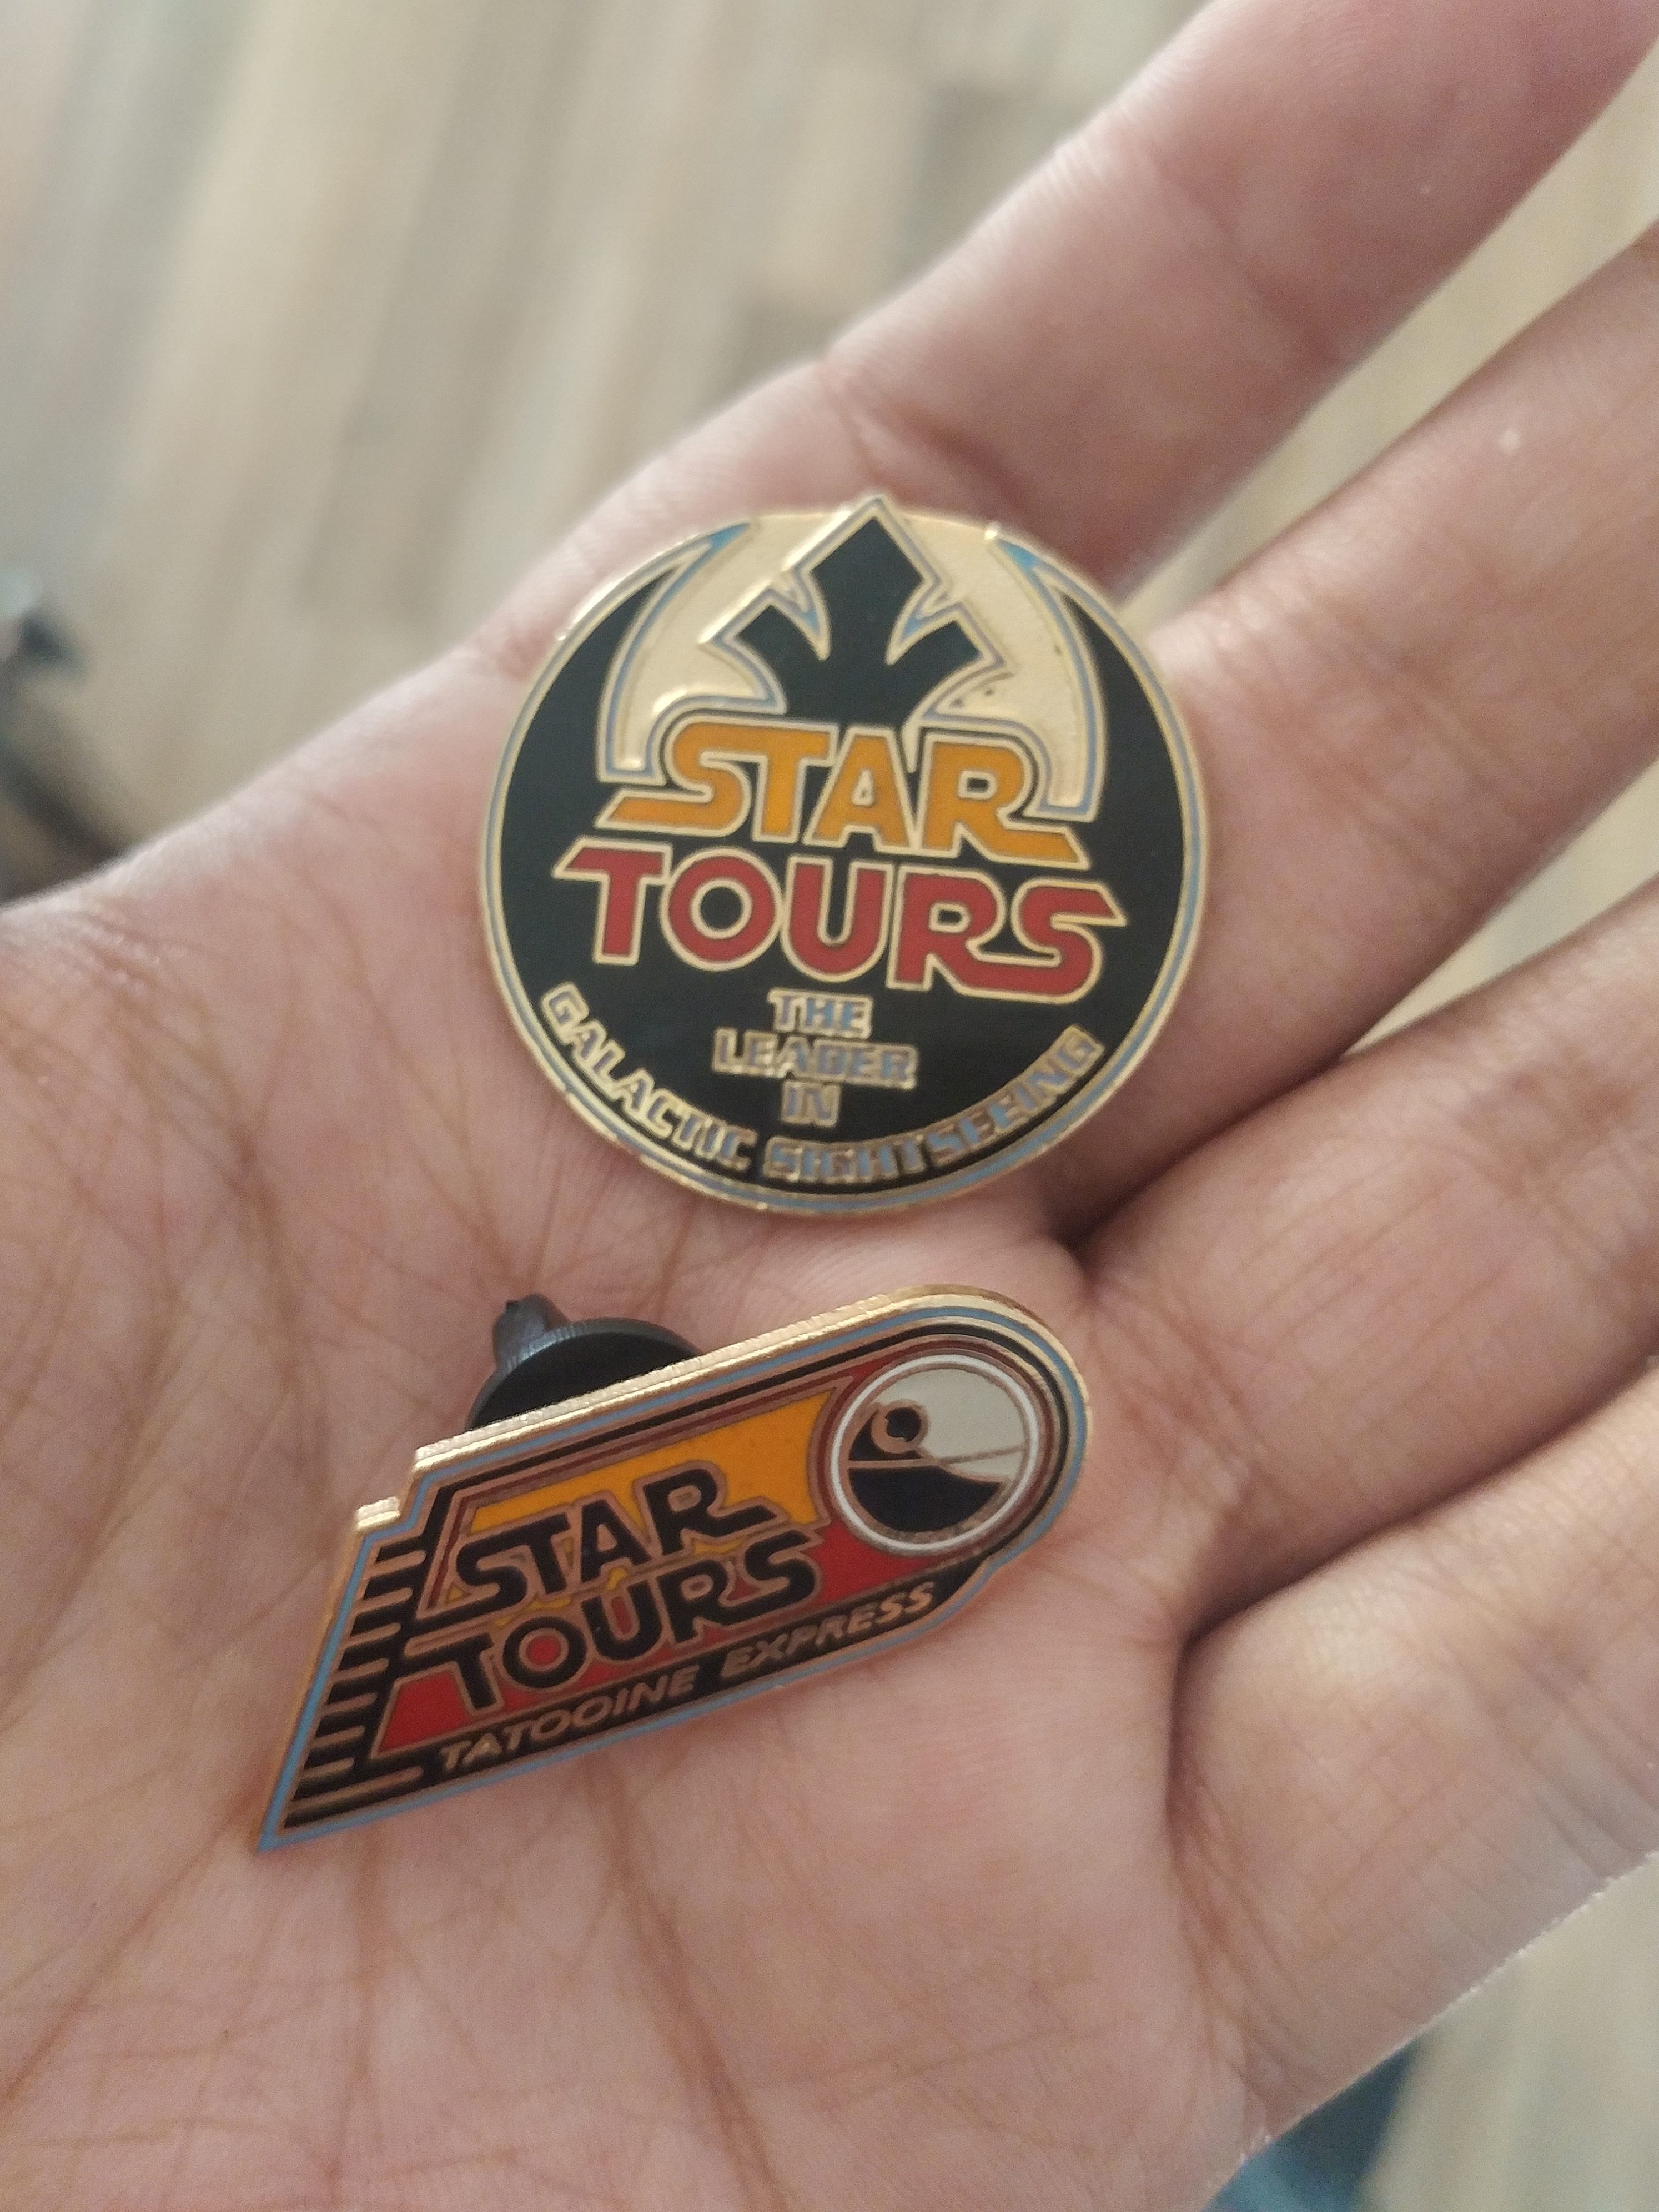
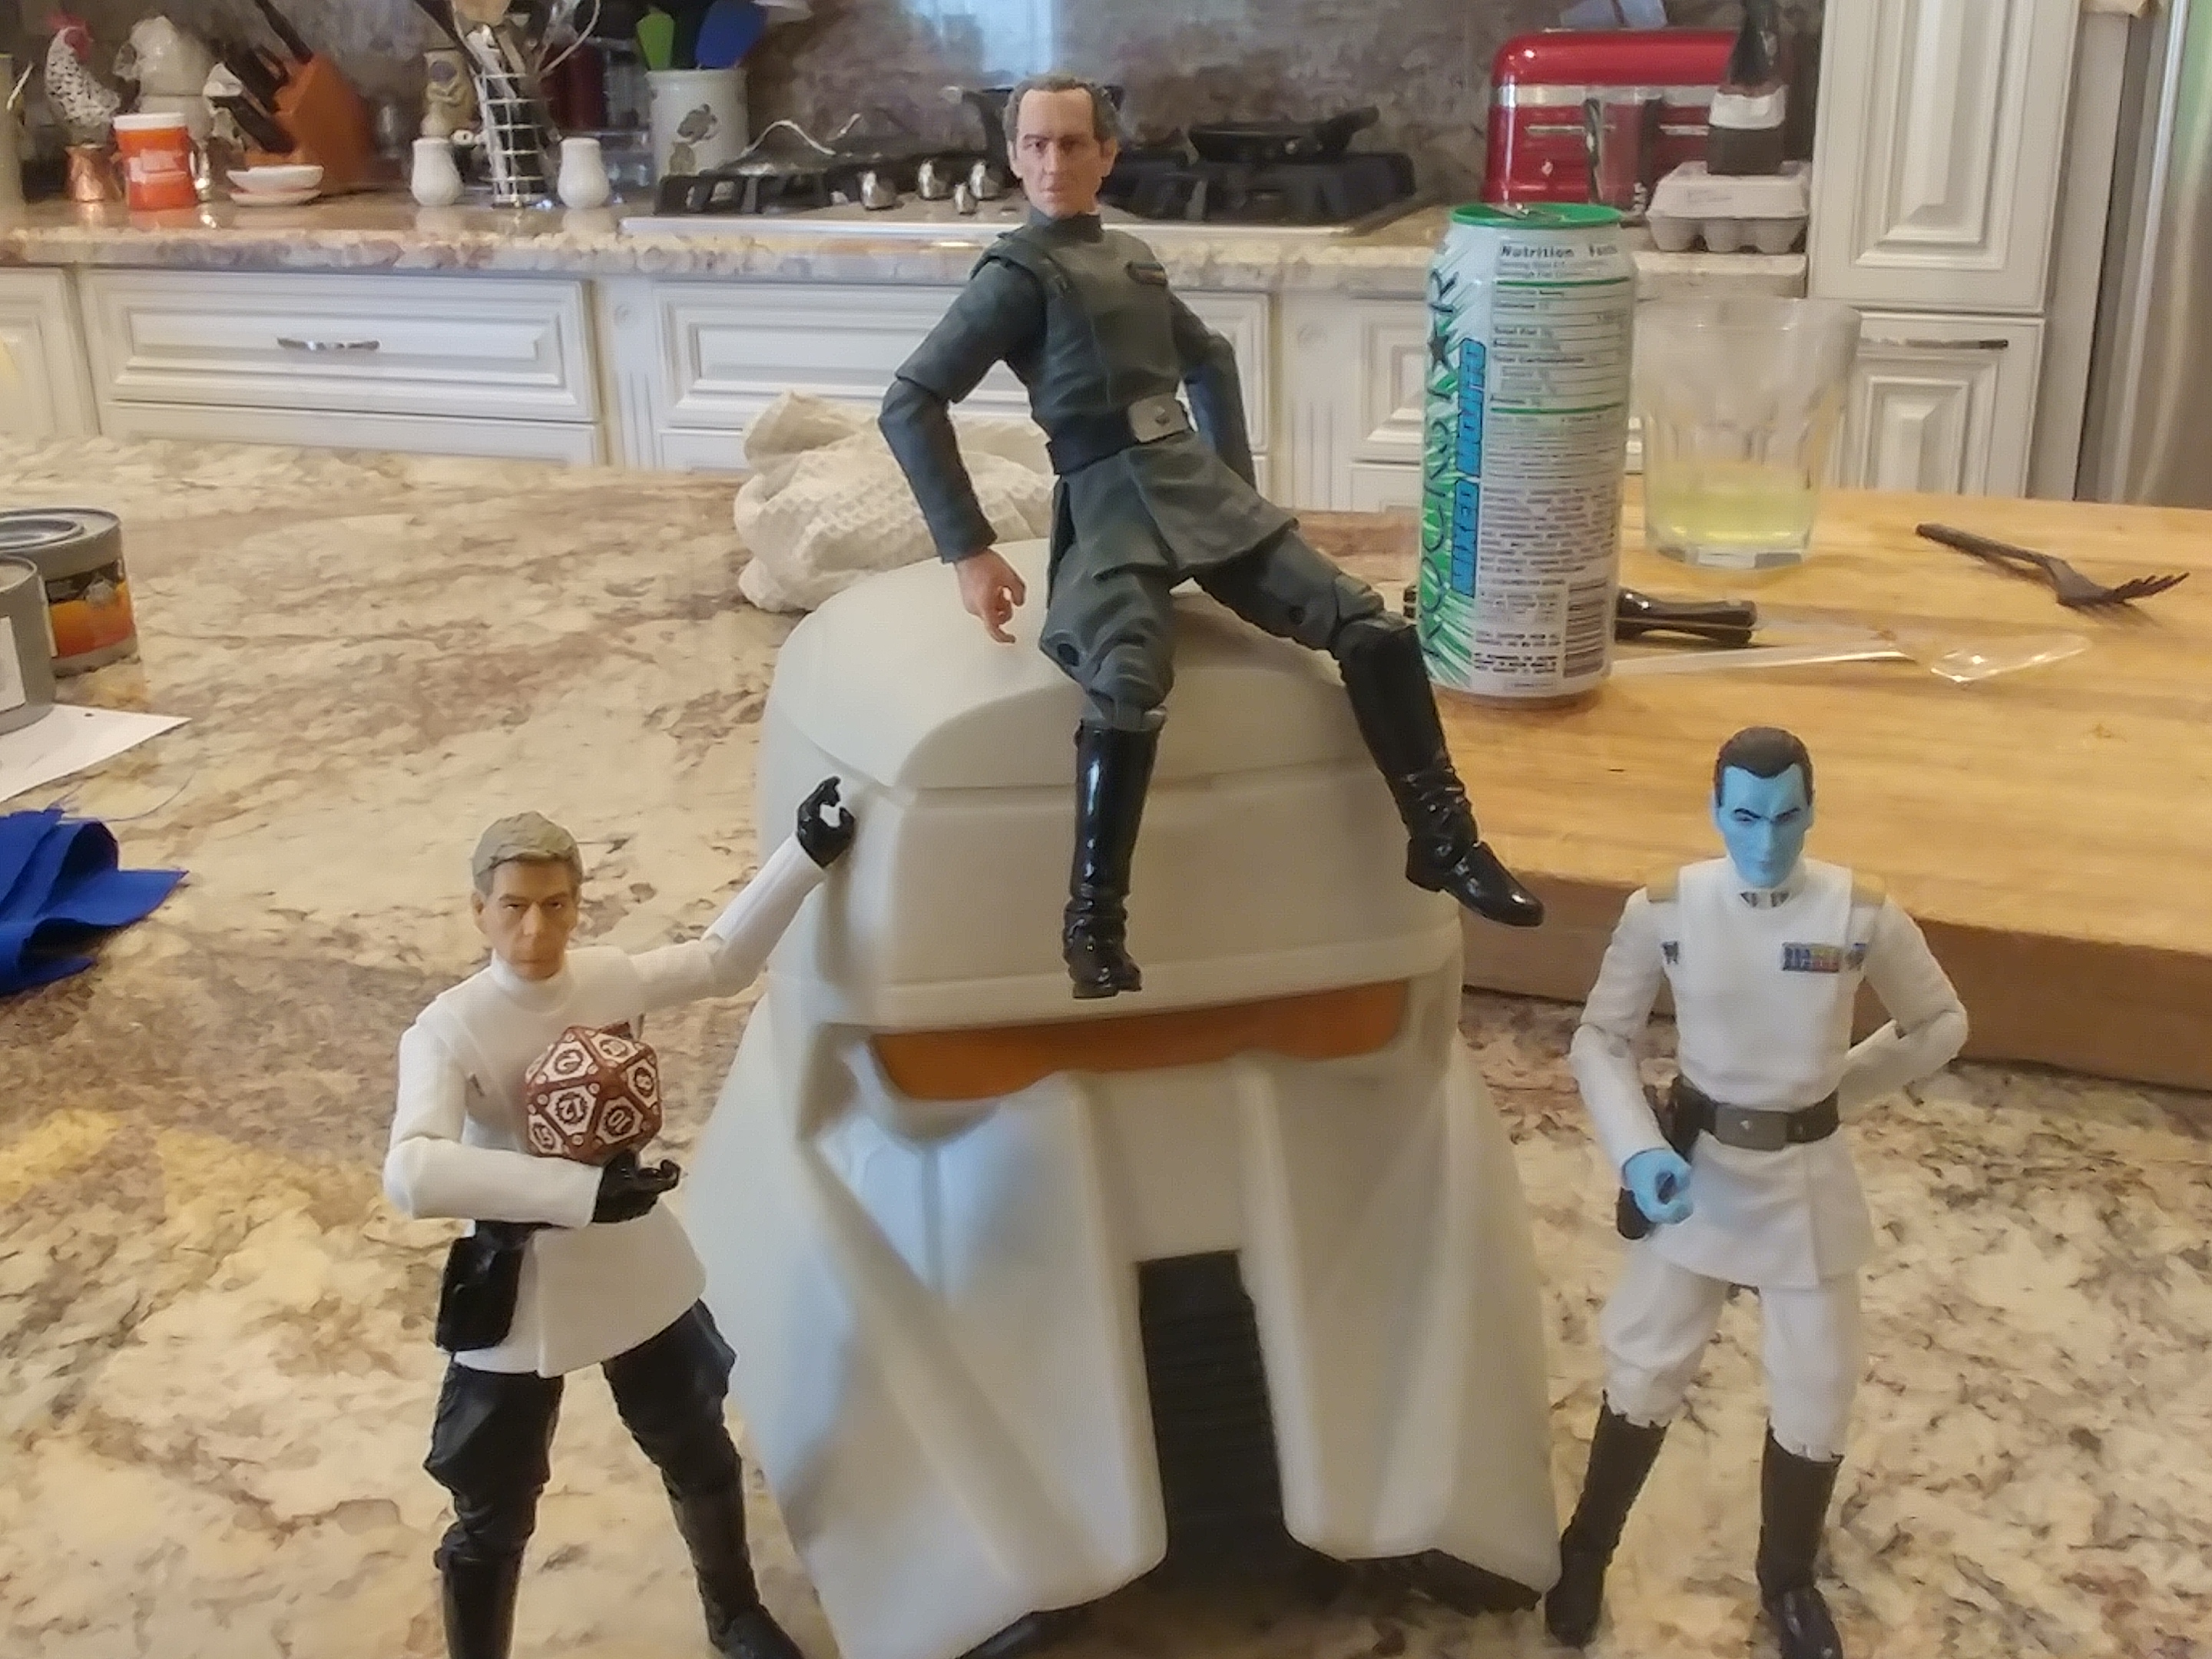
oh yeah, and these little guys. pretty stoked on this.
With any luck, next monday, not only will there be a new episode of Hoth Topics, but also the wrap up of this project. With the Veers build to soon follow. and if we are really lucky. proper Capitalization and punctuation will return too.
May the Force ever be in your Favor, tribute.
Jon
2 comments
Comments are closed.